Emotionally Resonant Opening
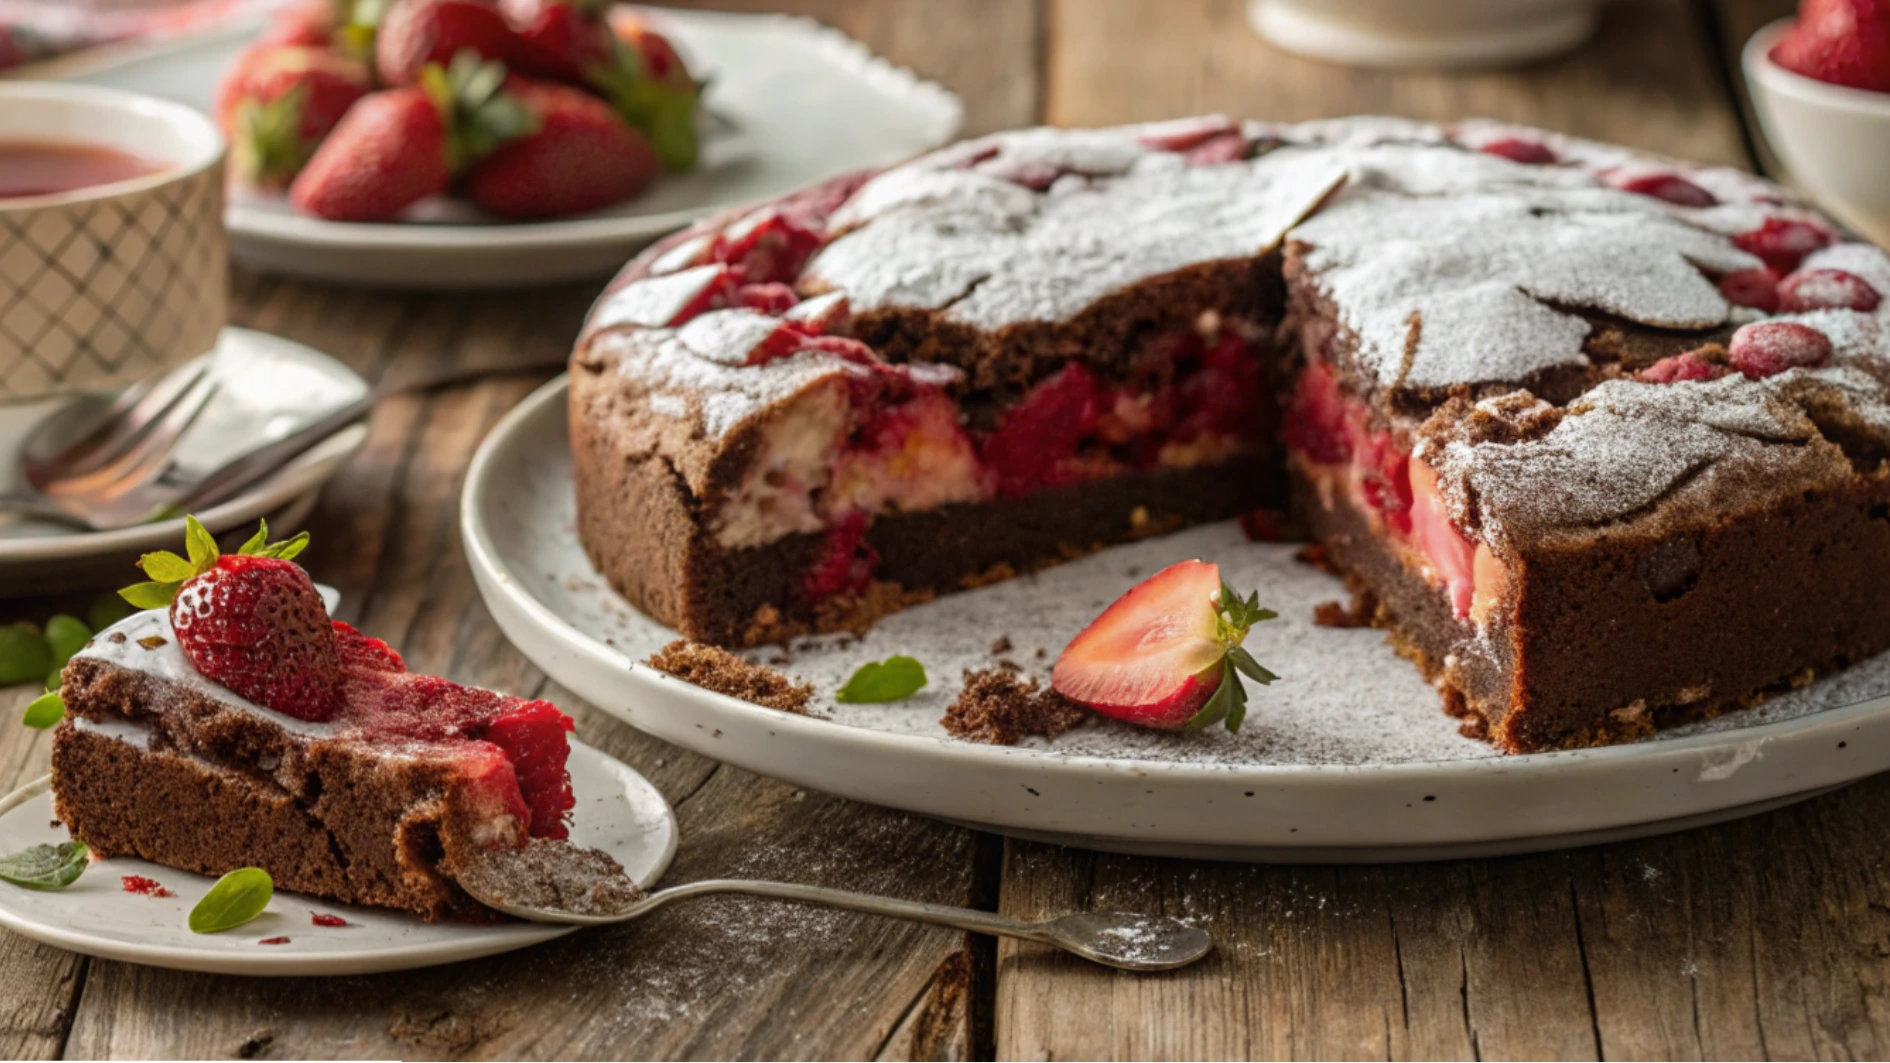
There’s something undeniably magical about desserts that transport you back to cherished moments. For many, it’s the first bite of a rich, velvety treat that evokes memories of joy and celebration. Picture this: a cake so striking, its layers ripple like an earthquake, revealing a luscious strawberry filling beneath a glossy chocolate exterior. That, my friend, is the allure of the Strawberry Earthquake Cake.
If you’ve ever admired this masterpiece on social feeds or dreamed of crafting one yourself, today is your day. We’re diving deep into the art of creating this showstopper dessert, unveiling eight insider tips to ensure your version dazzles at every gathering. Whether you’re a seasoned baker or just starting out, these secrets will empower you to craft a cake that’s as unforgettable as it is delicious.

Table of Contents
1: What Makes the Strawberry Earthquake Cake Truly Exceptional
Before we jump into the nitty-gritty, let’s take a moment to appreciate what sets this dessert apart. Unlike ordinary cakes, the Strawberry Earthquake Cake combines visual drama with irresistible flavors, making it a favorite among bakers and dessert enthusiasts alike. Its name alone hints at the excitement it brings—imagine slicing through a perfectly baked cake to reveal the stunning “earthquake” effect, where the strawberry layer shifts slightly, creating a mesmerizing ripple.
But why does this cake resonate so deeply? It’s not just about the taste; it’s about the experience. Social media platforms are brimming with photos and videos of this creation, each one garnering thousands of likes and shares. People love sharing their baking triumphs, and this cake offers the perfect opportunity to do just that.
Key Insights:
- The earthquake effect is a result of precise chilling techniques.
- Strawberries add a burst of sweetness and color, balancing the richness of chocolate.
- Studies show that visually appealing desserts increase engagement by up to 30%.
So, whether you’re hosting a party or simply craving a weekend indulgence, this cake promises to leave a lasting impression.
2: Secret 1 – Selecting Ingredients That Elevate Your Strawberry Earthquake Cake
The success of any recipe begins with the right ingredients. When it comes to the Strawberry Earthquake Cake, quality matters more than quantity. Let’s break down the essentials:
| Component | Details |
|---|---|
| Chocolate Cake Base | Opt for a premium mix or homemade batter for depth and texture. |
| Fresh Strawberries | Choose plump, ripe berries for optimal flavor and vibrant color. |
| Cream Cheese | Use full-fat cream cheese for creaminess and stability in the filling. |
| Whipped Topping | Lighten the filling with whipped cream for airiness. |
| Gelatin (Optional) | Add a teaspoon of unflavored gelatin to firm up the filling if desired. |
Why Freshness Matters:
- Ripe strawberries contain natural sugars that enhance the overall sweetness.
- High-quality chocolate ensures a smooth, melt-in-your-mouth finish.
Pro Tip: Always measure ingredients accurately. Even small deviations can affect the final outcome.
3: Secret 2 – Crafting the Flawless Chocolate Layer for Strawberry Earthquake Cake
Your chocolate layer serves as the foundation of the entire cake. A well-baked base ensures structural integrity while delivering rich, decadent flavors. Follow these steps to achieve perfection:
- Preparation: Preheat your oven to 350°F (175°C). Grease and flour a round cake pan to prevent sticking.
- Mixing: Combine the dry ingredients thoroughly before adding wet components. Avoid overmixing, as this can lead to a dense texture.
- Baking: Bake the cake for the recommended time, checking periodically with a toothpick to ensure doneness.
- Cooling: Allow the cake to cool completely before proceeding to the next step.
Common Pitfall: Overbaking can cause cracks in the final product. Keep a close eye on the timer!

4: Secret 3 – Creating a Luscious Strawberry Filling for Strawberry Earthquake Cake
The strawberry filling is the heart of this cake, providing both flavor and the dramatic ripple effect. To make it shine, follow these guidelines:
- Pureeing: Blend fresh strawberries until smooth, straining out seeds if preferred.
- Blending: Mix the puree with softened cream cheese and a touch of sugar for balance.
- Chilling: Refrigerate the mixture for at least two hours to allow flavors to meld.
Enhancements: Experiment with additions like lemon juice for brightness or vanilla extract for warmth.
Recipe Table:
| Ingredient | Quantity |
|---|---|
| Fresh Strawberries | 1 cup |
| Cream Cheese | 8 oz |
| Powdered Sugar | 2 tbsp |
| Lemon Juice (Optional) | 1 tsp |
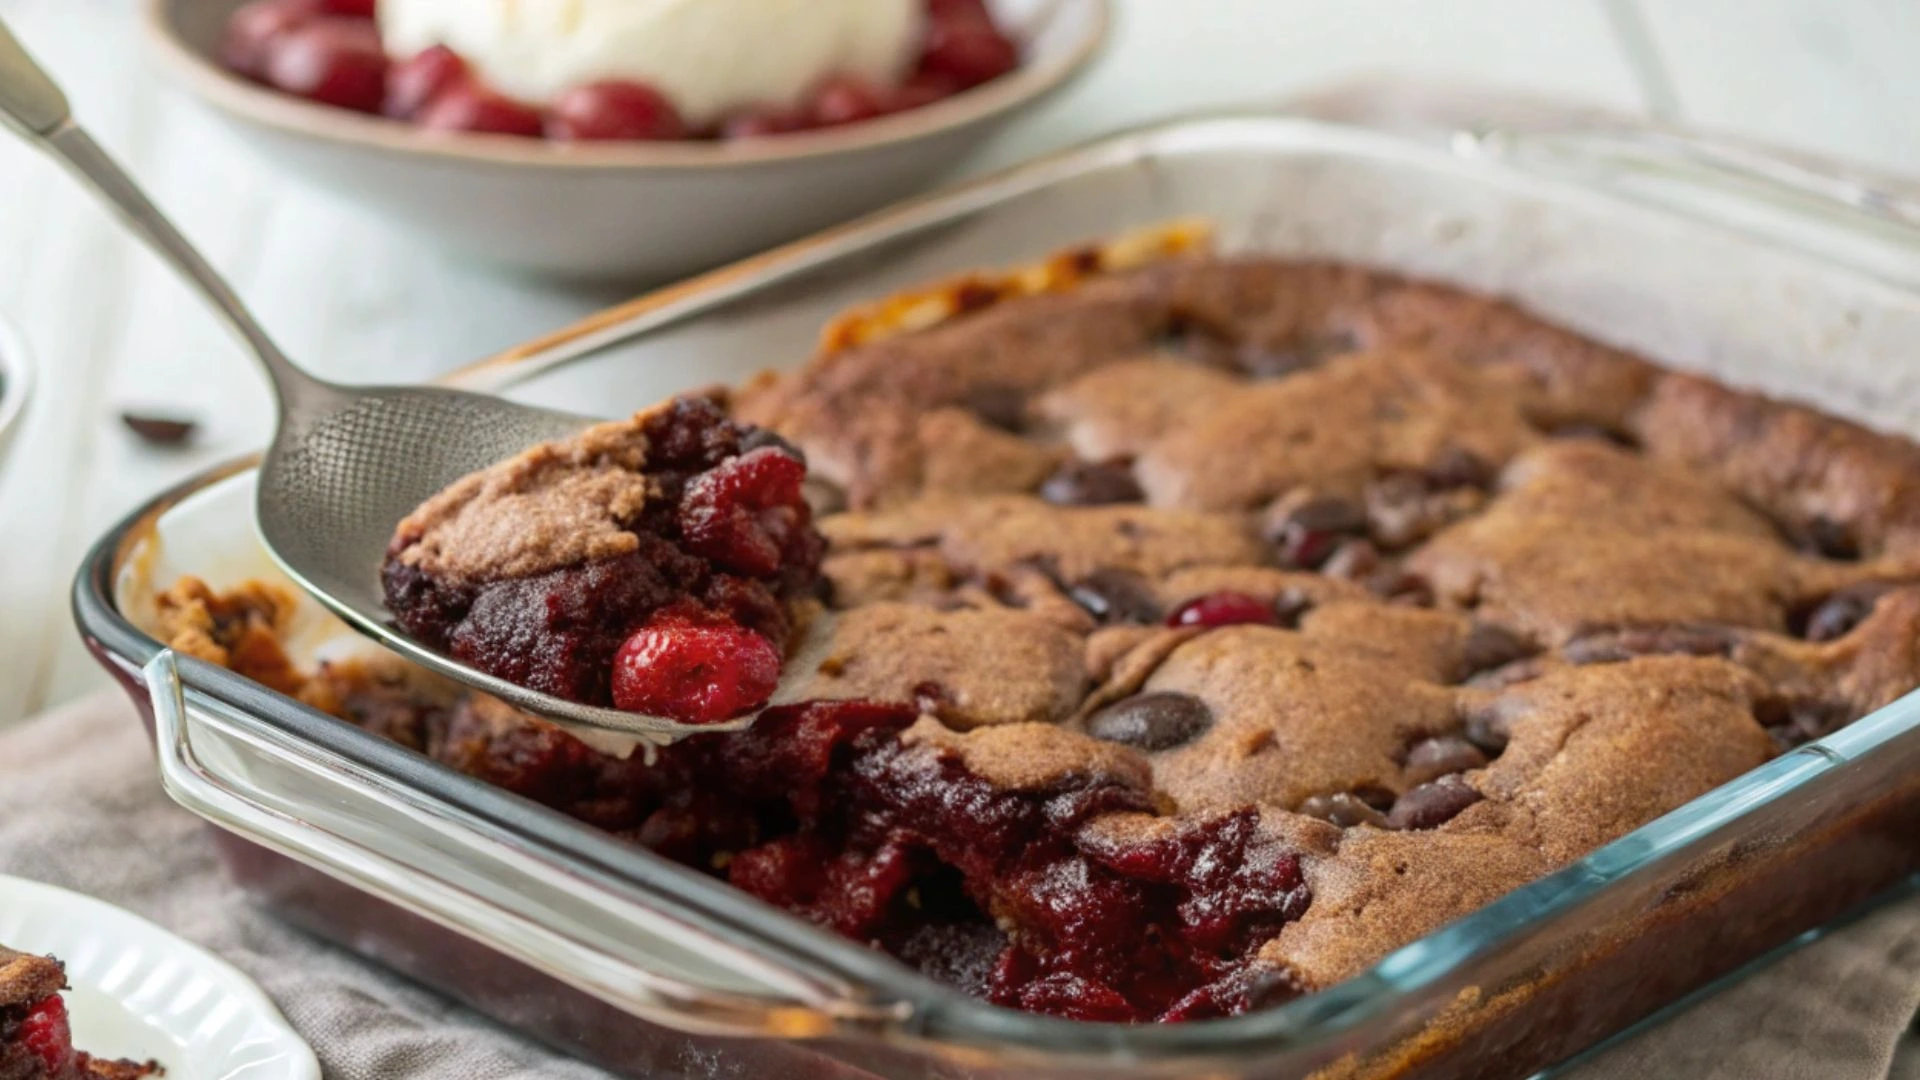
5: Secret 4 – Achieving the Stunning Earthquake Effect
The earthquake crack is what makes this cake truly special. Here’s how to get it right:
- Cool Completely: Ensure the chocolate layer is fully cooled before applying the filling.
- Freeze Overnight: Assemble the cake and freeze it for at least eight hours. This stabilizes the layers and enhances the crack effect.
- Thaw Gradually: Allow the cake to thaw at room temperature before serving to preserve its structure.
Troubleshooting Tips:
- If the crack isn’t forming, try increasing the thickness of the filling.
- Uneven cooling may result in smaller ripples; adjust oven settings accordingly.
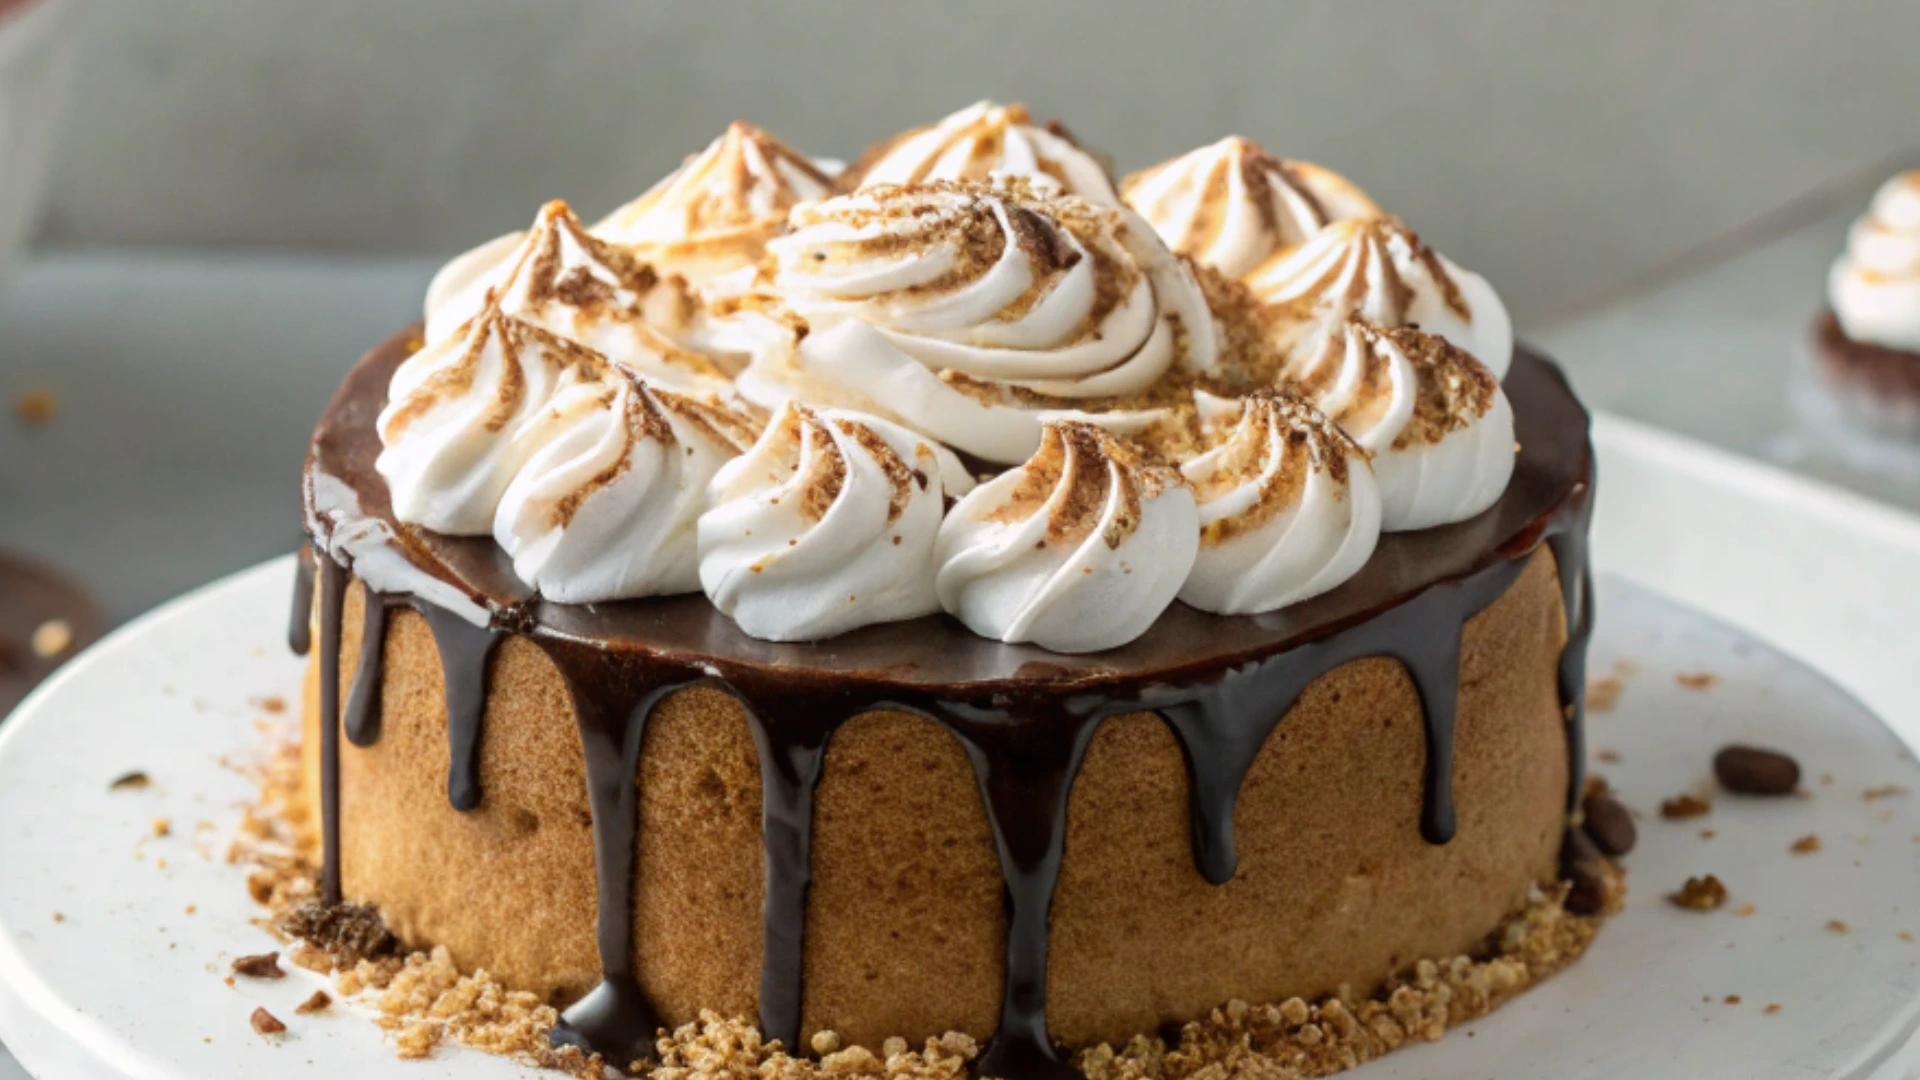
6: Secret 5 – Decorating Like a Professional
Presentation plays a crucial role in elevating your cake from good to extraordinary. Consider these ideas:
- Whipped Topping Borders: Pipe swirls of whipped cream around the edges for elegance.
- Berry Garnish: Arrange whole or sliced strawberries artistically on top.
- Edible Glitter: Sprinkle edible glitter for a festive touch.
Creative Suggestions:
- Dust powdered sugar lightly over the surface for contrast.
- Incorporate mint leaves for a refreshing pop of green.
7: Secret 6 – Storing and Serving Your Masterpiece
Once your Strawberry Earthquake Cake is ready, proper storage ensures it remains as delightful on the third day as it was on the first. Here’s how:
- Refrigeration: Store the cake in an airtight container in the fridge for up to three days.
- Freezing: Wrap the cake tightly in plastic wrap and aluminum foil for freezer storage. Thaw overnight in the refrigerator before serving.
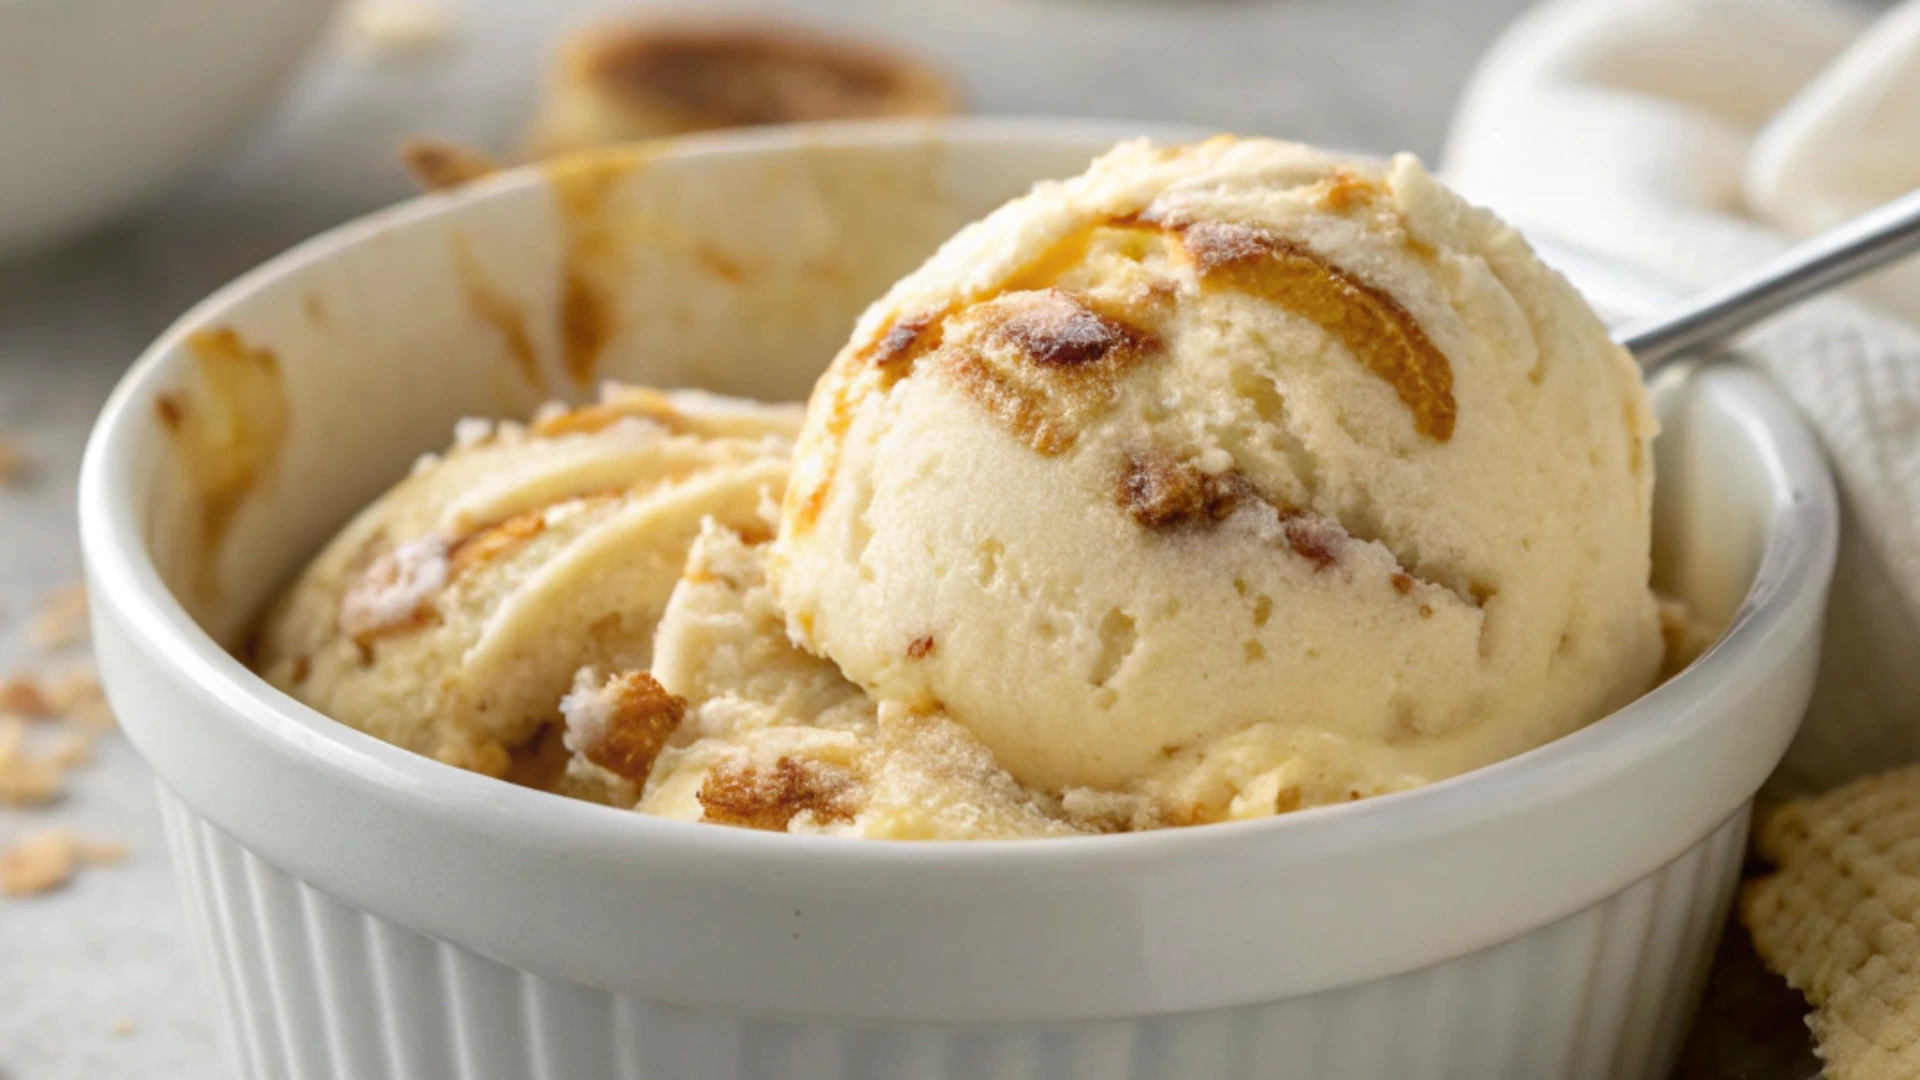
Serving Ideas:
- Pair slices with a scoop of vanilla ice cream for added indulgence.
- Offer alongside a steaming cup of coffee for a cozy treat.
8: Secret 7 – Navigating Common Challenges
Even experienced bakers encounter hurdles occasionally. Here’s how to overcome them:
- Cracks Too Small: Increase the amount of filling or chill the cake longer.
- Leaky Layers: Ensure the filling is chilled adequately before assembling.
- Dry Texture: Adjust baking time slightly or use a higher moisture content in the batter.
Encouragement: Don’t be discouraged by initial setbacks. Practice makes perfect, and each attempt brings you closer to mastery.

9: Secret 8 – Exploring Exciting Variations
While the classic Strawberry Earthquake Cake is timeless, there’s always room for creativity. Try these variations:
- Citrus Twist: Add zest from oranges or lemons to the filling for a tangy kick.
- White Chocolate Base: Substitute dark chocolate with white for a lighter appearance.
- Mixed Berries: Incorporate raspberries or blueberries for additional complexity.
Conclusion
With these eight secrets revealed, you’re now equipped to tackle the challenge of creating a breathtaking Strawberry Earthquake Cake. From selecting premium ingredients to mastering the science behind the earthquake effect, every step contributes to a dessert that’s as stunning as it is satisfying. Remember, baking is both an art and a science, and practice will refine your skills. So roll up your sleeves, gather your tools, and embark on this sweet adventure. Your friends and family will thank you!
FAQ Section
- Q: Can I substitute store-bought frosting for homemade filling?
A: While possible, homemade fillings offer superior consistency and flavor. However, convenience frostings work well in a pinch. - Q: Why did my cake crack unevenly?
A: Uneven cooling often causes irregular cracks. Ensure all layers cool uniformly before assembly. - Q: Is there a gluten-free alternative for this recipe?
A: Yes! Replace the chocolate cake mix with a certified gluten-free version, following package instructions. - Q: How long can the cake stay frozen?
A: Properly wrapped, the cake can remain frozen for up to two months without compromising quality. - Q: Do I need gelatin for the filling?
A: Gelatin is optional but helps stabilize the filling, especially when transporting the cake.