Introduction
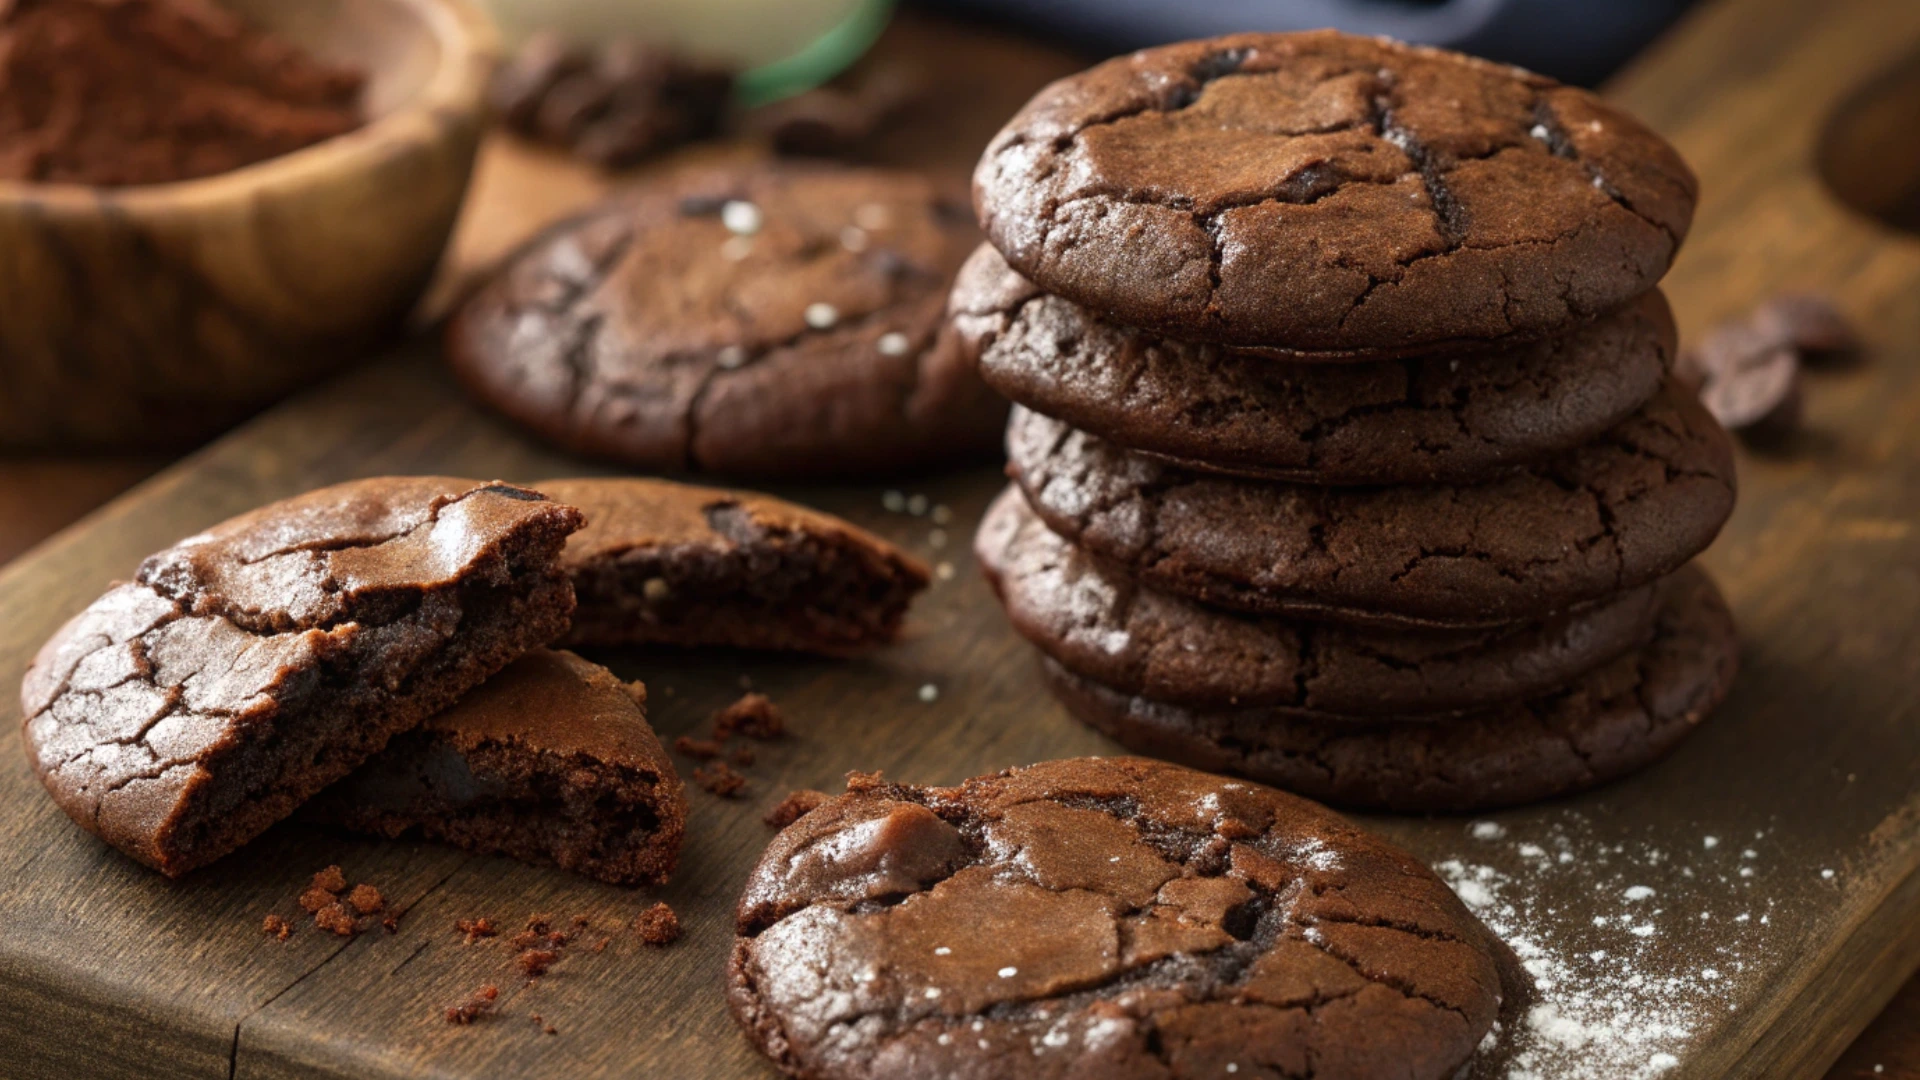
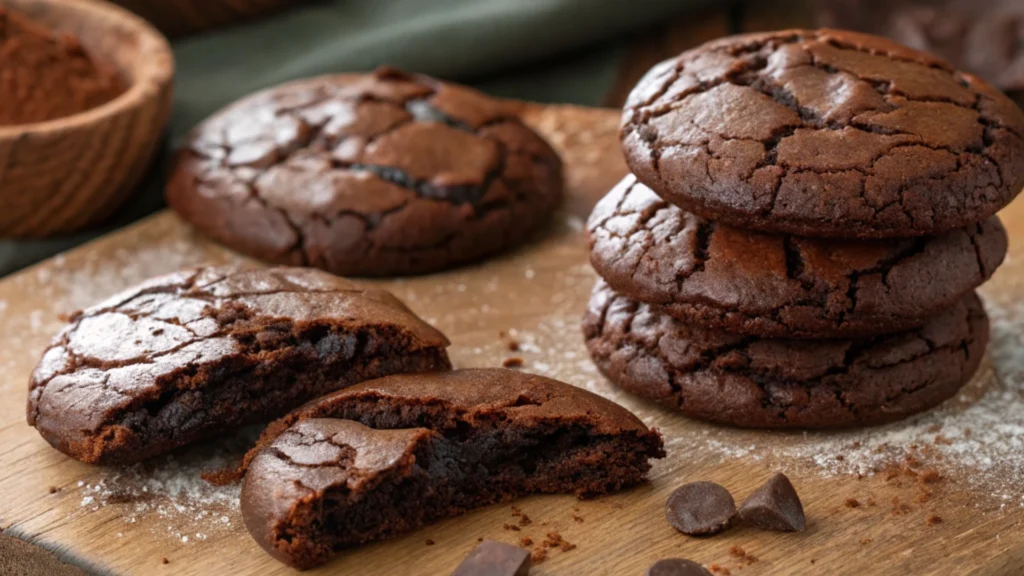
Hello there, fellow chocolate lover! If you’ve ever found yourself torn between the gooey decadence of a brownie and the convenience of a cookie, I have just the treat for you. Meet Chocolate Brownie Cookies , where rich chocolatey goodness meets melt-in-your-mouth texture in one irresistible bite. As your trusted culinary content creator, Lily Hanna, I’m thrilled to share this recipe with you because it’s not only delicious but also surprisingly easy to make at home.
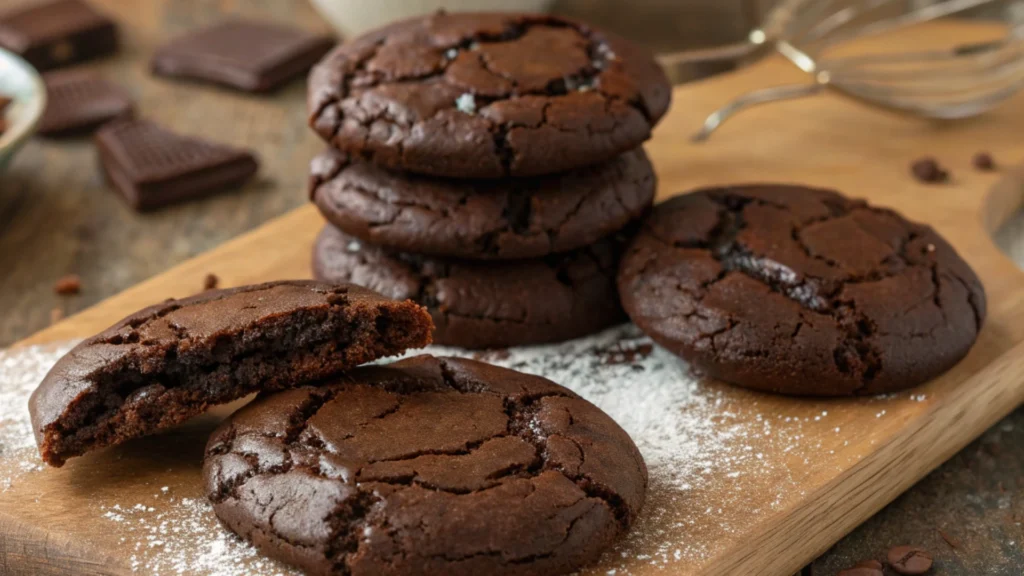
Have you ever wondered how to achieve that perfect balance of fudgy centers and crisp edges? Or maybe you’re looking for ways to elevate your dessert game without spending hours in the kitchen? These cookies are here to save the day (and satisfy your sweet tooth). Whether you’re baking for a special occasion or simply treating yourself on a lazy Sunday, these velvety delights promise to impress everyone who takes a bite. So grab your mixing bowl and let’s dive into the world of homemade treats that will leave you—and your guests—begging for more.
Table of Contents
Ingredients
Before we begin, gather all the ingredients you’ll need. Preparing all the ingredients beforehand will ensure a more seamless and enjoyable cooking experience. Here’s what you’ll need:
- 2 ½ cups all-purpose flour (or gluten-free flour for a gluten-free version)
- ¾ cup unsweetened cocoa powder (Dutch-processed works best for deeper flavor)
- 1 teaspoon baking soda
- ½ teaspoon salt
- 1 cup unsalted butter , softened
- 2 cups granulated sugar
- 1 cup light brown sugar , packed
- 4 large eggs
- 2 teaspoons vanilla extract
- 2 cups semi-sweet chocolate chips (or chopped dark chocolate for an extra gourmet touch)
If you’re feeling adventurous, consider adding some optional mix-ins like chopped nuts, crushed candy canes, or dried fruit for added texture and flavor.
Step-by-Step Instructions
Now that you have all your ingredients ready, let’s walk through the steps to create these delightful Chocolate Brownie Cookies.
- Preheat Your Oven : Start by preheating your oven to 350°F (175°C). Prepare two baking sheets by lining them with parchment paper or silicone mats to make cleanup a breeze.
- Mix Dry Ingredients : In a medium-sized bowl, whisk together the flour, cocoa powder, baking soda, and salt. Set this mixture aside for now.
- Cream Butter and Sugars : In a large mixing bowl, use a hand mixer or stand mixer to cream the softened butter, granulated sugar, and brown sugar until light and fluffy. This step is crucial for achieving that soft, chewy texture.
- Incorporate the Eggs and Vanilla: Add the eggs individually, making sure each one is fully blended into the mixture before introducing the next. Stir in the vanilla extract for that classic aroma.
- Combine Wet and Dry Ingredients: Slowly incorporate the dry ingredients into the wet mixture, stirring on a low speed just until everything is combined. Be cMake sure to mix just enough to combine the ingredients, as overmixing can result in cookies that are too dense. areful not to overmix, as this can lead to tough cookies.
- Fold in Chocolate Chips : Gently fold in the chocolate chips (or any other mix-ins you’ve chosen) using a spatula. This ensures they’re evenly distributed throughout the dough.
- Scoop and Shape : Use a cookie scoop or tablespoon to portion out the dough onto the prepared baking sheets, spacing them about 2 inches apart. Flatten each ball slightly with the palm of your hand.
- Bake to Perfection : Bake the cookies in the preheated oven for 10-12 minutes, or until the edges are set but the centers still look slightly soft. Remove from the oven and let them cool on the baking sheet for 5 minutes before transferring to a wire rack to cool completely.
- Enjoy : Once cooled, these cookies are ready to be devoured. Store them in an airtight container at room temperature for up to 5 days—or freeze for longer storage.
Pro Tips and Variations
Here are some expert tips from Chef Lily Hanna to ensure your cookies turn out perfectly every time, along with ideas for customizing the recipe:
- Chill the Dough : For thicker, chewier cookies, chill the dough for 30 minutes before baking. This helps prevent spreading and enhances the texture.
- Use High-Quality Chocolate : Opt for premium chocolate chips or chopped dark chocolate for richer flavor.
- Gluten-Free Option : Replace the all-purpose flour with a 1:1 gluten-free flour blend for a gluten-free version.
- Dairy-Free Variation : Substitute the butter with dairy-free margarine and use dairy-free chocolate chips to make the recipe suitable for vegans.
- Nutty Twist : Add 1 cup of chopped walnuts or pecans for a crunchy contrast.
- Spiced Variation : Mix in ½ teaspoon of cinnamon or a pinch of cayenne pepper for a warm, spicy kick.
Experimenting with these variations allows you to tailor the recipe to your taste preferences while maintaining the core deliciousness of the original formula.
Serving Suggestions
These Chocolate Brownie Cookies are versatile enough to be enjoyed in various settings. Here are some serving ideas from Chef Lily Hanna:
- With a Glass of Milk : The classic pairing never goes out of style. A tall glass of cold milk complements the richness of the cookies beautifully.
- As Dessert Bites : Serve them at parties or gatherings as bite-sized indulgences. Guests will love their convenience and flavor.
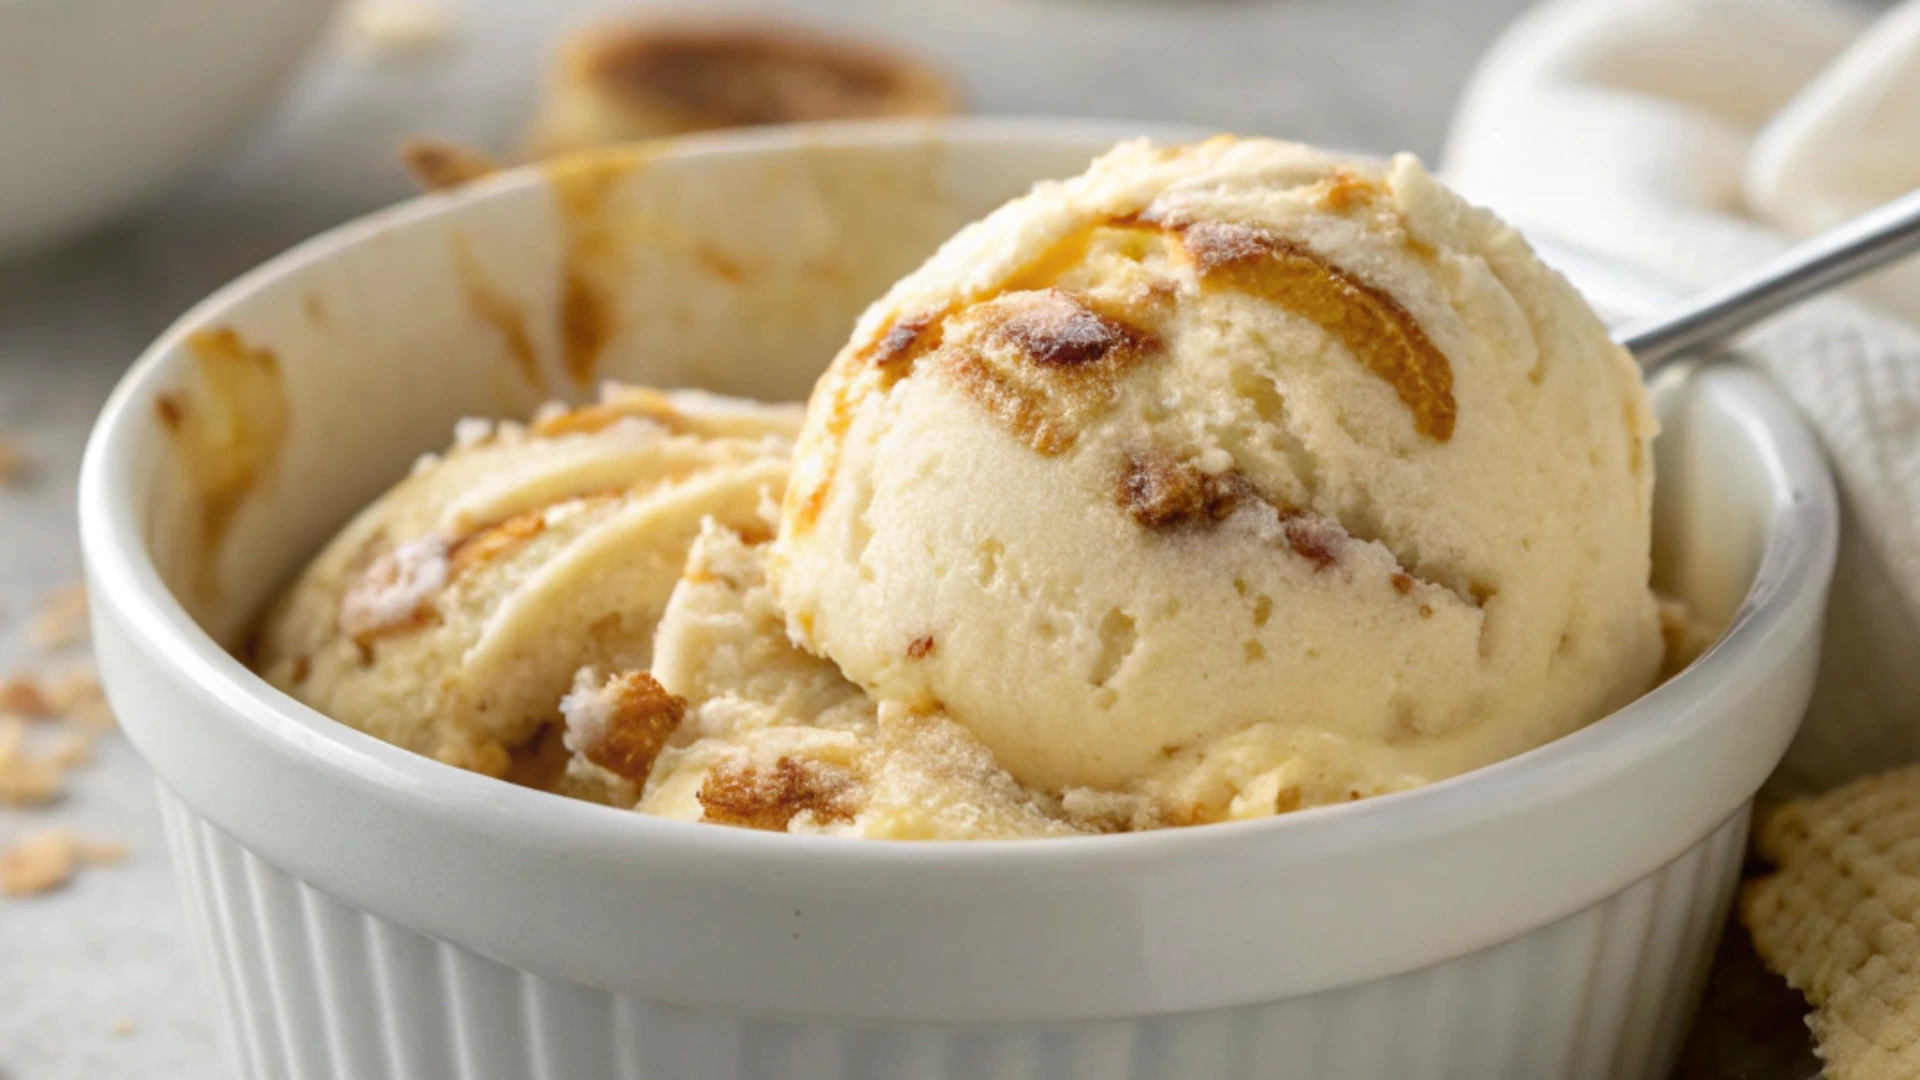
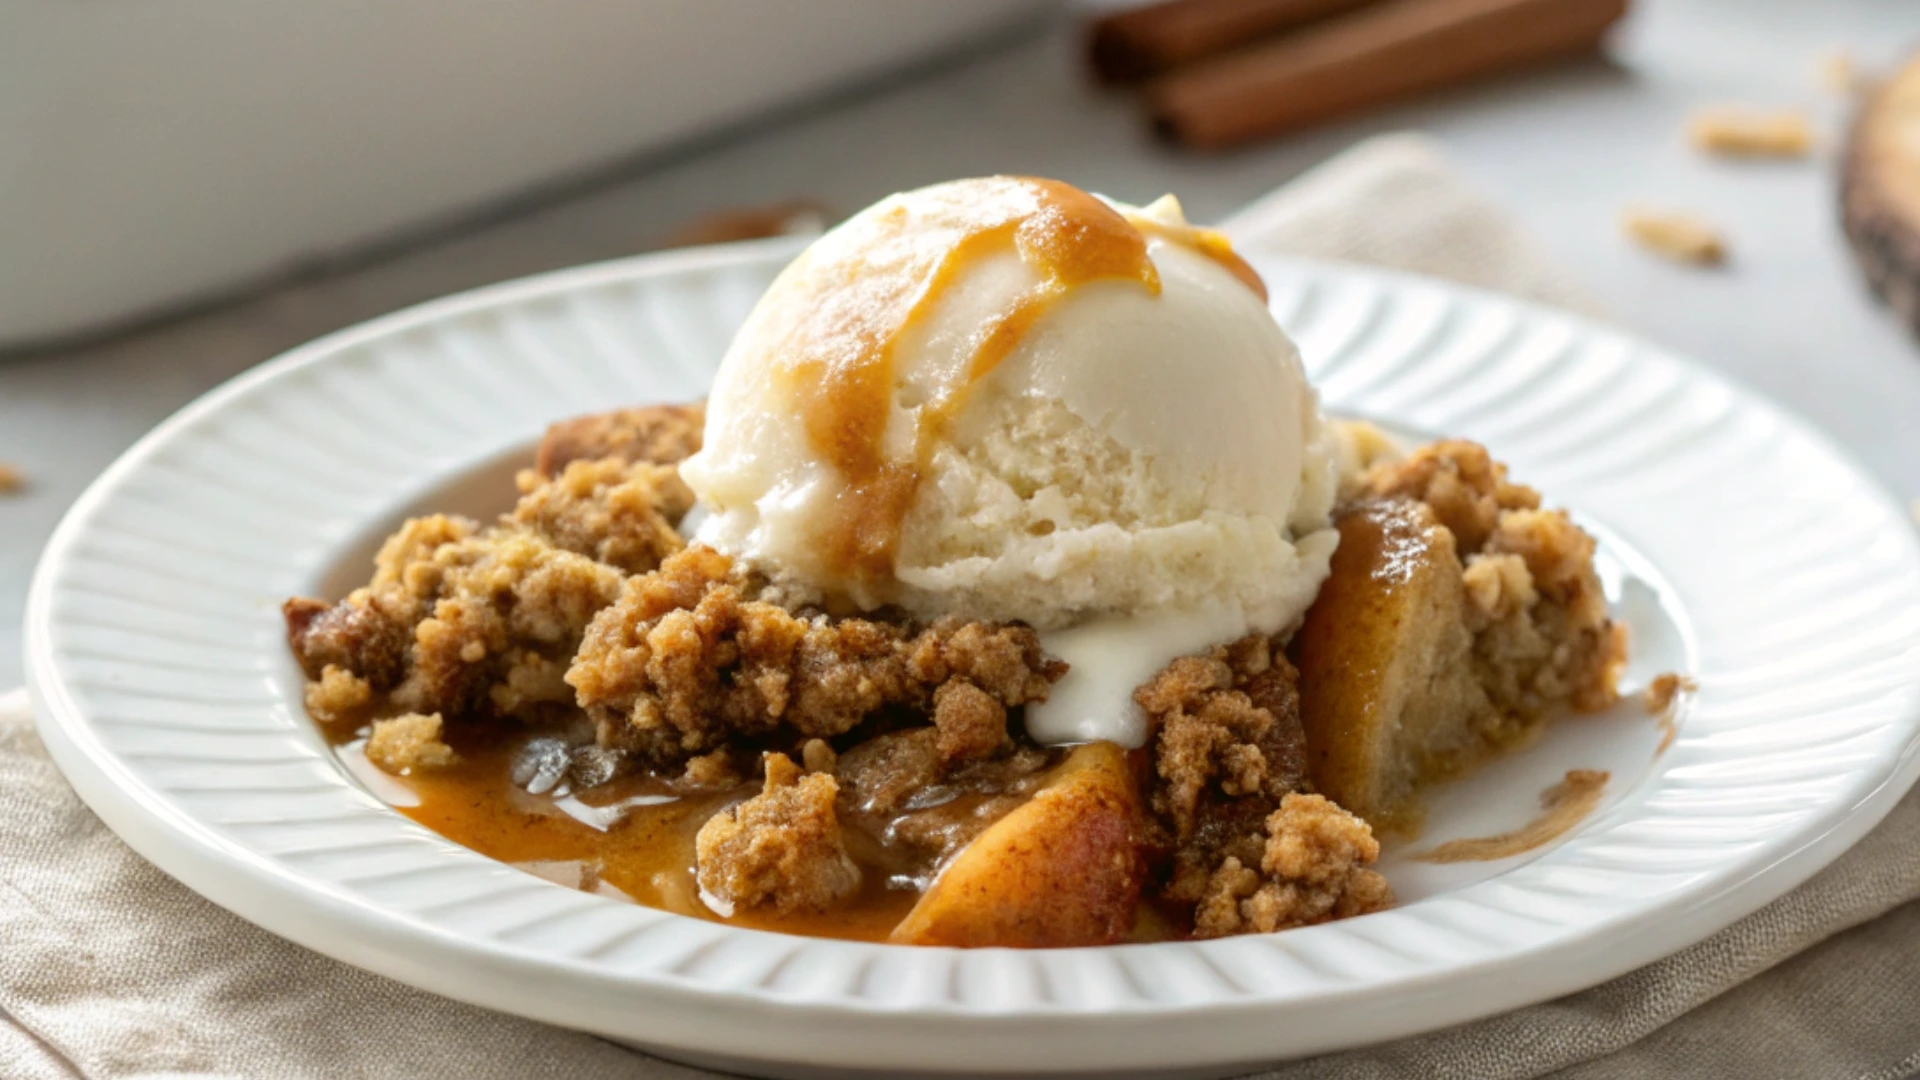
- Paired with Ice Cream : Warm up a cookie and serve it alongside a scoop of vanilla ice cream for a decadent dessert experience.
- In Cookie Sandwiches : Use two cookies to sandwich a layer of frosting, Nutella, or caramel sauce for an elevated treat.
- Gift-Worthy : Package them in decorative tins or bags and give them as gifts during holidays or special occasions.
Conclusion
There you have it—a foolproof recipe for Chocolate Brownie Cookies that combines the best qualities of both worlds: the rich, fudgy goodness of brownies and the convenience of cookies. Thanks to Chef Lily Hanna’s guidance, you now have the tools to create these delectable treats with confidence.
Whether you’re baking for yourself, sharing with loved ones, or gifting to friends, these cookies are sure to bring joy and satisfaction. Remember, the key to success lies in using quality ingredients, following the instructions carefully, and embracing your creativity with fun variations.
So, roll up your sleeves, preheat your oven, and let’s bake something truly unforgettable. Enjoy your cooking experience, and feel free to contact me if you have any questions or thoughts to share. Until next time, keep those ovens warm and your hearts full of love for good food.
FAQs
Q: Can I make these cookies ahead of time?
A: Absolutely! You can prepare the dough ahead of time and refrigerate it for up to 24 hours. Alternatively, bake the cookies and store them in an airtight container at room temperature for up to 5 days.
Q: What type of chocolate should I use?
A: For the richest flavor, opt for high-quality semi-sweet or dark chocolate chips. Chopped dark chocolate bars work well too if you prefer larger chunks.
Q: What’s the best way to tell when the cookies are fully baked?
A: Look for set edges with slightly soft centers. As the cookies cool down, they will become more firm.
Q: Can I freeze the cookies?
A: Yes! Store baked cookies in an airtight container, and they’ll stay fresh in the freezer for as long as 3 months. Thaw at room temperature before serving.
Q: Are there any modifications to make this recipe a bit lighter?
A: Consider reducing the sugar slightly and using whole wheat flour for added fiber. To lower the fat content without compromising on taste, you can replace some of the butter with applesauce.