Introduction
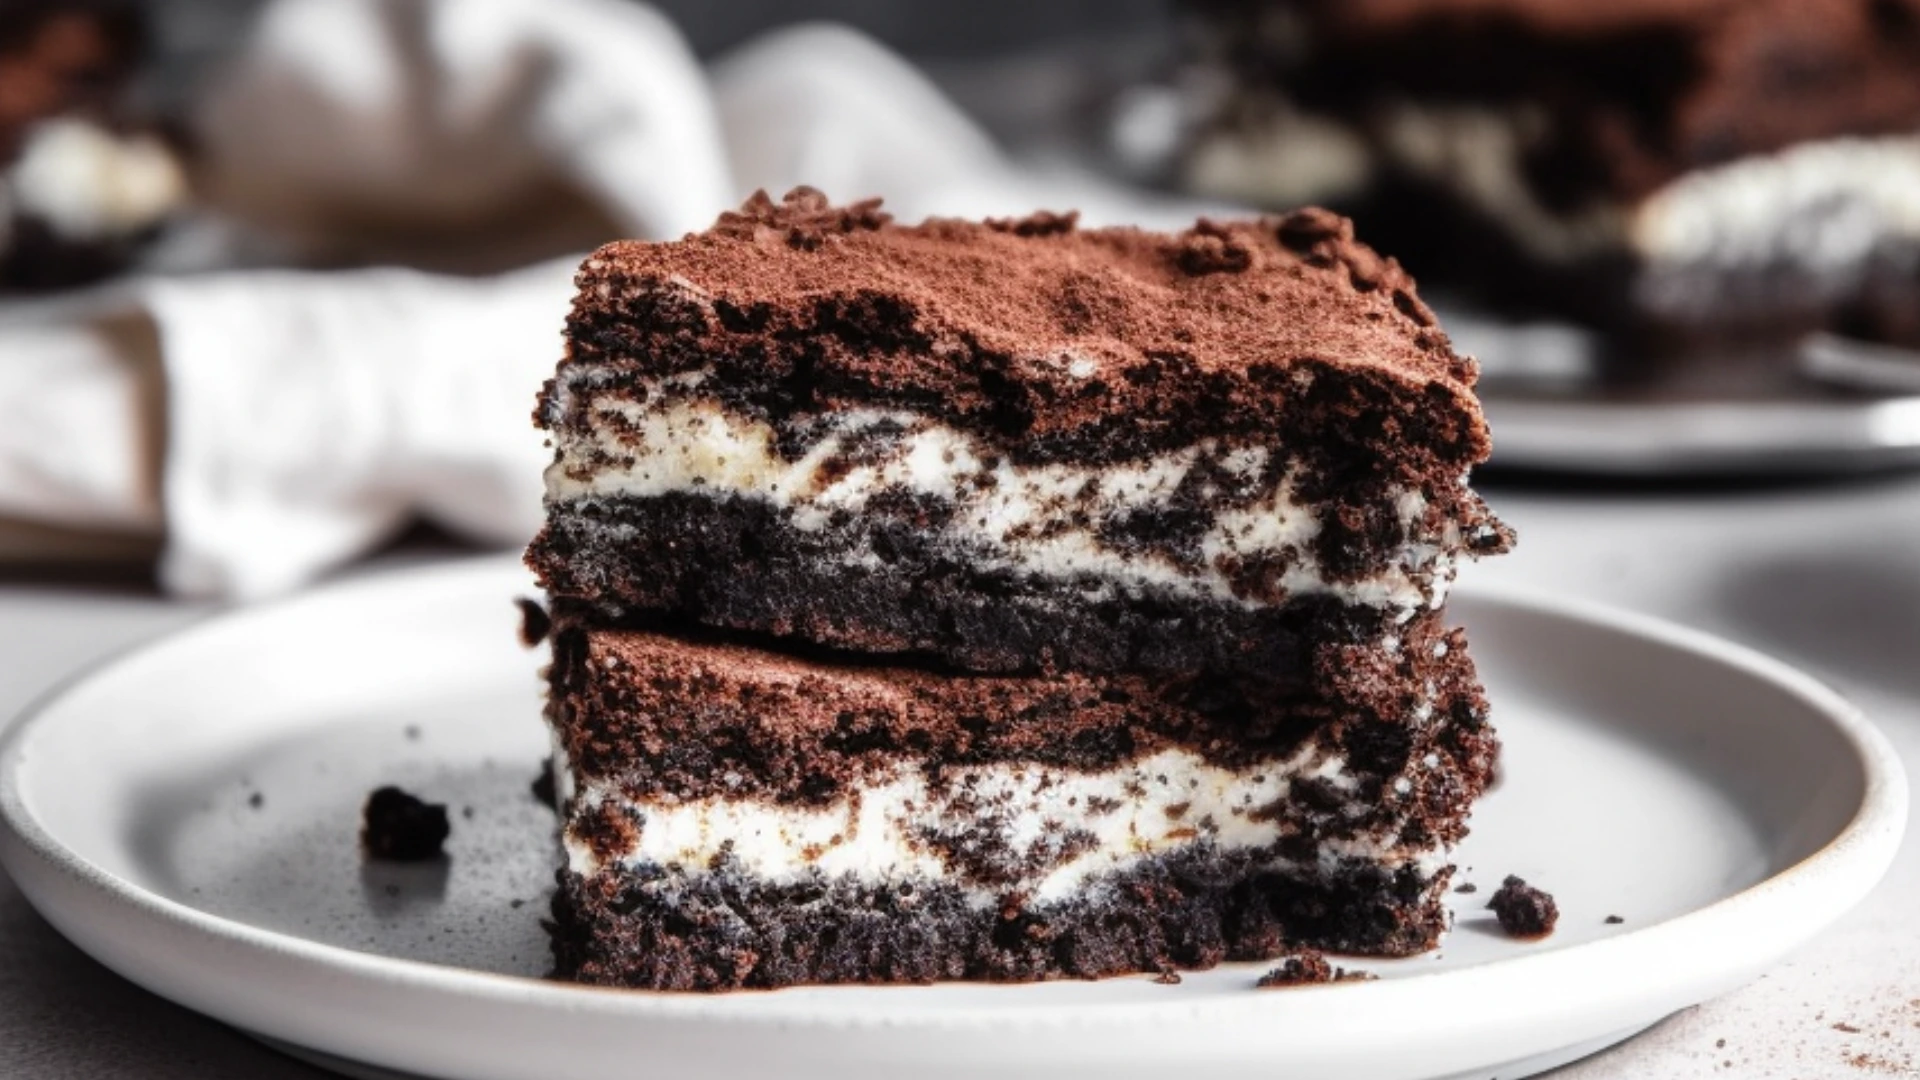
Hello, fellow dessert lovers! Have you ever dreamed of creating a cake so stunning and delicious that it could shake up your taste buds? Well, today is your lucky day because I’m thrilled to introduce you to the Strawberry Earthquake Cake , a showstopper with six insanely delightful layers that will leave everyone in awe. As your recipe creator, my goal is to guide you through this baking adventure step by step, ensuring you achieve perfection every time.
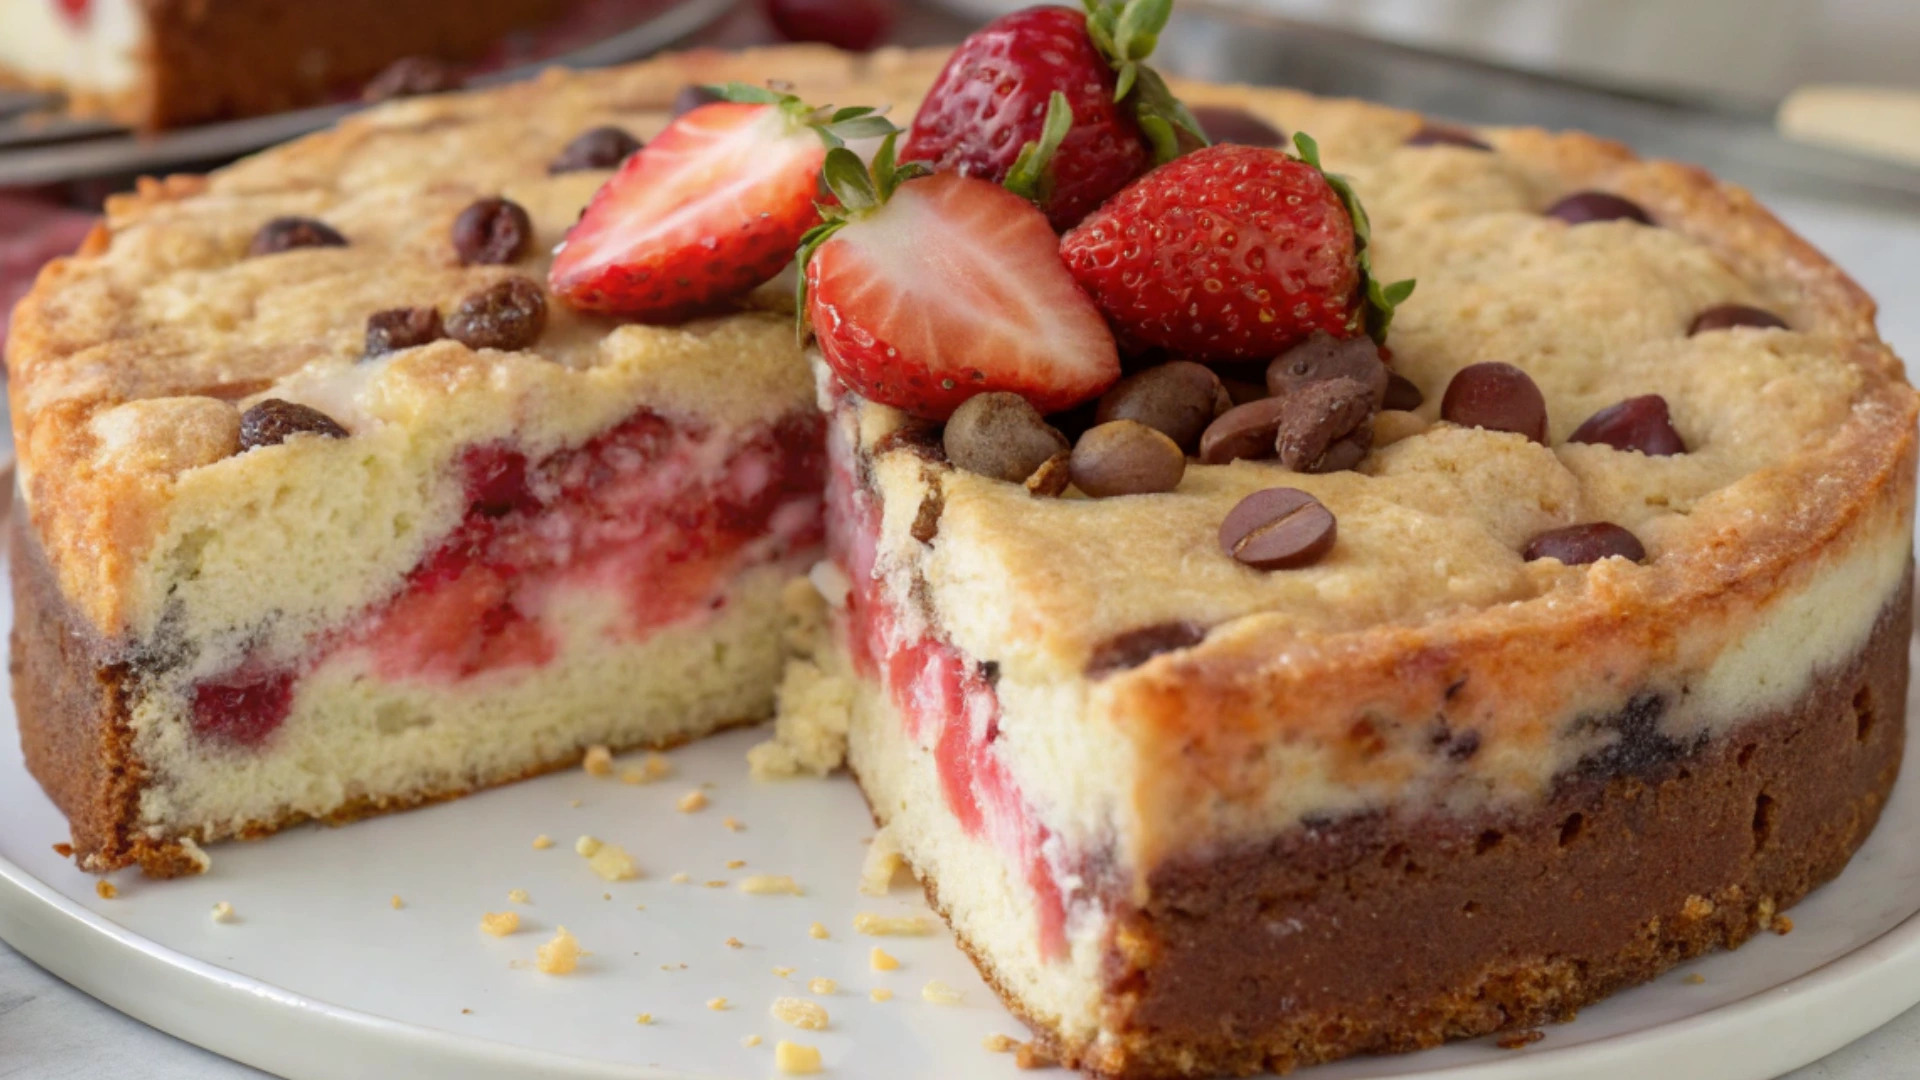
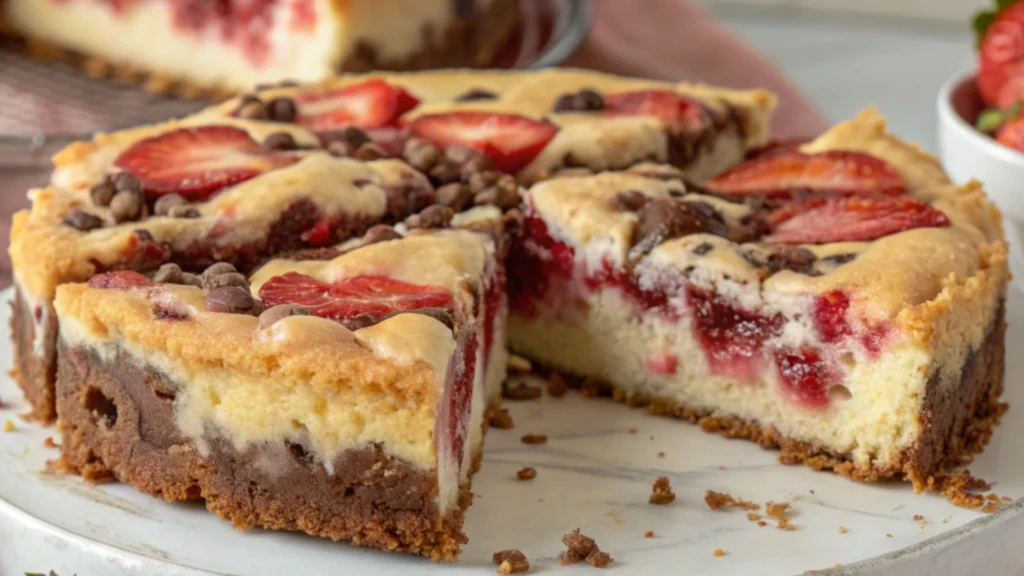
This isn’t just any ordinary cake—it’s a celebration of flavors and textures, featuring moist chocolate layers paired with sweet strawberry cream. Whether you’re preparing for a special occasion or simply want to indulge in something extraordinary, this recipe promises to deliver unforgettable results. Plus, its versatility means you can adapt it to suit your personal preferences. Ready to dive into the world of layered desserts? Let’s get started!
(Psst… Don’t worry if you’re new to baking elaborate cakes; I’ve got plenty of tips and tricks to make this process smooth and enjoyable.)
Your recipe creator, Lily Hanna, is here to ensure success at every stage!
Table of Contents
Ingredients
For this decadent Strawberry Earthquake Cake , we’ll need a mix of classic baking staples and fresh ingredients to bring out the best flavors. Here’s what you’ll need:
For the Chocolate Cake Layers:
- 3 cups all-purpose flour
- 1 cup cocoa powder (unsweetened)
- 2 cups granulated sugar
- 2 teaspoons baking soda
- 1 teaspoon baking powder
- 1 teaspoon salt
- 1 cup whole milk
- ½ cup vegetable oil
- 2 large eggs
- 2 teaspoons vanilla extract
- 1 cup boiling water
For the Strawberry Buttercream Filling:
- 1 pound unsalted butter (room temperature)
- 4 cups powdered sugar
- 1 tablespoon vanilla extract
- ¼ cup freeze-dried strawberries (crushed into powder)
- 2–3 tablespoons heavy cream (adjust for consistency)
For Assembly:
- Fresh strawberries (sliced)
- Additional whipped cream (optional)
- Chocolate shavings or sprinkles (for decoration)

Step-by-Step Instructions
Now that you have all the ingredients ready, let’s walk through each step to create this masterpiece. Remember, take your time and enjoy the process—it’s part of the fun!
Step 1: Prepare the Cake Layers
- Preheat your oven to 350°F (175°C). Prepare three 8-inch round cake pans by lightly greasing them and lining the bottoms with parchment paper.
- In a large mixing bowl, whisk together the flour, cocoa powder, sugar, baking soda, baking powder, and salt until well combined.
- In a separate bowl, whisk together the milk, vegetable oil, eggs, and vanilla extract before incorporating them into the dry ingredients. Mix on medium speed until smooth.
- Gradually stir in the boiling water. The batter will be thin, but this helps keep the cake moist. Divide the batter evenly among the prepared pans.
- Bake for 25–30 minutes, or until the center is set and a toothpick inserted in the middle comes out with a few moist crumbs. Allow the cakes to cool completely before assembling.
Step 2: Make the Strawberry Buttercream
- In a stand mixer or using a hand mixer, beat the softened butter until light and fluffy. This usually takes about 2–3 minutes.
- Slowly incorporate the powdered sugar, Add the ingredients gradually, ensuring each portion is thoroughly mixed before adding the next.
- Stir in the vanilla extract, crushed freeze-dried strawberries, and heavy cream. Continue beating until the frosting reaches a smooth, spreadable consistency. Adjust the cream as needed for your desired texture.
Step 3: Assemble the Cake
- Set one of the cooled cake layers onto a serving plate or cake stand. Spread a generous layer of strawberry buttercream over the top, followed by sliced fresh strawberries.
- Repeat this process with the remaining cake layers, alternating between frosting and fruit. Be sure to press down gently after each layer to ensure stability.
- Once all six layers are stacked, frost the outside of the cake with a thin crumb coat. Chill the cake in the refrigerator for 15–20 minutes to set the frosting.
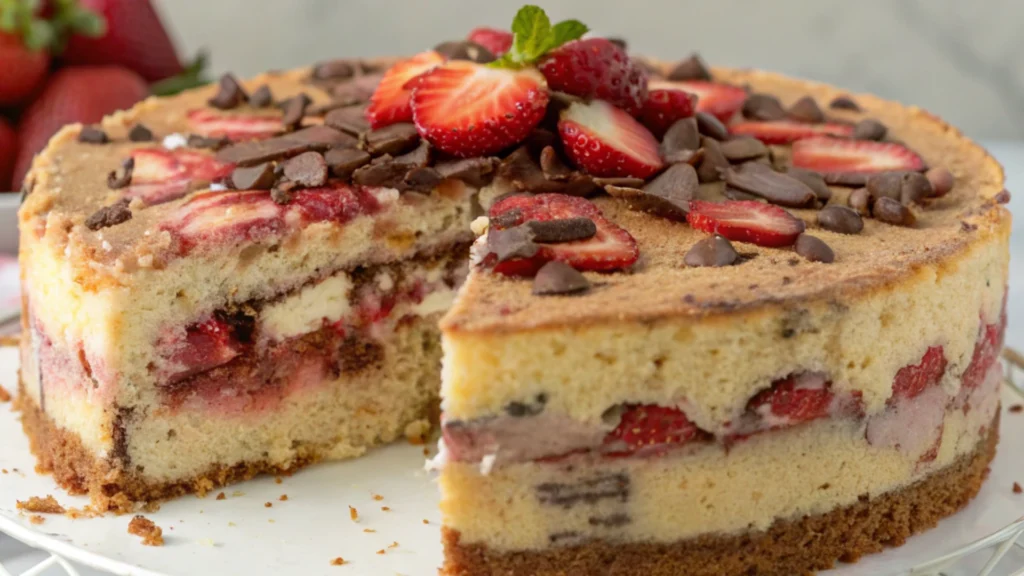
- After chilling, apply a final layer of frosting to the exterior, smoothing it with an offset spatula. Decorate with additional whipped cream, chocolate shavings, or fresh strawberries.
Pro Tips and Variations
Here are some expert tips from your recipe creator, Lily Hanna, to help you perfect your recipe:
Pro Tips:
- Room Temperature Ingredients : Always use room temperature butter and eggs for better incorporation and smoother textures.
- Boiling Water Magic : Adding boiling water to the cake batter may seem unusual, but it enhances the chocolate flavor and keeps the cake incredibly moist.
- Chill Before Frosting : A chilled cake is much easier to frost neatly, so don’t skip this step!
Variations:
- Swap the strawberries for raspberries or blueberries for a different fruity twist.
- Use white chocolate shavings instead of dark chocolate for a lighter look.
- Experiment with flavored extracts like almond or lemon to complement the strawberries.
Serving Suggestions
Once your Strawberry Earthquake Cake is assembled and decorated, it’s time to serve! Here are a few ideas to enhance the experience:
- Pair slices with a scoop of vanilla ice cream for a classic combo.
- Offer guests a glass of sparkling wine or champagne to elevate the occasion.
- Store leftovers in the refrigerator and serve chilled for an extra refreshing treat.
Conclusion
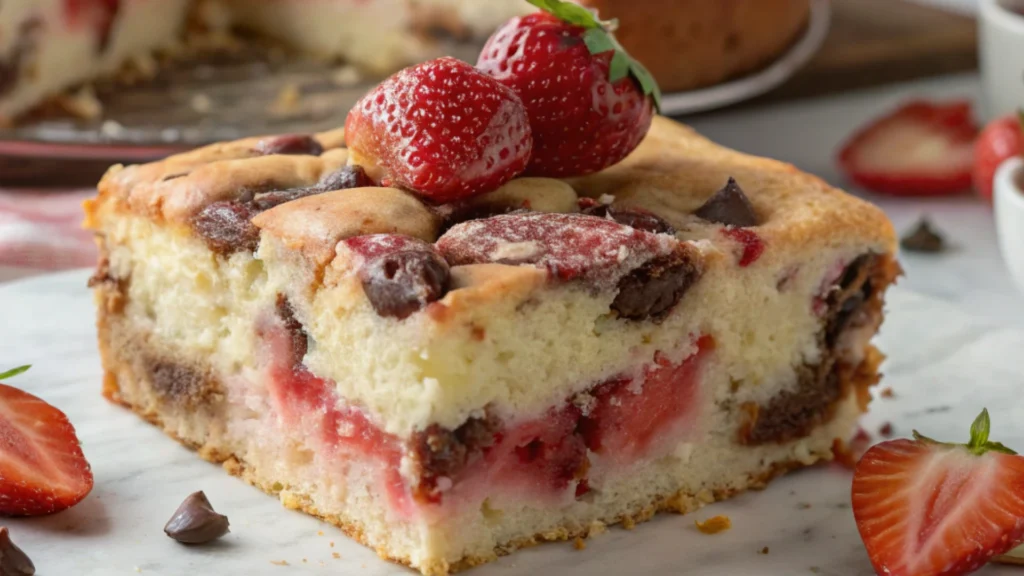
Congratulations—you’ve just created a masterpiece worthy of admiration! This recipe is not only visually captivating but also a feast for the senses. From its rich chocolate layers to its vibrant strawberry filling, every bite tells a story of love, creativity, and passion for baking.
As your recipe creator, Lily Hanna, I hope this recipe inspires you to explore more complex yet rewarding desserts. Remember, practice makes perfect, and every attempt brings you closer to mastering the art of baking. Happy cooking, and don’t forget to share your creations with loved ones!
FAQs
Q: Is it possible to prepare this cake in advance?
A: Absolutely! You can bake and freeze the cake layers up to two weeks in advance. Thaw them overnight in the refrigerator before assembling.
Q: What if I don’t have freeze-dried strawberries?
A: You can substitute with fresh strawberries blended into a puree, though the flavor intensity might differ slightly.
Q: How long does the cake last?
A: Stored properly in the refrigerator, this cake can last up to five days. For longer storage, consider freezing individual slices.
Q: Can I use gluten-free flour?
A: Yes, many gluten-free flours work well in this recipe, but be sure to test the brand beforehand for optimal results.