Introduction
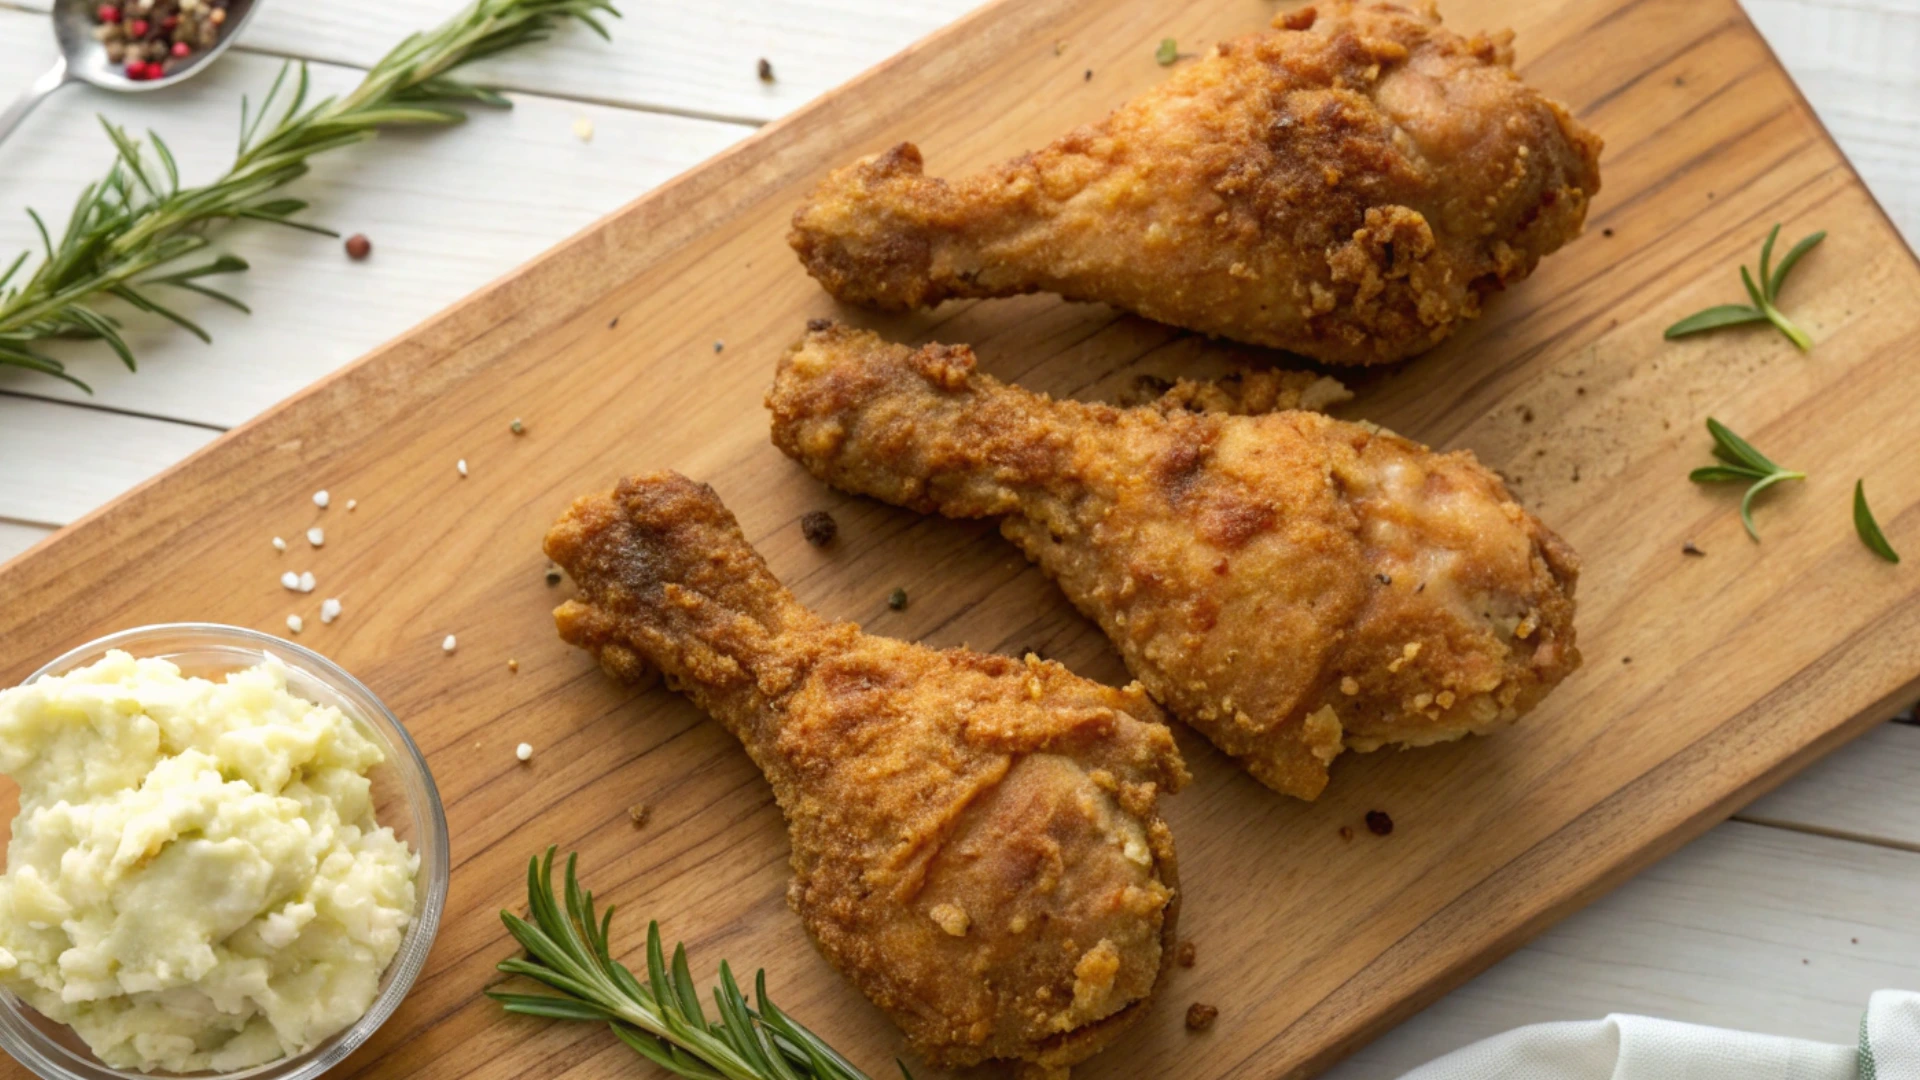
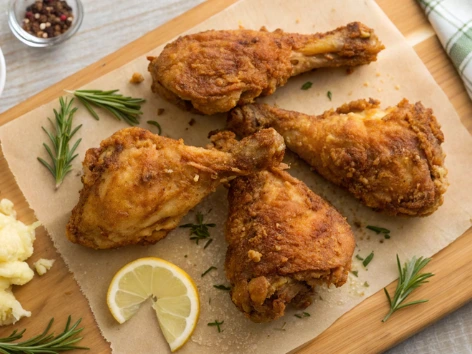
Are you ready to transform your meals with a dish that’s crispy, flavorful, and completely gluten-free? Meet Joy The Baker’s gluten-free fried chicken—a recipe so versatile and delicious, it will quickly become a staple in your kitchen. Whether you’re following a gluten-free diet or simply looking for healthier alternatives without sacrificing taste, this recipe has got you covered.
As someone who loves experimenting with easy gluten-free meals, I’ve found that this method delivers perfectly golden, crunchy results every single time. Plus, with just six simple steps, even beginners can achieve restaurant-quality fried chicken at home. And the best part? You can customize it to suit your preferences with endless seasoning options and serving ideas.
In this guide, we’ll walk through Joy The Baker’s approach to making gluten-free fried chicken that rivals traditional versions. From key benefits to pro tips and serving suggestions, you’ll learn everything you need to know to create a show-stopping meal your family and friends will love. Let’s dive in!
Table of Contents
Key Benefits
Before we get into the nitty-gritty of the recipe, let’s talk about why Joy The Baker’s gluten-free fried chicken stands out:
- Crispy Texture Without Gluten : Achieving a crispy coating on fried chicken without using wheat flour might seem challenging, but Joy The Baker’s technique ensures a satisfying crunch.
- Healthier Option : This recipe uses gluten-free flours and baking methods that make it a better choice for those avoiding gluten or seeking lighter alternatives.
- Versatility : Customize the seasonings and sides to match your mood—whether it’s a classic Southern-style dinner or a spicy kick for adventurous eaters.
- Beginner-Friendly : With clear instructions and minimal ingredients, anyone can master this recipe, regardless of their cooking experience.
- Time-Saving : Preparing gluten-free fried chicken doesn’t have to take hours. Joy The Baker’s method streamlines the process, saving you time and effort.
By incorporating these benefits into your cooking routine, you’ll discover how effortless it is to enjoy guilt-free fried chicken that tastes just as good—if not better—than traditional recipes.
Ingredients
For this recipe, you’ll need the following high-quality ingredients. All measurements are designed to serve four people, but feel free to adjust based on your needs:
- Chicken Pieces : 4 bone-in, skin-on chicken thighs (or breasts, depending on preference)
- Gluten-Free Flour Blend : 1 cup (almond flour, rice flour, or a pre-made blend works well)
- Cornstarch : ½ cup (enhances crispiness)
- Baking Powder : 1 teaspoon (helps the breading puff up during cooking)
- Salt : 1 tablespoon (season generously for flavor)
- Black Pepper : 1 teaspoon
- Garlic Powder : 1 teaspoon
- Paprika : 1 teaspoon (smoked paprika adds depth)
- Eggs : 2 large eggs, lightly beaten
- Buttermilk : 1 cup (dairy-free buttermilk substitutes work too)
- Oil for Frying : Enough to submerge the chicken halfway (avocado oil or vegetable oil recommended)
Optional Additions :
- Cayenne pepper for heat
- Ranch seasoning mix for extra tang
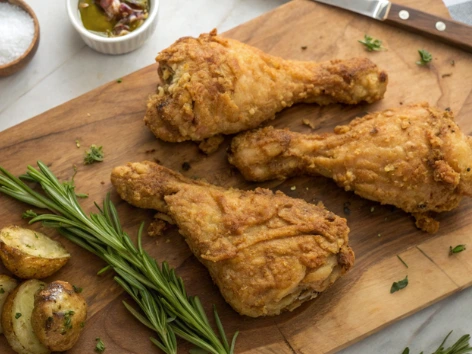
- Fresh herbs like thyme or rosemary for aroma
These ingredients form the foundation of Joy The Baker’s gluten-free fried chicken. Each plays a crucial role in achieving the perfect balance of texture and taste.
Step-by-Step Instructions
Now that you have your ingredients ready, follow these six easy steps to create mouthwatering gluten-free fried chicken:
Step 1: Prepare the Buttermilk Marinade
Arrange the chicken pieces in a bowl or a resealable plastic bag, ensuring they are evenly spread out. Pour the buttermilk over the chicken, ensuring each piece is fully coated. Cover the dish or seal the bag and refrigerate for at least 2 hours—or overnight if possible. This process ensures the chicken stays juicy while absorbing rich, savory flavors.
Step 2: Create the Breading Mixture
In a large bowl, combine the gluten-free flour blend, cornstarch, baking powder, salt, black pepper, garlic powder, and paprika. Mix thoroughly until all ingredients are evenly distributed. This mixture will provide the signature crispy coating.
Step 3: Set Up the Coating Station
Prepare two separate bowls: one for the beaten eggs and another for the breading mixture. This setup makes the coating process smoother and more efficient.
Step 4: Coat the Chicken
Dredge each chicken piece first in the egg mixture, allowing excess to drip off. Then, coat it generously in the breading mixture, pressing gently to ensure the coating adheres. Place the coated chicken on a wire rack or plate as you work through all the pieces.
Step 5: Fry the Chicken
Heat your oil in a deep skillet or Dutch oven over medium-high heat. Once the oil reaches 350°F (175°C), carefully add the chicken pieces, leaving enough space between them for even frying. Cook for approximately 12–15 minutes per side, or until the internal temperature reaches 165°F (74°C) and the coating is golden brown.
Step 6: Rest and Serve
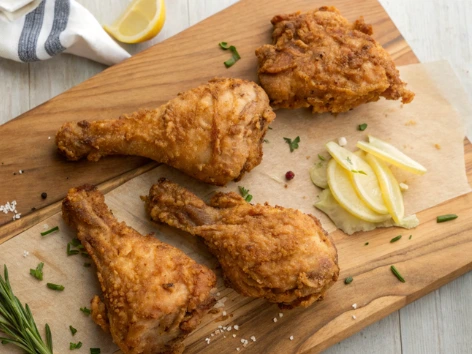
Once cooked, transfer the chicken to a paper towel-lined plate to absorb excess oil. Let it rest for a few minutes before serving. This resting period allows the juices to redistribute, ensuring juicy and flavorful meat.
With these straightforward steps, you’ll have restaurant-quality gluten-free fried chicken ready to enjoy in no time!
Pro Tips and Variations
To elevate your cooking experience and tailor the recipe to your tastes, consider these expert tips and variations:
Pro Tips :
- Double Coating : For an extra-crispy layer, dip the chicken in the egg mixture again after the initial breading, then coat it once more with the dry mixture.
- Air Fryer Alternative : If you prefer baking, try air frying the chicken at 375°F (190°C) for 20–25 minutes, flipping halfway through.
- Temperature Control : Use a thermometer to monitor the oil temperature consistently. Too high, and the coating may burn; too low, and the chicken could become greasy.
Variations :
- Spicy Kick : Add cayenne pepper or hot sauce to the marinade or breading for a fiery twist.
- Herb Infusion : Incorporate fresh herbs such as thyme, parsley, or oregano for a fragrant touch.
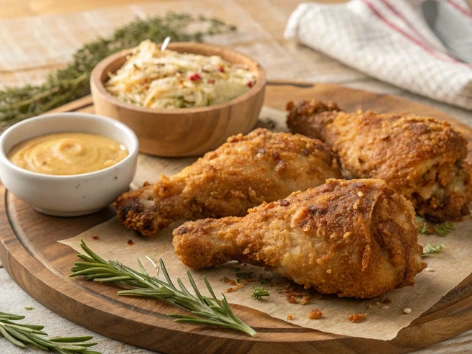
- Sauce Pairings : Experiment with dipping sauces like honey mustard, buffalo sauce, or barbecue glaze to complement the flavors.
By embracing these tips and variations, you can personalize Joy The Baker’s gluten-free fried chicken to suit your unique palate.
Serving Suggestions
What’s better than freshly made gluten-free fried chicken? Pairing it with complementary sides and drinks to enhance the dining experience. Here are some ideas:
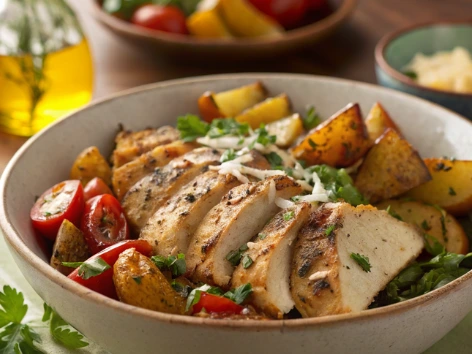
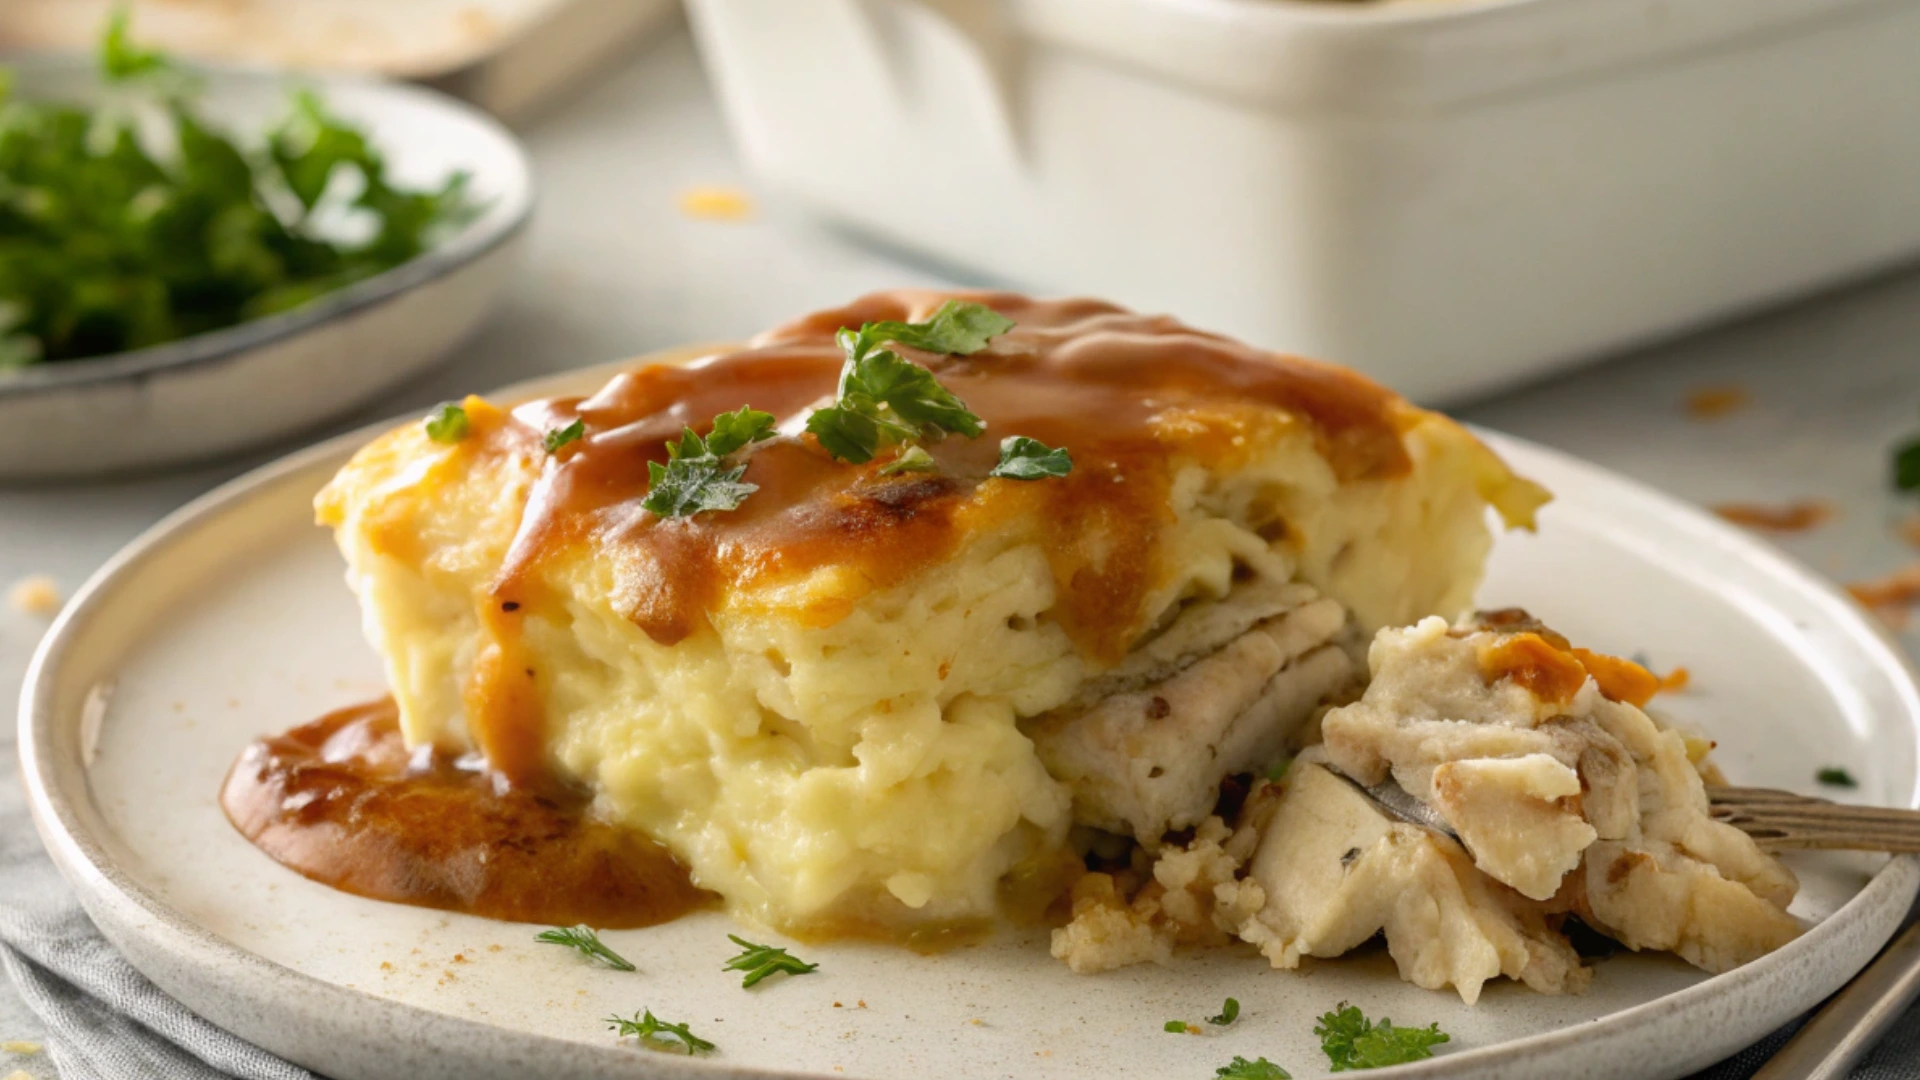
- Classic Sides : Mashed potatoes, coleslaw, baked beans, or macaroni and cheese offer comforting accompaniments.
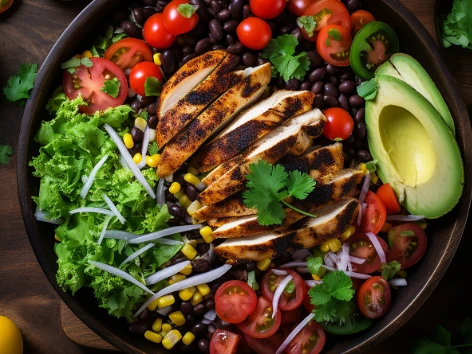
- Salads : A light green salad with vinaigrette balances the richness of the chicken.
- Vegetables : Roasted Brussels sprouts, steamed broccoli, or sautéed greens add nutritional value.
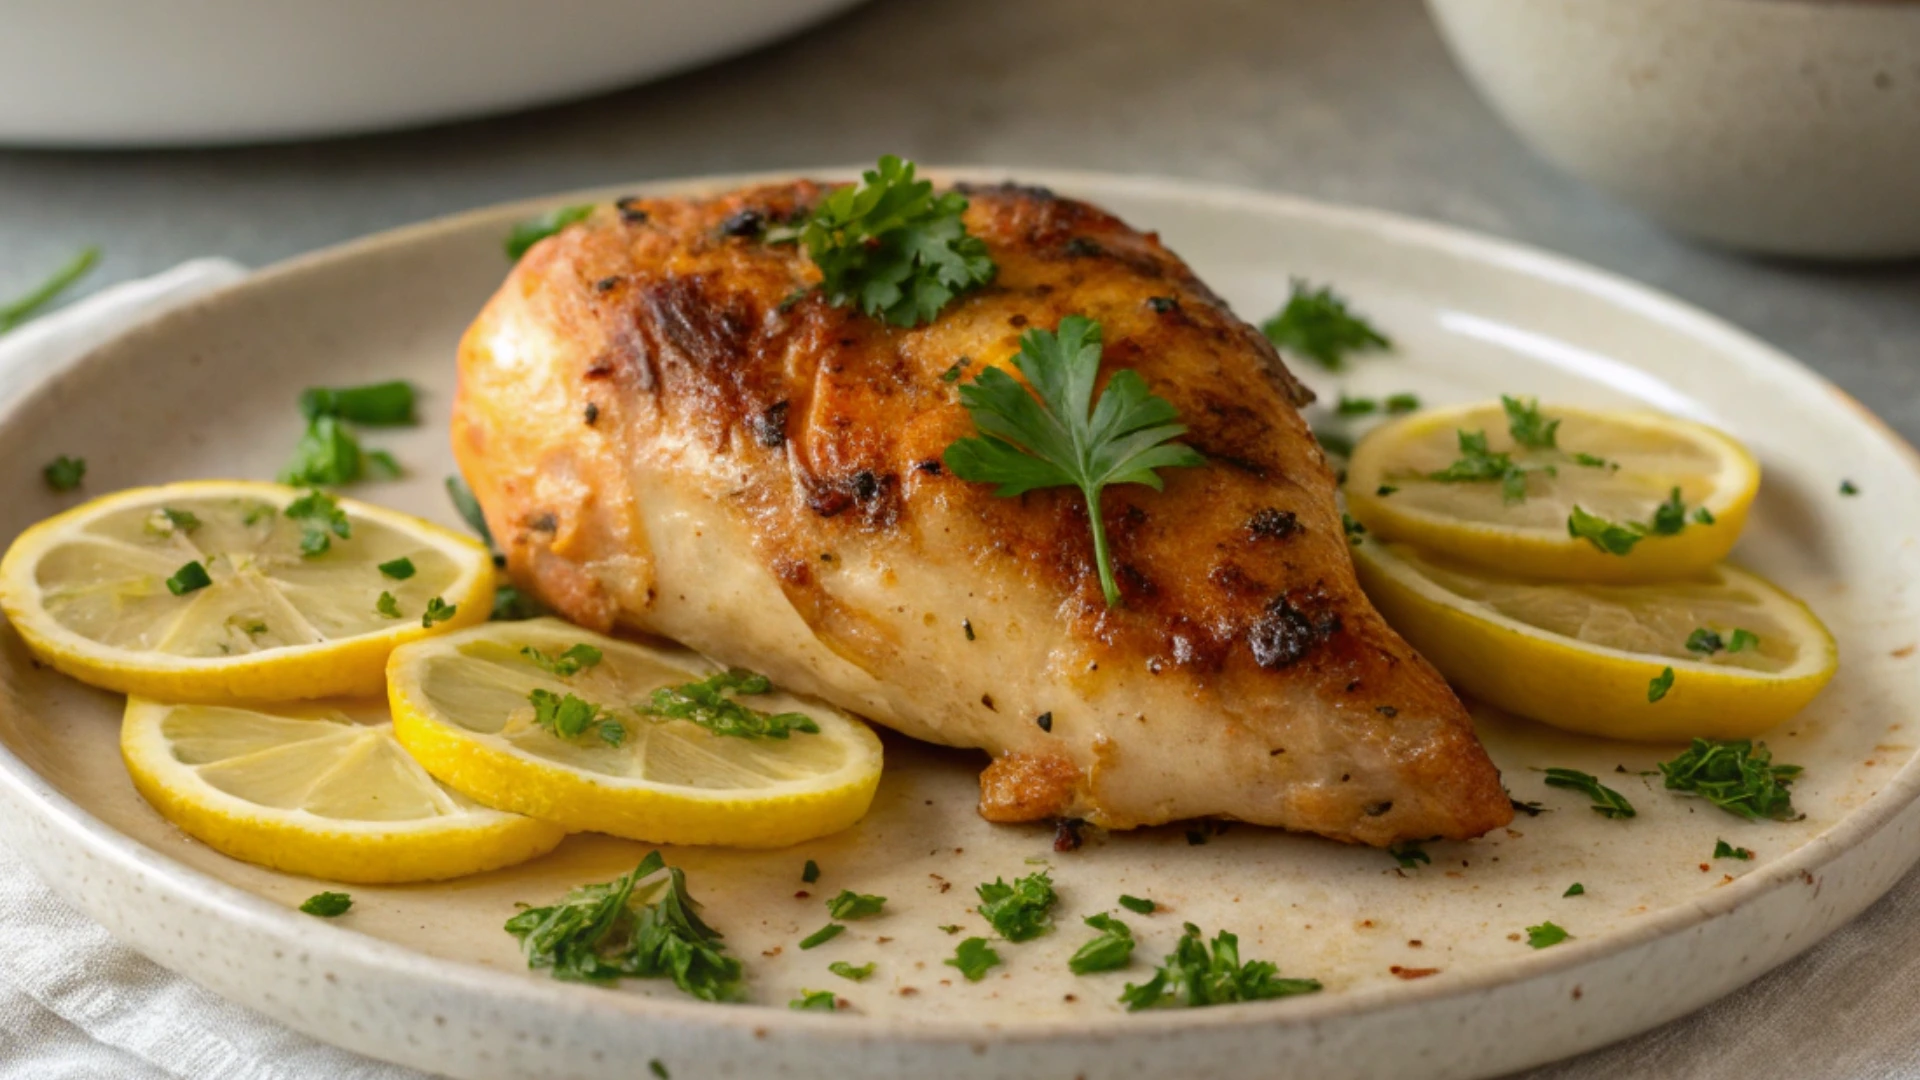
- Beverages : Iced tea, lemonade, or craft beer complements the savory flavors perfectly.
Don’t hesitate to mix and match these suggestions to create a memorable meal.
Conclusion
Joy The Baker’s gluten-free fried chicken proves that indulging in comfort food doesn’t mean compromising on health or flavor. By following this simple yet effective recipe, you can enjoy crispy, juicy chicken that satisfies cravings while catering to dietary needs. Whether you’re hosting a family dinner or treating yourself to a solo feast, this dish promises to impress.
Remember, cooking is an art form, and experimentation leads to discovery. So go ahead, try out different seasonings, cooking methods, and serving ideas to make this recipe uniquely yours. Thank you for joining me on this culinary journey inspired by Joy The Baker. Happy cooking, and don’t forget to share your creations with loved ones!
FAQs
Q: Can I use store-bought gluten-free flour instead of making my own blend?
A: Absolutely! Many pre-made gluten-free flour blends work wonderfully for this recipe. Just ensure they contain xanthan gum or guar gum for binding properties.
Q: Is it possible to bake the chicken instead of frying it?
A: Yes! Baking is a great alternative. Simply preheat your oven to 400°F (200°C), place the coated chicken on a baking sheet, and cook for 25–30 minutes, flipping halfway through.
Q: How long does the chicken stay crispy after frying?
A: Properly fried chicken should remain crispy for several hours when stored in an airtight container. Reheating in the oven or air fryer restores its crunch.
Q: Can I freeze leftover chicken?
A: Definitely! Freeze individual portions in airtight bags or containers. To reheat, let it thaw in the refrigerator overnight, then warm it in a 350°F (175°C) oven until thoroughly heated.