Introduction
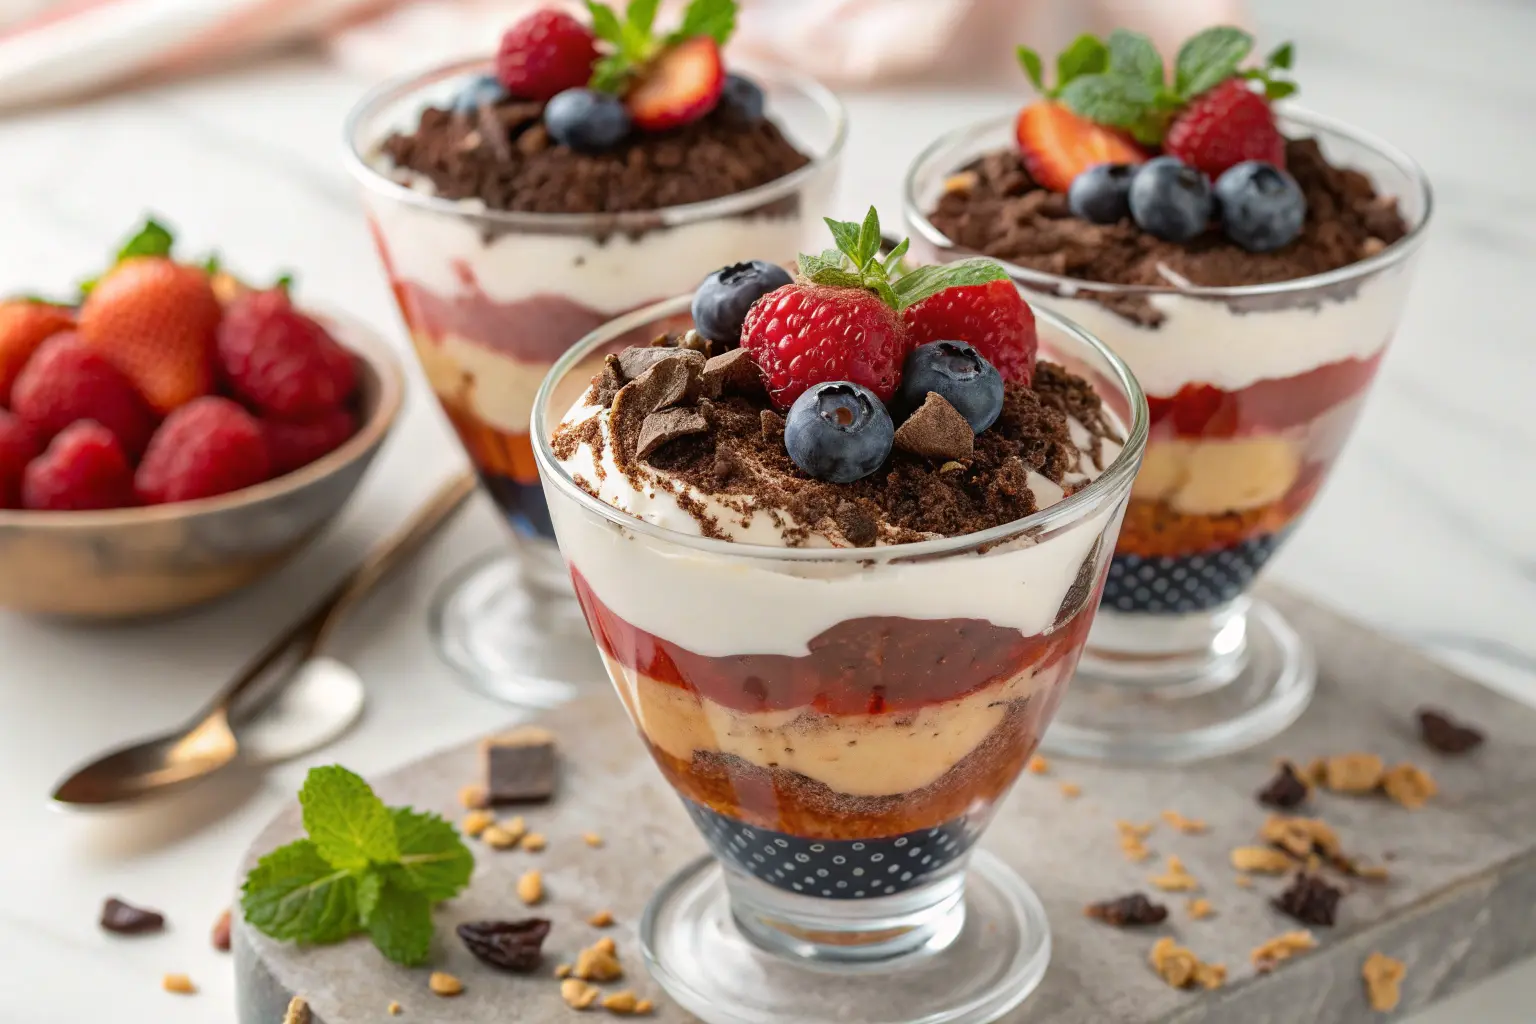
Dessert Cups are one of the most versatile and visually stunning treats you can create, perfect for everything from casual family nights to elegant dinner parties. Have you ever wanted to impress your guests with a dessert that looks as good as it tastes but doesn’t take hours to prepare? That’s where these irresistible dessert cups come in.
With their layers of creamy textures, sweet flavors, and vibrant colors, dessert cups are as fun to make as they are to eat. The best part? They’re completely customizable! Whether you prefer rich chocolate ganache, refreshing fruit layers, or a combination of both, there’s a flavor combination to suit everyone’s taste buds.
In this recipe, we’ll show you how to craft dessert cups that are not only easy to prepare but also guaranteed to be a showstopper. These little cups of joy are perfect for any occasion, and by the end, you’ll have a dessert that everyone will rave about. Let’s dive in and create a treat that’s bursting with layers of flavor and fun!
Table of Contents
Ingredients
To create the perfect Dessert Cups, you’ll need the following ingredients. Feel free to customize based on your preferences:
Base Ingredients:
- 1 cup of crushed cookies (e.g., graham crackers, Oreos, or digestive biscuits)
- 2 tablespoons melted butter (optional, for binding the crumbs)
Creamy Layer:
- 2 cups of whipped cream or store-bought whipped topping
- 1 cup vanilla or chocolate pudding (store-bought or homemade)
- 1 cup yogurt (optional for a tangy twist)
Toppings:
- A cup of freshly picked berries such as strawberries, blueberries, or raspberries
- ½ cup chocolate chips, shavings, or ganache
- ¼ cup caramel or fruit syrup
- Crushed nuts or sprinkles for texture (optional)
Step-by-Step Instructions
Follow these simple steps to assemble your dessert cups:
1. Prepare the Base
Start by crushing your favorite cookies or biscuits into fine crumbs. In a separate bowl, melt butter until it becomes smooth and pour it over the crushed cookies. Stir well to coat the crumbs evenly with the butter, ensuring the mixture is moist and holds together. If you prefer a lighter, less buttery texture, feel free to skip the butter and use the dry cookie crumbs as is.
Spoon a generous portion of the cookie mixture into each dessert cup or glass, pressing it gently into the base with a spoon or the back of a small glass. The goal is to create a firm, even layer that will provide a solid foundation for the creamy filling.
2. Add the Creamy Layers
Once the cookie base is in place, it’s time to add the creamy layers. Start by spreading a generous layer of whipped cream over the cookie crumbs. The creaminess of the whipped topping will contrast nicely with the crunchy base. Next, add a layer of pudding or yogurt to complement the whipped cream. This adds an extra level of flavor and texture to the dessert.
To build a visually appealing layered effect, alternate between the whipped cream and pudding or yogurt. Continue layering until your cups are filled, creating a stunning, multi-layered dessert that looks as good as it tastes.
3. Incorporate Toppings
Now that the creamy layers are in place, it’s time to finish off the dessert with your chosen toppings. You can go for a mix of fresh berries such as strawberries, raspberries, and blueberries, or drizzle a luscious chocolate ganache or caramel syrup on top for an indulgent touch.
For added texture and visual appeal, sprinkle crushed nuts, chocolate shavings, or colorful sprinkles over the top. These toppings not only enhance the flavor but also make the dessert cups look festive and inviting.
4. Chill and Serve
Once you’ve layered and topped your dessert cups, place them in the refrigerator for at least 30 minutes to set. This chilling time allows the flavors to meld and the layers to firm up, giving you that perfect, cohesive texture.
When you’re ready to serve, take them out of the fridge and enjoy! These dessert cups are best served chilled, ensuring a cool, refreshing treat for any occasion.

Pro Tips and Variations
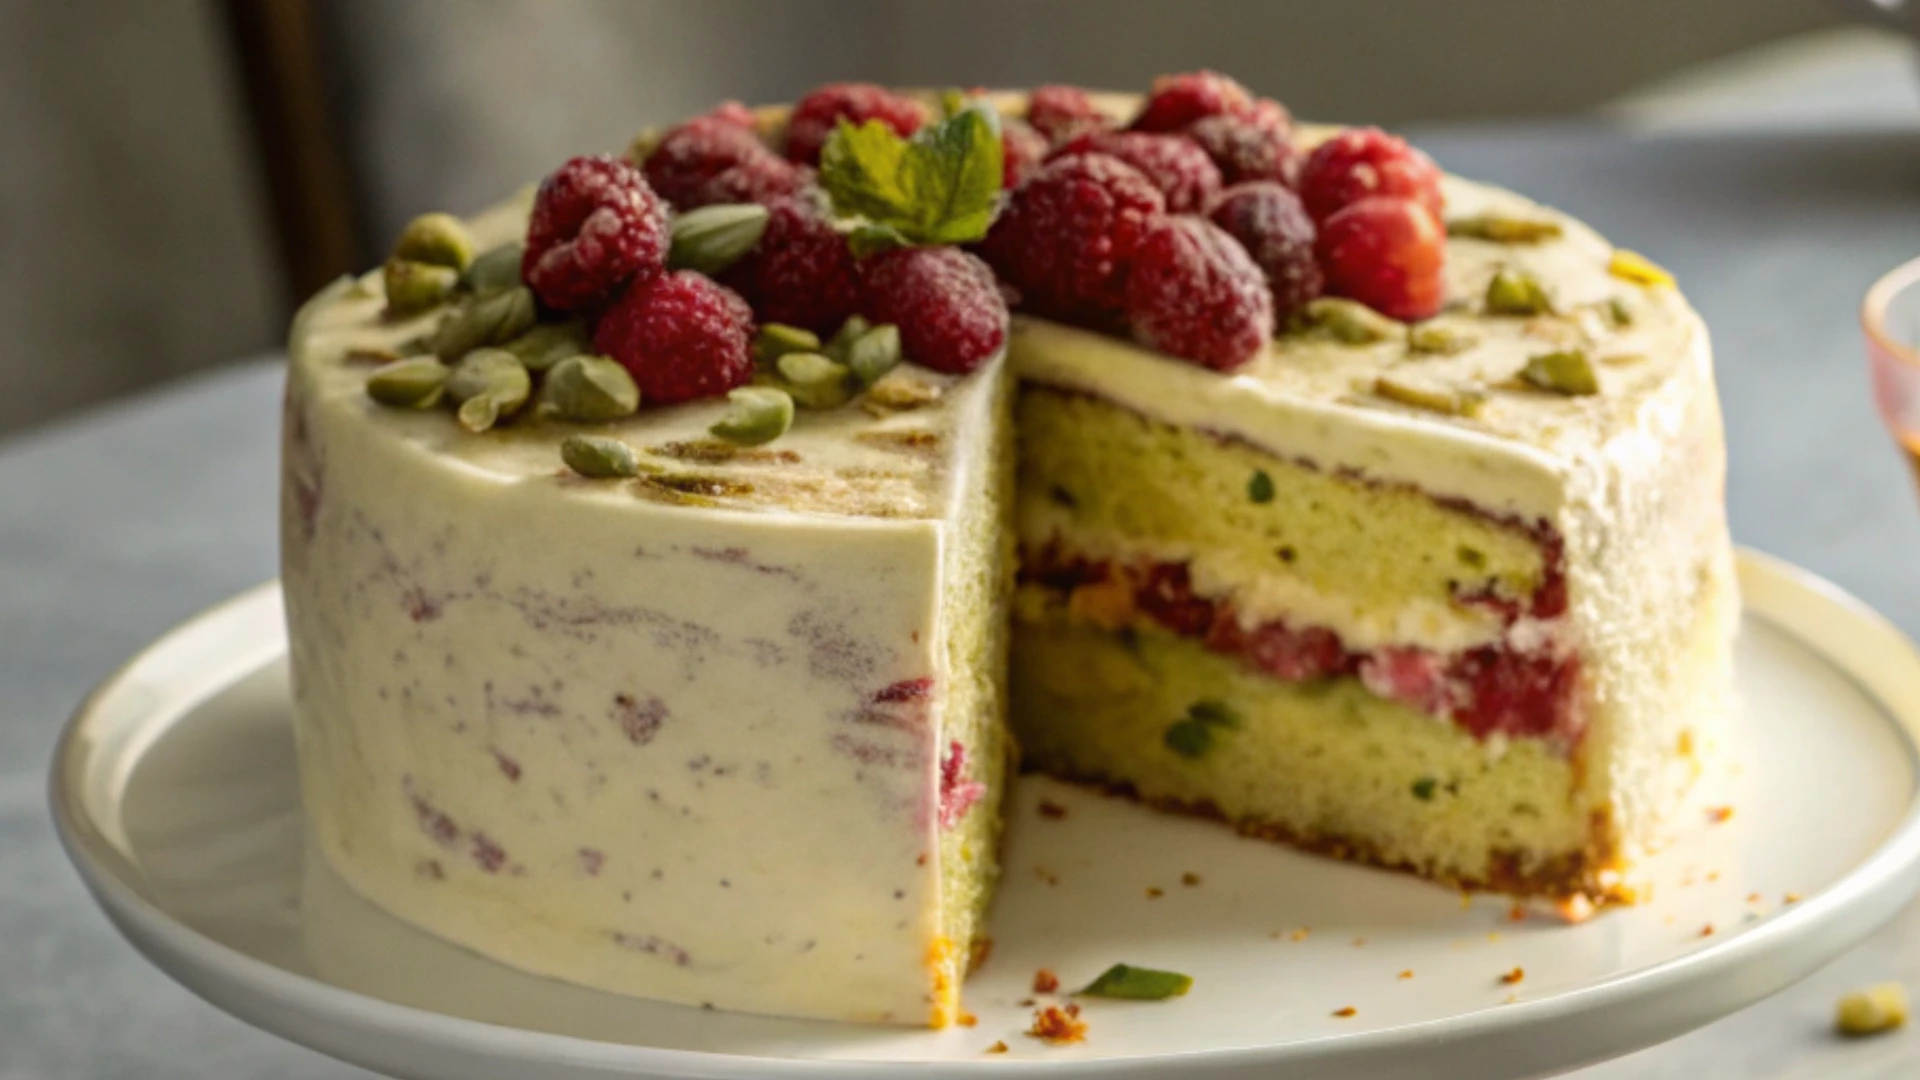
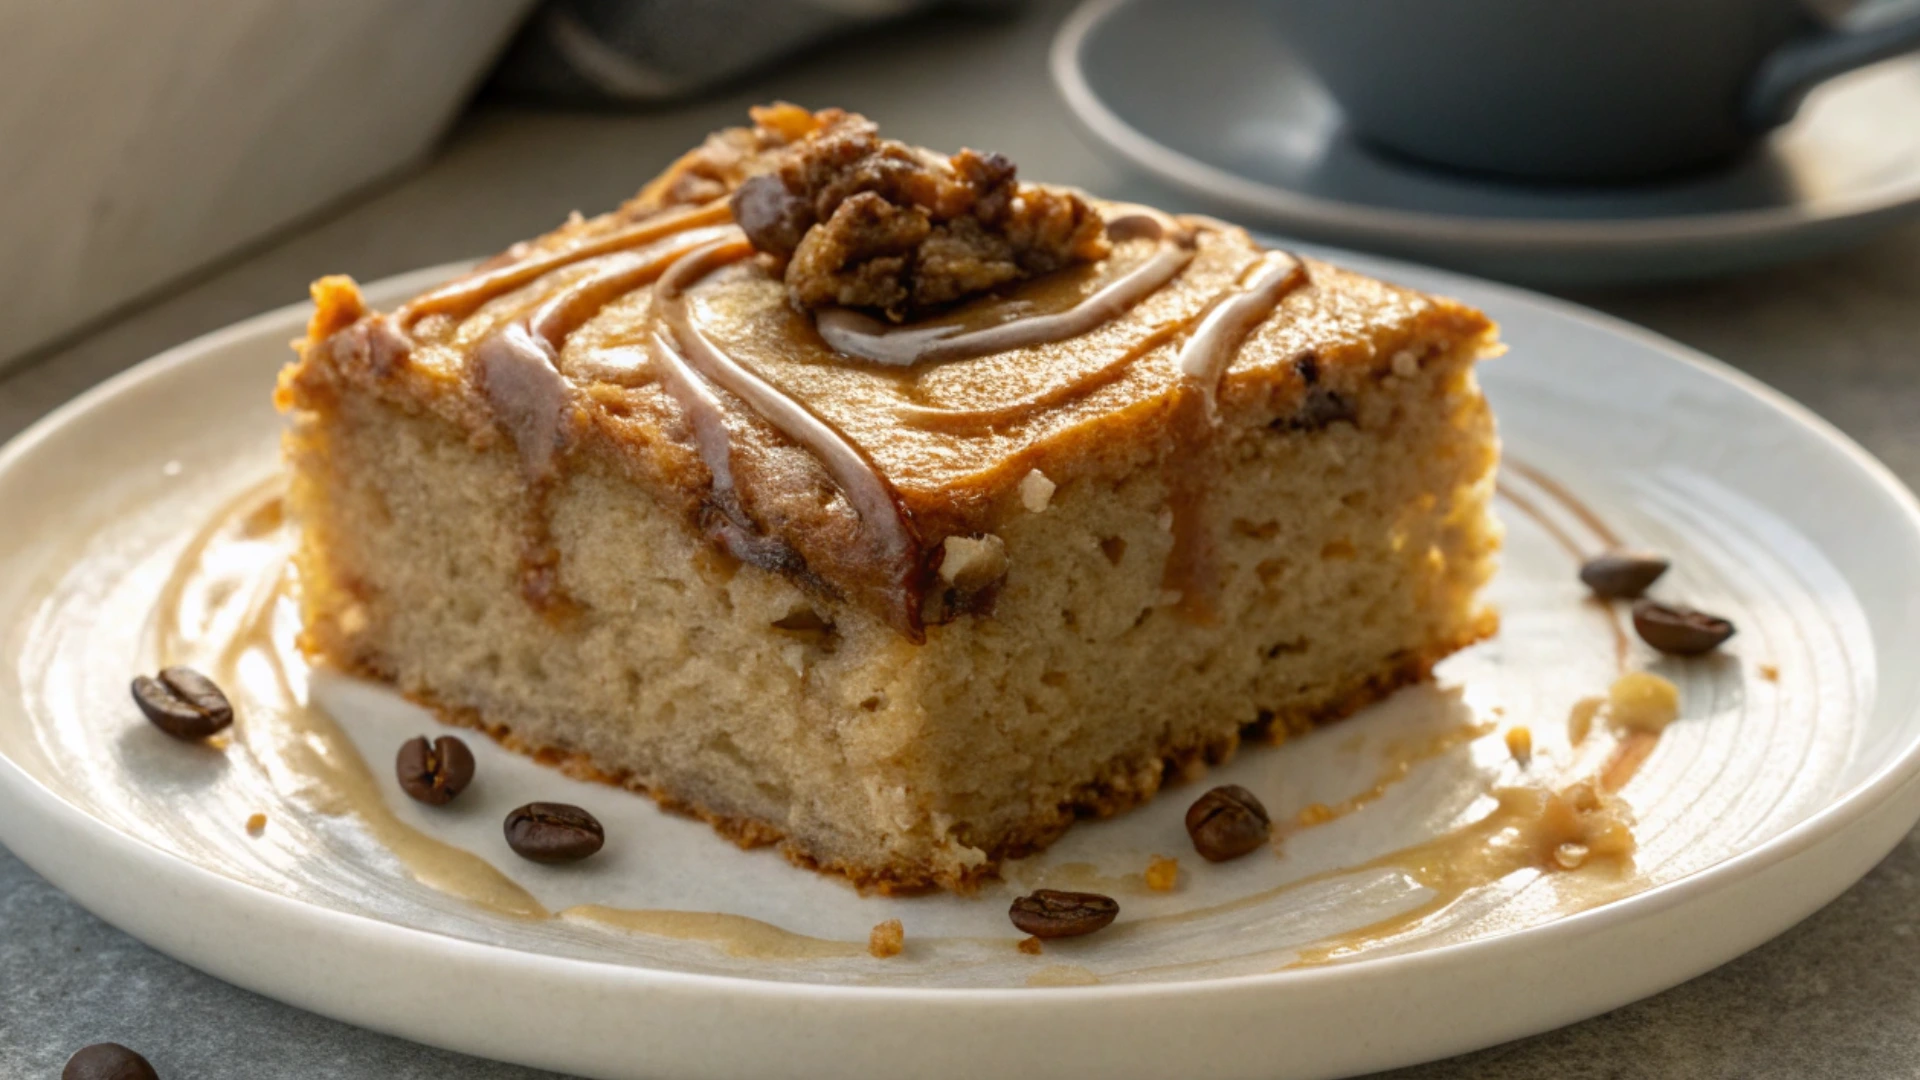
- Switch Up the Base: Try using brownies, sponge cake, or granola instead of crushed cookies for a completely different texture and flavor profile. The variety will keep your dessert cups exciting and versatile.
- Seasonal Flavors: For a fresh twist, incorporate seasonal fruits like juicy mangoes in summer or tart pomegranates in winter. The seasonal fruits will add a burst of color and natural sweetness to the dessert.
- Vegan Option: For a plant-based alternative, swap the whipped cream with coconut cream and use dairy-free pudding to make a vegan-friendly version of this dessert. You can still enjoy all the flavors and textures without compromising your dietary needs.
- Healthier Choice: If you’re looking for a lighter version, use low-sugar cookies, Greek yogurt, and fresh fruits like berries or kiwi. These healthier alternatives will allow you to indulge in a guilt-free treat.
- Add a Crunch: To make your dessert cups even more exciting, layer in toasted nuts, granola, or crushed pretzels for a satisfying crunch that complements the smooth layers.
- Experiment with Colors: Take your dessert cups to the next level by adding colored sprinkles, edible glitter, or multi-layered jelly for a vibrant, party-ready look.
Serving Suggestions
- Elegant Glassware: The presentation can make all the difference. Serve your dessert cups in clear wine glasses, mason jars, or mini dessert cups. These see-through containers will highlight the beautiful layers inside, making your dessert even more enticing.
- Garnish with Care: Don’t forget the finishing touches! Add fresh mint leaves, chocolate curls, or a delicate drizzle of honey to elevate your dessert cups to Instagram-worthy levels.
- Dessert Stations: For a fun, interactive twist, consider creating a DIY dessert cup bar at your next party. Guests can customize their own dessert cups by choosing their preferred layers and toppings, making the experience even more memorable.
- Storing Leftovers: If you have any leftovers, cover the cups with plastic wrap and refrigerate them for up to 2 days. They’ll stay fresh and ready to enjoy, although the texture may soften slightly over time.

FAQs
- Can I make dessert cups in advance? Yes, you can prepare the dessert cups a day in advance. Just keep the toppings separate until you’re ready to serve to prevent them from becoming soggy.
- What are the best containers for dessert cups? Clear glasses, small jars, or plastic dessert cups are ideal. The transparency allows the layers to shine, making them more visually appealing.
- Can I use store-bought ingredients? Absolutely! Store-bought pudding, whipped topping, and crushed cookies are convenient alternatives and work wonderfully in this recipe for a quick and easy dessert.
- How long can dessert cups be stored? These dessert cups can be stored in the refrigerator for up to 48 hours. Avoid freezing, as it may alter the texture of the layers.
- Can I customize dessert cups for dietary restrictions? Yes! You can easily swap out ingredients to cater to dietary restrictions, such as using gluten-free cookies, sugar-free pudding, or vegan alternatives.

Conclusion
Dessert cups are a fun and creative way to bring together simple ingredients into an elegant, flavorful treat. With endless possibilities for customization, they’re perfect for any occasion—from casual family gatherings to fancy dinner parties. These layered delights will have your guests coming back for seconds!
With just a few ingredients and a dash of creativity, you’ll be able to make dessert cups that are as visually stunning as they are delicious. So gather your favorite ingredients, and start layering your way to a perfect dessert experience!s make dessert cups a staple in your recipe collection!