Introduction
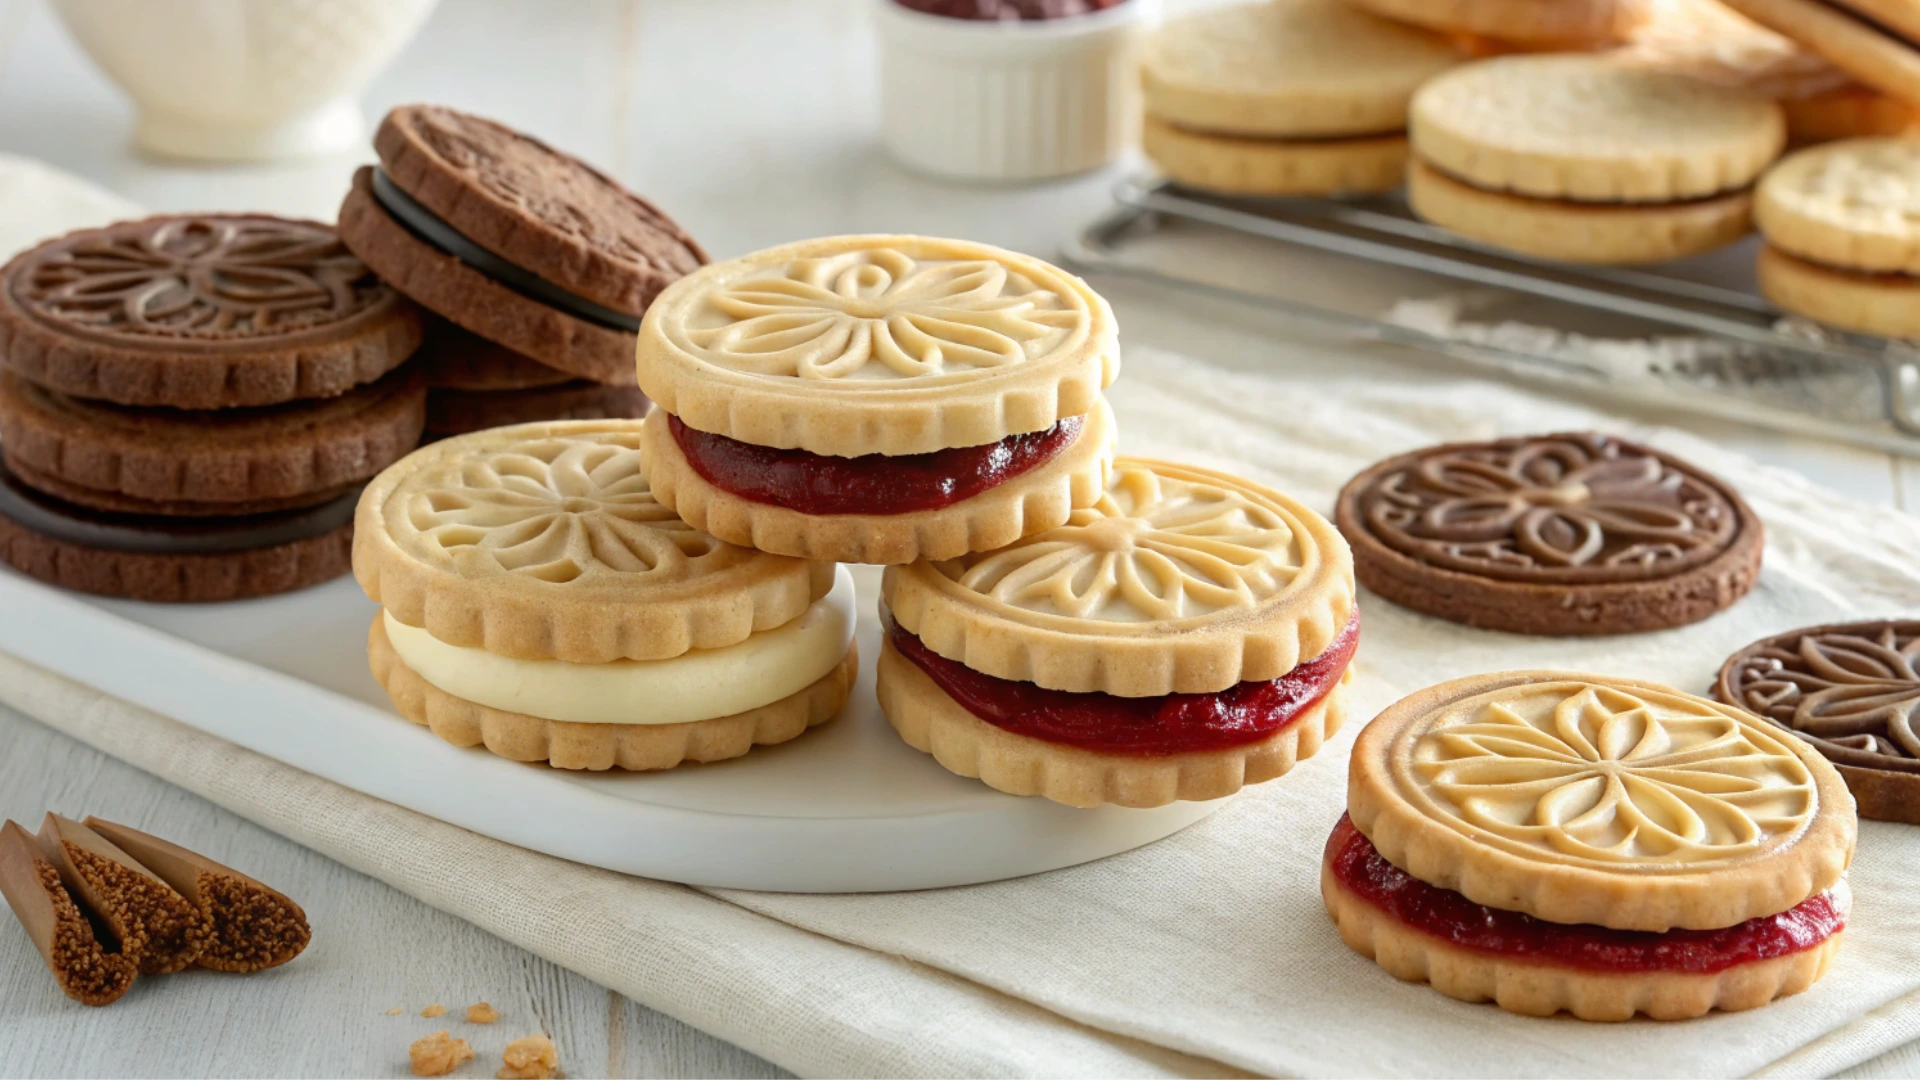
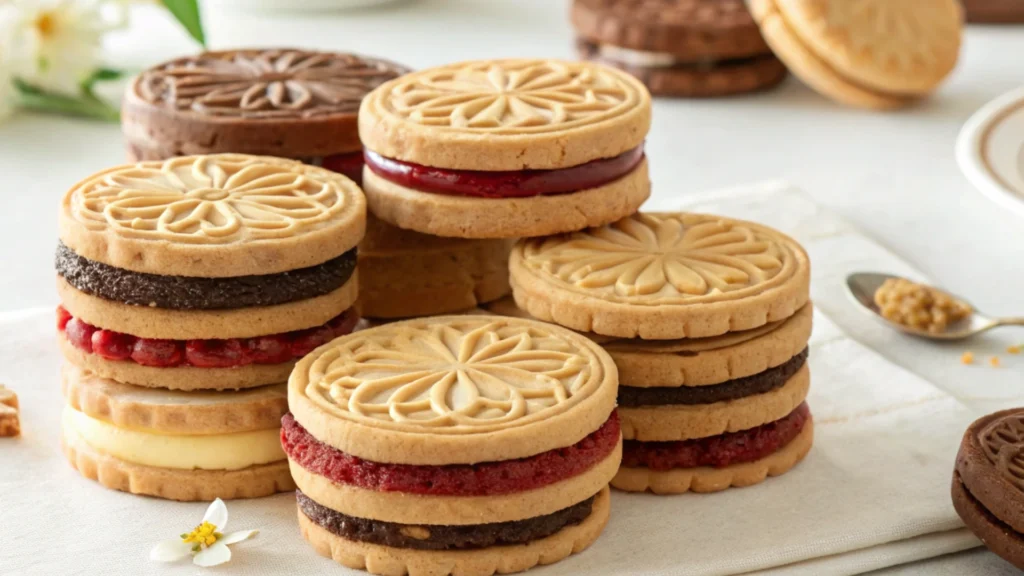
Welcome to another delightful creation brought to you by Lily Hanna! If you’ve ever wondered how to elevate your baking game with minimal effort, today is your lucky day. Have you heard about the magic of sandwich cookies made with a cookie press ? These treats are not only easy to make but also offer endless possibilities for customization. Imagine biting into a perfectly crisp cookie filled with rich chocolate ganache, creamy peanut butter, or tangy cream cheese frosting—all crafted effortlessly using one simple tool.
Using a cookie press transforms the process from daunting to delightful. Whether you’re a seasoned baker or just starting out, this method ensures consistent shapes and textures every time. Plus, who doesn’t love the satisfaction of pressing out beautiful designs in seconds? In this recipe, we’ll guide you through creating 10 stunning variations that will impress family, friends, and even yourself. So grab your favorite flavors, preheat your oven, and let’s dive into the world of homemade sandwich cookies together!
Ready to get started? Let me show you just how fun and rewarding baking can be. By the end of this recipe, you’ll have mastered a technique that guarantees delicious results every single time. Stay tuned—Lily Hanna has all the secrets you need to succeed!
Table of Contents
Key Benefits of Making Sandwich Cookies with a Cookie Press
Baking can sometimes feel overwhelming, but using a cookie press changes the game entirely. Here’s why this method is a game-changer for making sandwich cookies :
Why You’ll Love This Recipe
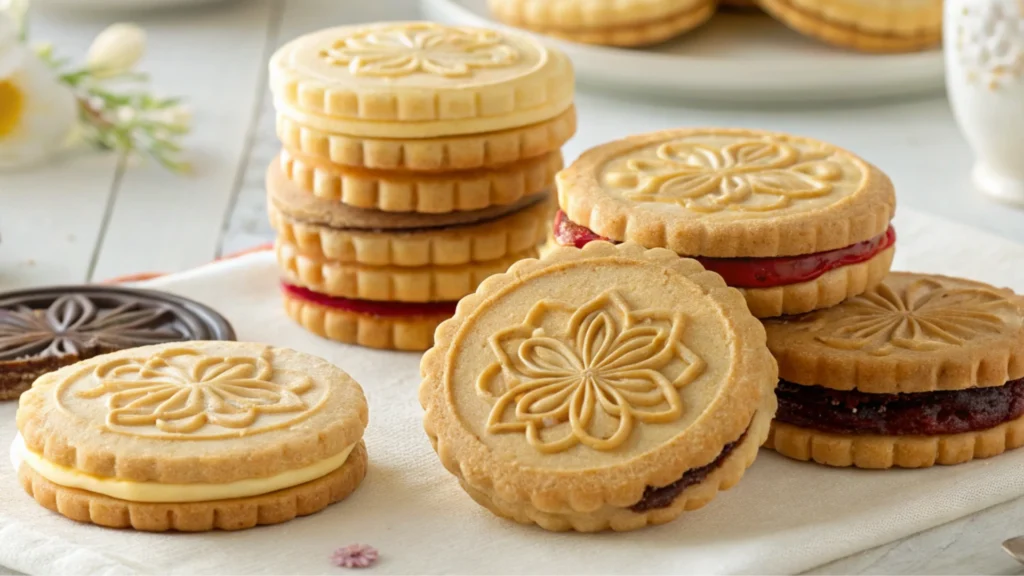
- Effortless Design : A cookie press creates perfectly shaped cookies in seconds, eliminating the need for tedious rolling and cutting.
- Versatile Flavors : Swap out fillings to suit your mood—whether it’s decadent chocolate, zesty cream cheese, or nutty peanut butter.
- Beginner-Friendly : Even if you’re new to baking, these steps are simple enough for anyone to follow.
- Showstopping Results : Your friends and family will be amazed by the professional look and taste of your homemade treats.
| Key Benefit | Why It Matters |
| Consistent Shapes | Uniform cookies bake evenly and stack beautifully. |
| Time-Saving Tool | Skip manual shaping and focus on enjoying the process. |
| Customizable Fillings | Endless flavor combinations keep things exciting. |
How Does a Cookie Press Help?
Think of a cookie press as your secret weapon in the kitchen. It allows you to create intricate designs without any artistic skill required. Plus, because the dough is pressed directly onto the baking sheet, there’s no mess or hassle. If you’re looking for a way to impress without breaking a sweat, this recipe is for you! Transitioning from store-bought snacks to homemade desserts has never been easier. With just a few ingredients and some creativity, you’ll be serving up delicious sandwich cookies that rival anything found in a bakery. Let’s get started—Lily Hanna is here to guide you every step of the way!
Ingredients
For this versatile recipe, you’ll need two main components: the cookie dough and the filling. Below are the essential ingredients for both. Feel free to experiment with different flavors and textures to make these cookies uniquely yours.
For the Cookie Dough (Makes Approximately 24 Sandwich Cookies):
- 1 cup unsalted butter, softened
- 1 cup granulated sugar
- 1 large egg
- 1 teaspoon pure vanilla extract
- 2 ½ cups all-purpose flour
- ½ teaspoon salt
For the Filling (Choose One or Mix and Match):
- Chocolate Ganache : 8 oz semi-sweet chocolate chips, ½ cup heavy cream
- Cream Cheese Frosting: 8 ounces of softened cream cheese, ½ cup of softened unsalted butter, 3 cups of powdered sugar, and 1 teaspoon of vanilla extract.
- Peanut Butter Filling : 1 cup creamy peanut butter, ½ cup powdered sugar, 1 tablespoon milk
Optional Add-Ins:
- Chopped nuts (almonds, pecans, etc.)
- Crushed candies (candy canes, peppermints)
- Sprinkles or edible glitter
Step-by-Step Instructions
Now that you have your ingredients ready, let’s walk through the process of making these stunning sandwich cookies . Follow these steps carefully, and you’ll achieve perfect results every time.
Step 1: Prepare the Cookie Dough
- In a large bowl, beat the softened butter and sugar together until the mixture turns smooth and airy.
- Whisk in the egg and vanilla extract until the mixture is smooth and fully blended.
- Slowly incorporate the flour and salt, stirring until the mixture forms a smooth dough. Be careful not to overmix—it should be smooth but not sticky.
- Cover the dough tightly with plastic wrap and let it chill in the refrigerator for a minimum of 30 minutes. This helps firm up the dough, making it easier to work with in the cookie press.
Step 2: Preheat and Line Your Baking Sheet
- Preheat your oven to 350°F (175°C).
- Prepare a baking sheet with parchment paper to prevent sticking and ensure even baking.
Step 3: Use the Cookie Press
- Load the chilled dough into your cookie press, following the manufacturer’s instructions.
- Choose a design plate (stars, hearts, wreaths, etc.) and press the cookies directly onto the prepared baking sheet. Keep them spaced about 2 inches apart to allow for spreading during baking.
Step 4: Bake the Cookies
- Place the baking sheet in the preheated oven and bake for 8–10 minutes, or until the edges are lightly golden.
- Remove from the oven and let the cookies cool completely on the baking sheet before handling.
Step 5: Prepare the Filling
- Depending on which filling you choose, prepare it according to the recipe provided above. For example:
- To make chocolate ganache, heat the heavy cream until simmering, then pour it over the chocolate chips. Stir until smooth.
- For cream cheese frosting, beat the cream cheese and butter together, then gradually mix in the powdered sugar and vanilla.
- For peanut butter filling, whisk together the peanut butter, powdered sugar, and milk until creamy.
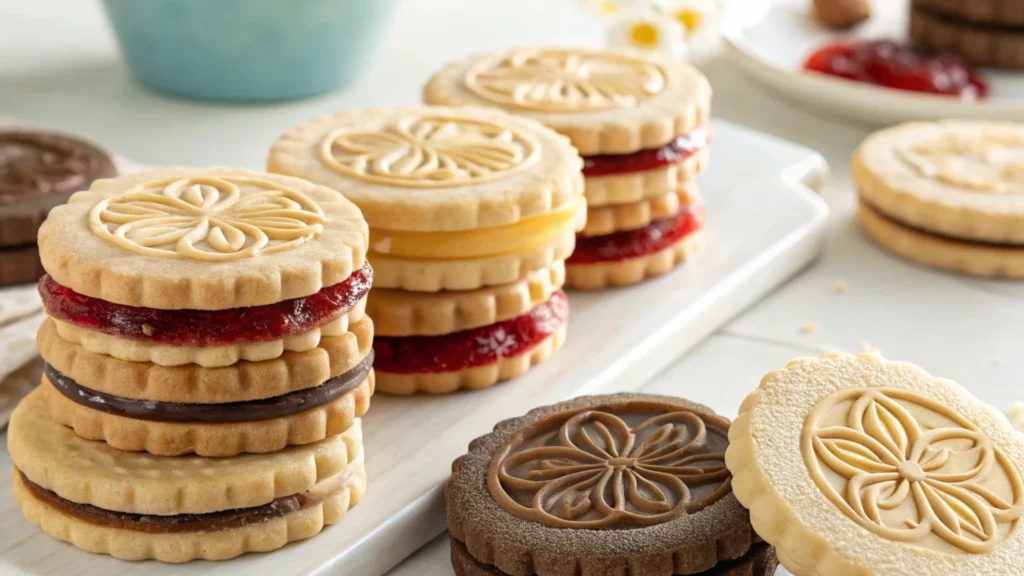
Step 6: Assemble the Sandwich Cookies
- Once the cookies are fully cooled, spread a generous amount of filling onto the flat side of one cookie.
- Top with another cookie, pressing gently to seal the filling inside. Repeat with the remaining cookies and fillings.
Pro Tips and Variations
Here are some expert tips and creative ideas to take your sandwich cookies to the next level:
Pro Tips:
- Chill the Dough : Always chill your dough before pressing. This prevents it from sticking to the press and ensures clean, defined shapes.
- Test First : Before pressing out all your cookies, test one shape to ensure the dough is at the right consistency. Adjust as needed.
- Handle Gently : Allow the baked cookies to cool completely before assembling. Warm cookies may crack when paired with cold fillings.
Creative Variations:
- Spiced Cookies : Add cinnamon, nutmeg, or ginger to the dough for a festive twist.
- Fruit Fillings : Swap traditional frostings for fruit jams like strawberry, raspberry, or blueberry.
- Dipped Edges : Dip the assembled cookies halfway into melted chocolate or white chocolate for an elegant finish.
Serving Suggestions
These sandwich cookies are versatile enough to fit any occasion. Here are a few ideas for serving and presenting them:
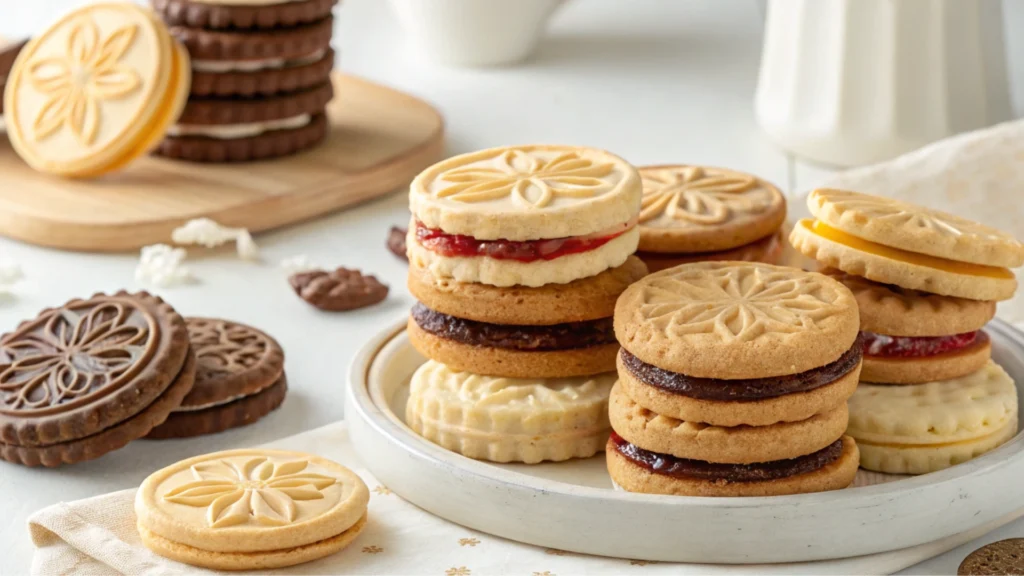
- Party Platter : Arrange the cookies on a decorative tray alongside coffee, tea, or hot cocoa for a cozy dessert spread.
- Gift Boxes : Package the cookies in cellophane bags tied with ribbon for a thoughtful homemade gift.
- Pairings : Serve alongside a glass of milk, a cup of espresso, or a steaming mug of chai for the ultimate comfort combo.
Conclusion
And there you have it—a foolproof method for creating stunning sandwich cookies using a cookie press, courtesy of Lily Hanna! Whether you’re hosting a gathering, gifting loved ones, or simply treating yourself, these cookies promise to delight everyone who tries them. What makes this recipe truly special is its effortless simplicity and endless versatility. Don’t hesitate to experiment with flavors, textures, and decorations to make each batch uniquely yours.
I’m so glad we could share this baking journey together. I hope you’ve enjoyed learning how to craft these delightful treats. Until next time, happy baking—and don’t forget to share your creations with Lily Hanna!
FAQs
Q1: Can I freeze the cookies after baking?
A: Absolutely! Once the cookies are completely cooled, store them in an airtight container or freezer bag. You can store them in the freezer for up to three months while maintaining their flavor and texture. Simply thaw at room temperature before serving.
Q2: What type of cookie press works best for this recipe?
A: Any standard cookie press will do, but those with interchangeable design plates offer more variety. Look for models with sturdy construction and easy-to-clean parts.
Q3: How long can I store the assembled cookies?
A: Store the cookies in an airtight container at room temperature for up to 3 days. For longer storage, refrigerate or freeze them.
Q4: Can I use gluten-free flour instead of all-purpose flour?
A: Yes, many gluten-free flours work well in this recipe. However, you may need to adjust the liquid content slightly to achieve the right dough consistency.
Q5: What if my cookies spread too much while baking?
A: If your cookies spread excessively, try chilling the dough longer or reducing the oven temperature slightly.