Introduction: The Magic of Homemade Chocolate Grav
Imagine waking up on a gray morning, feeling like the world is just another ordinary place. Now, picture this: you step into your kitchen, gather a few simple ingredients, and in less than ten minutes, create something so rich, smooth, and comforting that it transforms your entire day. That’s the power of homemade chocolate gravy.
For many, chocolate gravy isn’t just a dessert topping—it’s an experience. Whether you’re drizzling it over pancakes or using it as a dip for fresh fruit, this delightful creation has the ability to turn even the simplest meals into something extraordinary. In this guide, we’ll dive deep into the art of crafting the perfect chocolate gravy, exploring its history, sharing a foolproof recipe, and offering creative ideas to make your day extra amazing. So, let’s get started!

Table of Contents
What Exactly Is Chocolate Gravy?
Before we jump into the recipe, let’s take a moment to understand what makes chocolate gravy unique. Unlike traditional chocolate sauces, which are often thin and syrupy, chocolate gravy is thicker and creamier. It’s more akin to a pourable pudding, making it ideal for soaking into fluffy pancakes or waffles.
This delightful treat originated in Southern U.S. cuisine, where it was traditionally served alongside breakfast dishes. Over time, its versatility has made it a favorite across cultures, with people experimenting with different flavors and pairings. Here’s why you should consider adding chocolate gravy to your culinary repertoire:
- Healthier Option: Unlike store-bought sauces loaded with preservatives, homemade chocolate gravy allows you to control the sugar and fat content.
- Customizable: Add spices like cinnamon or chili powder to give it a personal twist.
- Quick & Easy: With basic pantry staples, you can whip up a batch in under 10 minutes.
Why You Need This Recipe in Your Life
Now that you know what chocolate gravy is, let’s talk about why it deserves a spot in your kitchen. Beyond being delicious, there are several reasons why this recipe will become one of your go-to creations:
- Comfort Food at Its Finest: There’s something magical about the aroma of melted chocolate and butter wafting through your home. It instantly evokes feelings of warmth and nostalgia.
- Versatility: From breakfast to dessert, chocolate gravy adapts effortlessly to any meal. Pair it with pancakes, ice cream, or even roasted fruits for a savory-sweet surprise.
- Budget-Friendly: Most of the ingredients required for this recipe are likely already sitting in your cupboard, saving you both time and money.
But don’t just take my word for it—try it yourself and see how it brightens your day!
The Ultimate Recipe Ingredients Table
To ensure success every time, start by gathering all the necessary ingredients. Below is a handy table to keep everything organized:
| Ingredient | Quantity |
|---|---|
| Cocoa Powder | ½ cup |
| All-Purpose Flour | ¼ cup |
| Sugar | ¾ cup |
| Milk | 2 cups |
| Butter | 4 tablespoons |
| Vanilla Extract | 1 teaspoon |
| Salt | A pinch |
Tip: Feel free to adjust the sugar level based on your preference. If you have a sweet tooth, feel free to add a little extra!

Step-by-Step Instructions for Making Chocolate Gravy
Let’s break down the process into easy-to-follow steps. By the end, you’ll have a silky-smooth chocolate gravy ready to elevate your meals.
1 – Prepare Your Workspace
Start by assembling all your tools and ingredients. Having everything within reach ensures a seamless cooking experience.
2 – Combine Dry Ingredients
In a medium-sized saucepan, whisk together the cocoa powder, flour, and sugar until they’re fully incorporated. This step helps eliminate lumps and ensures a smooth final product.
3 – Incorporate Wet Ingredients
Gradually pour in the milk while continuously stirring. Adding the liquid slowly prevents clumping and creates a uniform consistency. Once the mixture is combined, melt the butter into it and bring it to a gentle simmer over medium heat.
4 – Cook Until Thickened
Stir constantly for approximately 5-7 minutes. During this time, the mixture will begin to thicken. Keep an eye on it to avoid burning. When it reaches your desired thickness, remove it from the heat.
5 – Finish with Flavor Enhancers
Stir in the vanilla extract and a pinch of salt. These additions enhance the overall flavor profile, bringing out the natural sweetness of the chocolate.
6 – Serve and Enjoy
Pour your freshly made chocolate gravy over pancakes, waffles, or ice cream. For an added touch, sprinkle some chopped nuts or fresh berries on top.
Top 5 Ways to Make Your Day Extra Amazing with Chocolate Gravy
Once you’ve mastered the basic recipe, it’s time to explore new ways to enjoy your chocolate gravy. Here are five creative ideas to inspire you:
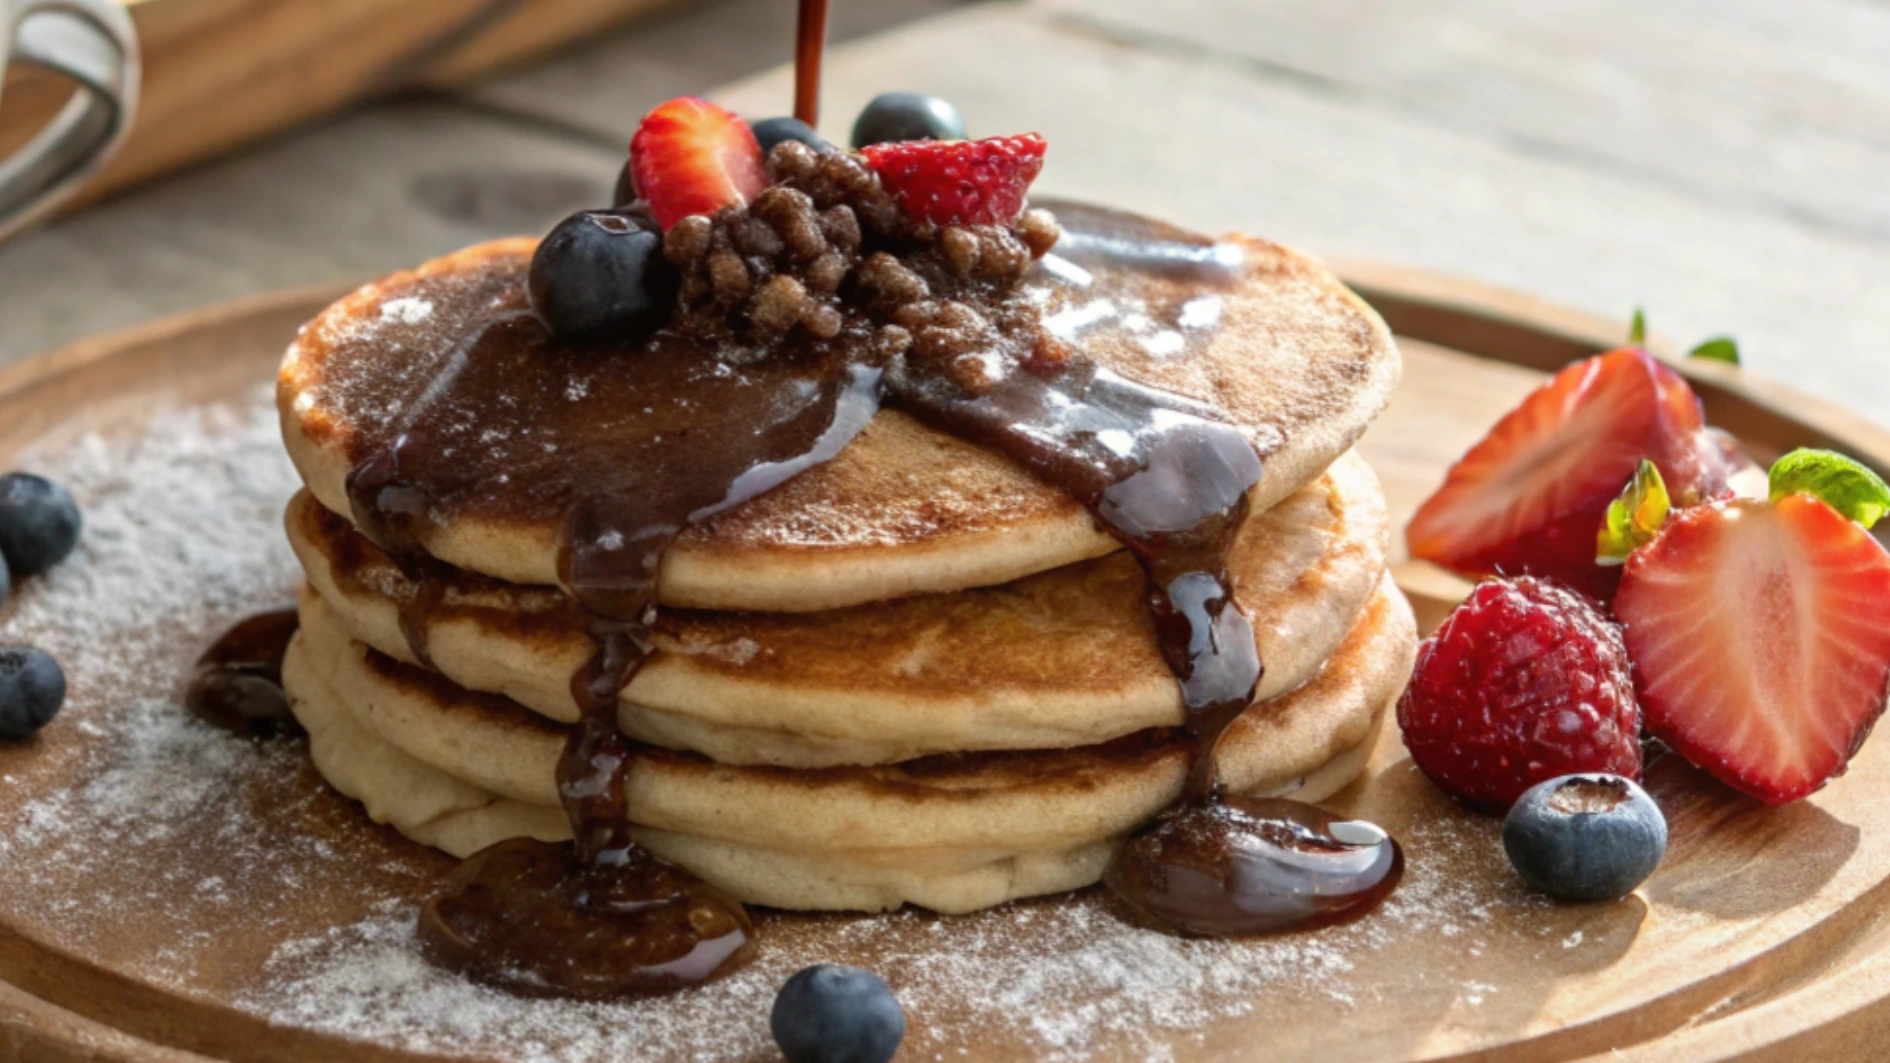
1 – Breakfast Delight – Drizzle Over Pancakes or Waffles
There’s nothing quite like starting your day with a stack of warm pancakes smothered in rich chocolate gravy. To elevate the dish further, consider pairing it with fresh strawberries or whipped cream.
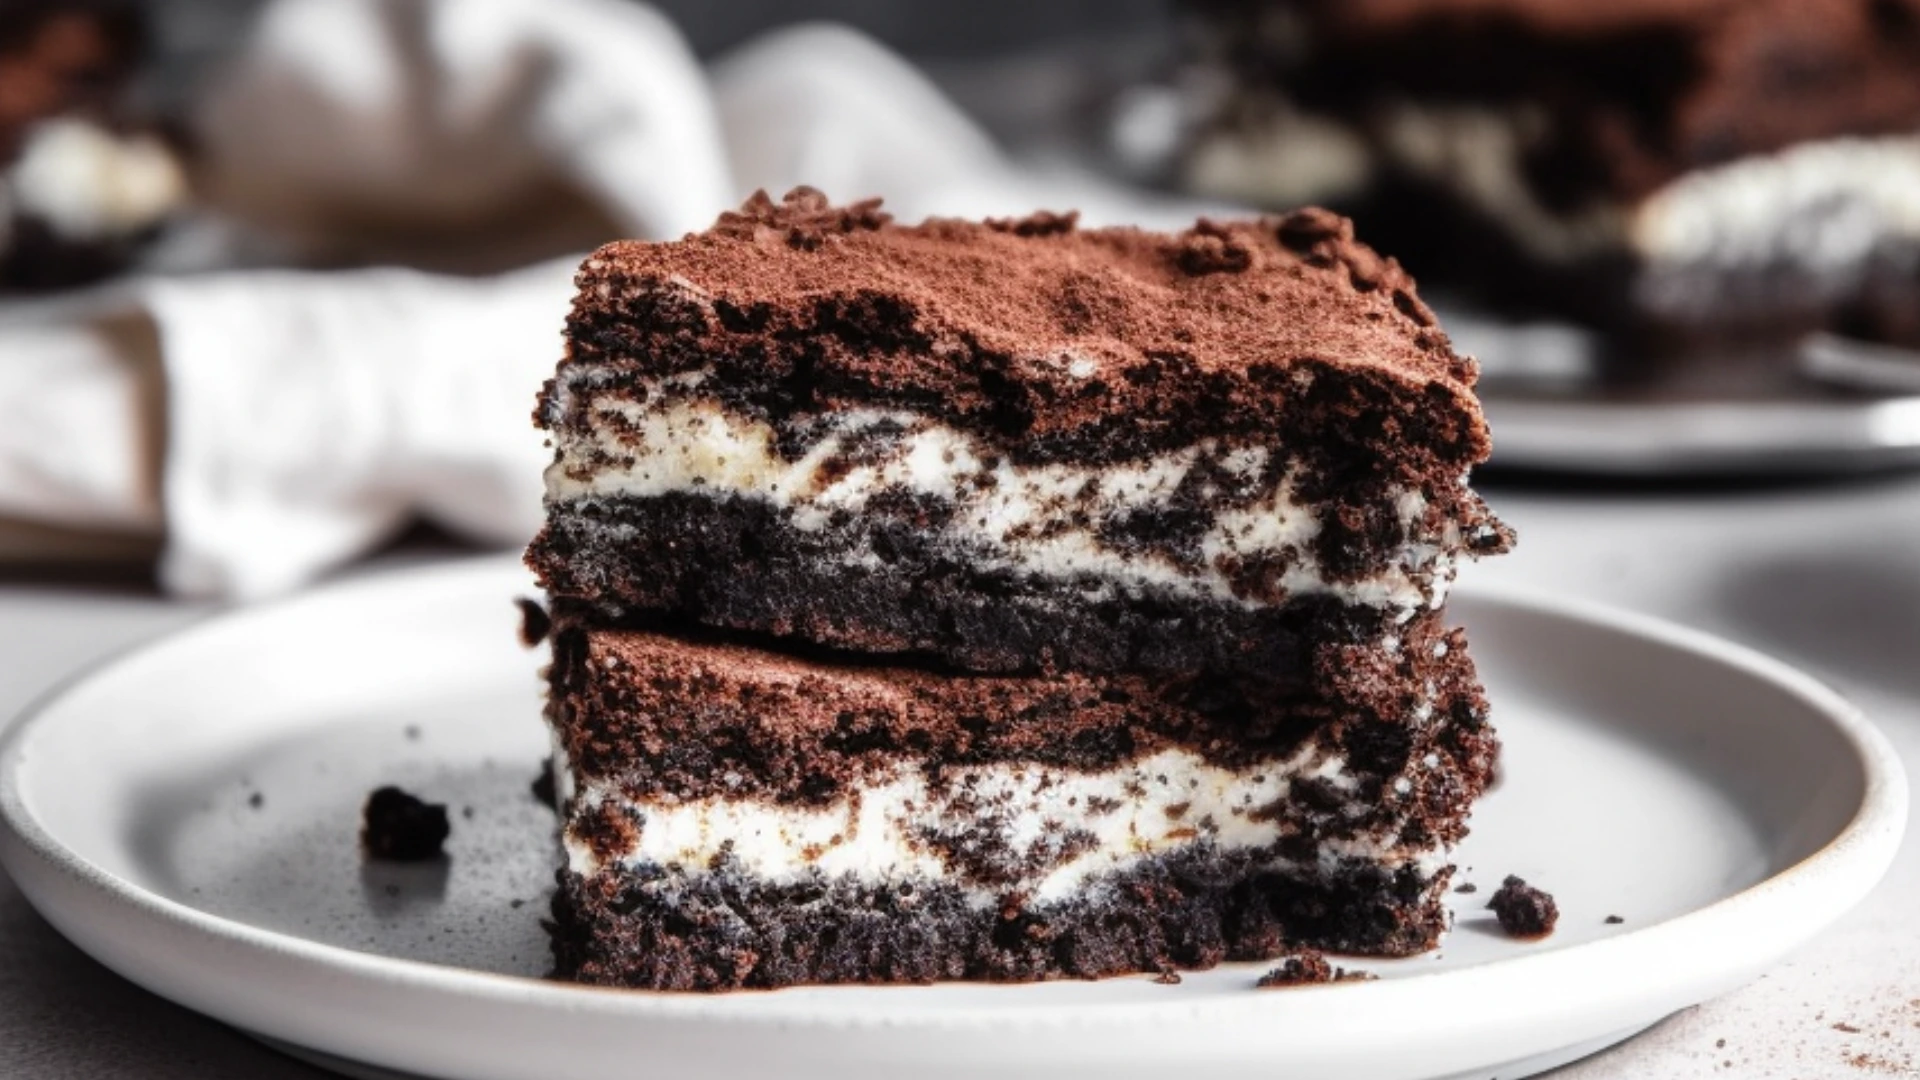
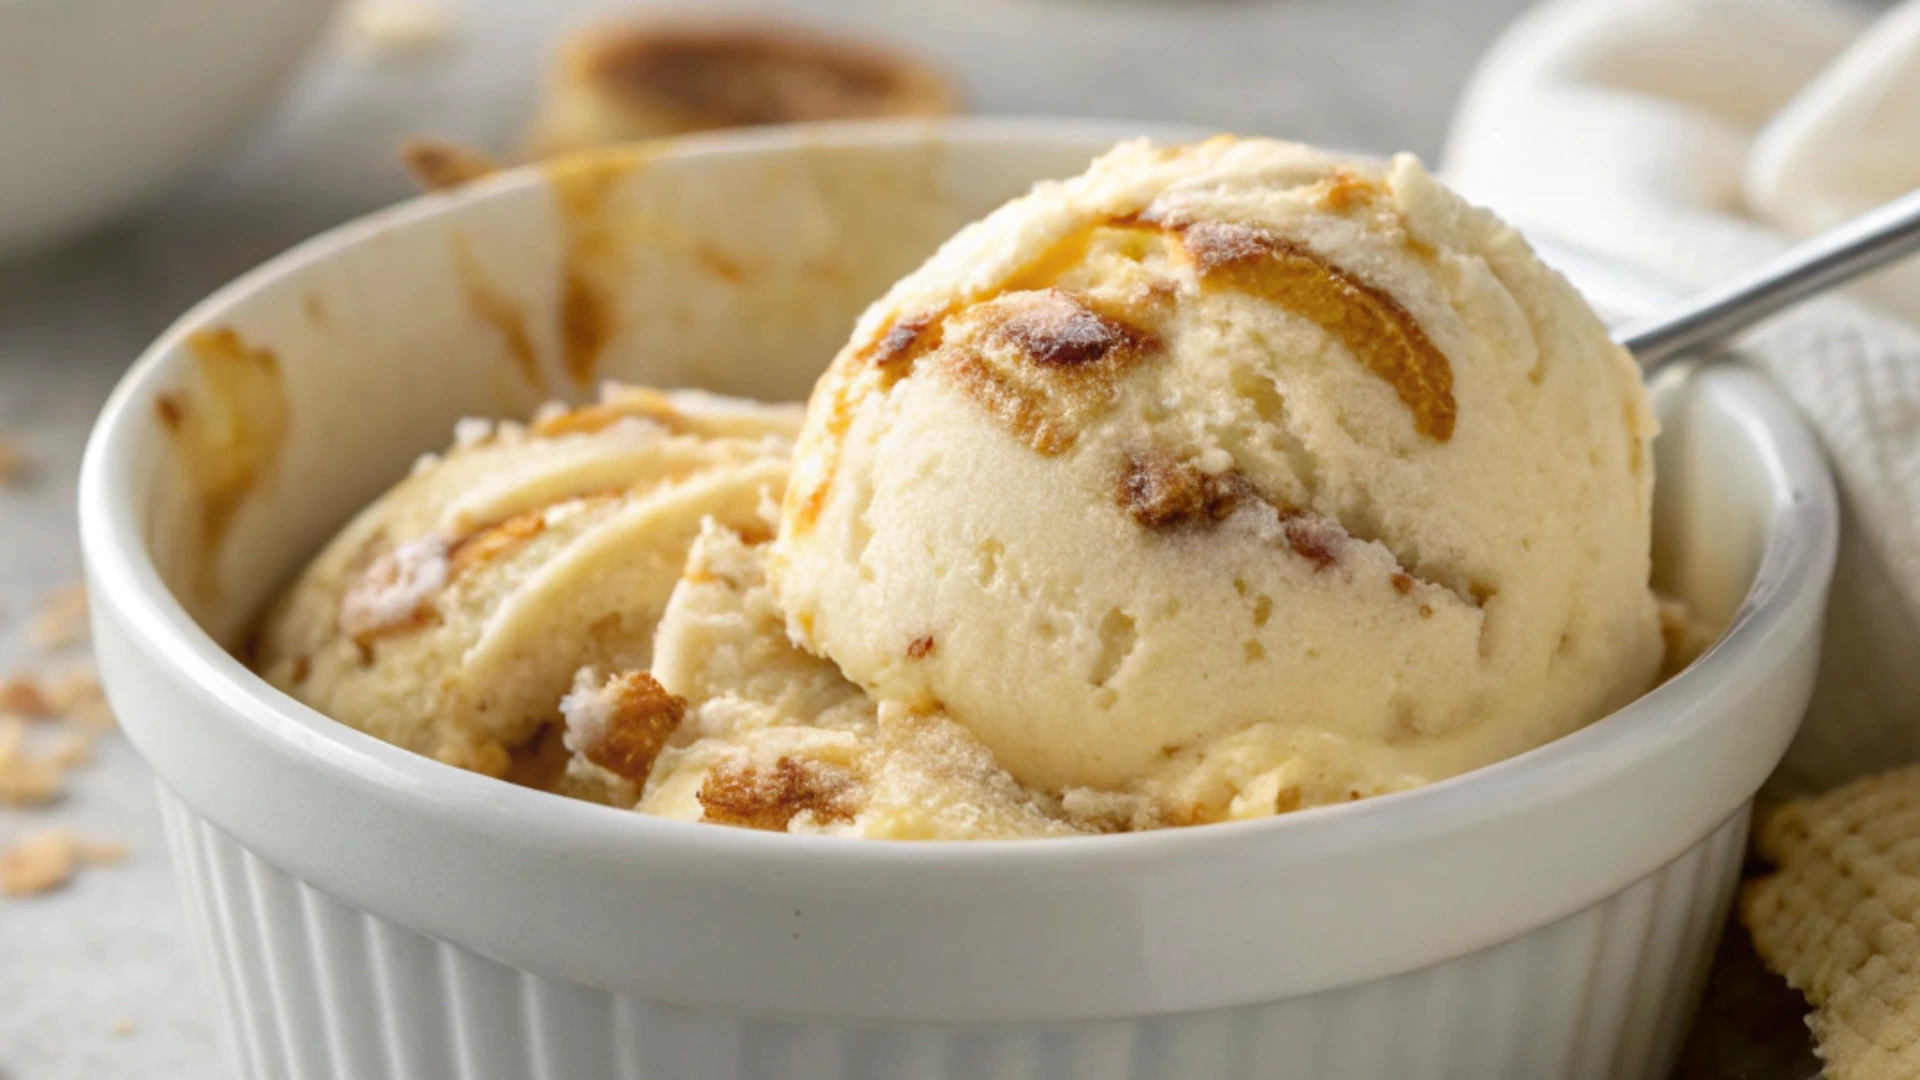
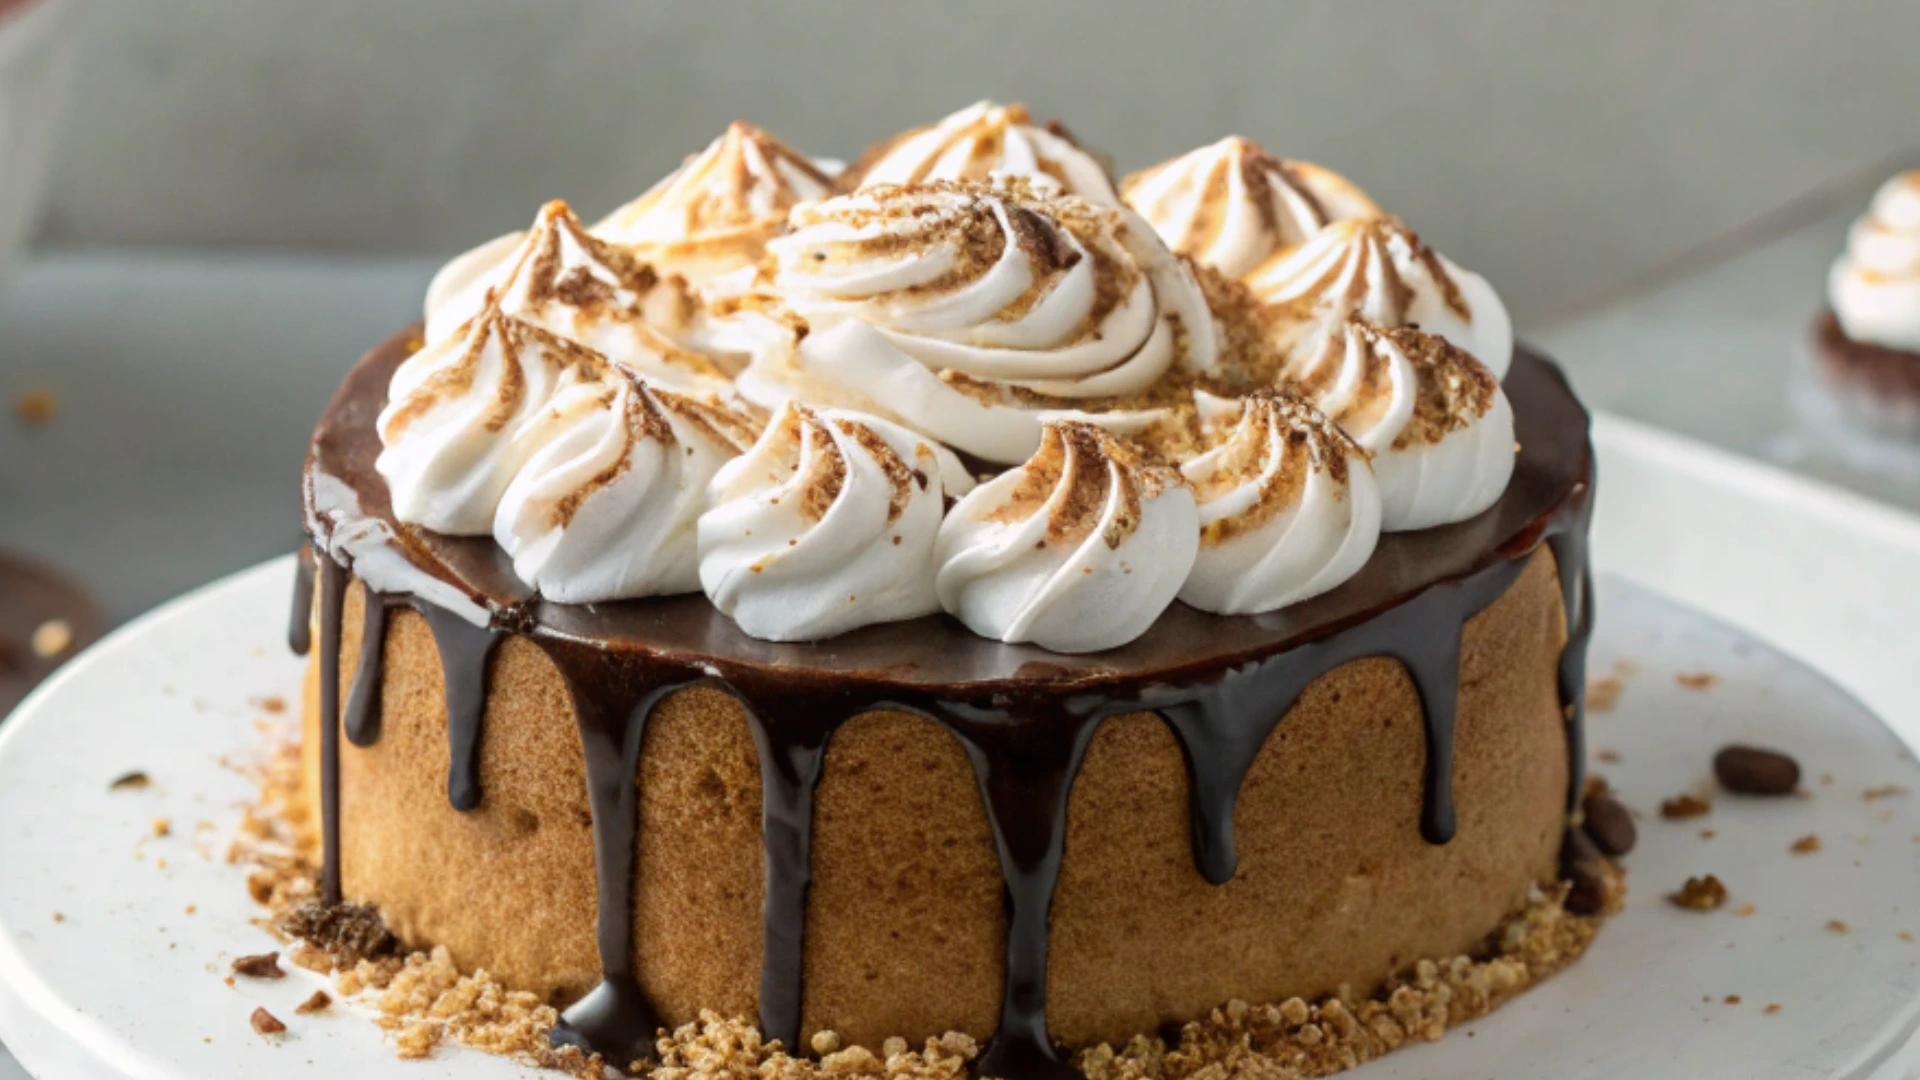
2 – Dessert Extravaganza – Pair with Ice Cream or Cake
Chocolate gravy transforms ordinary desserts into extraordinary ones. Try layering it with vanilla ice cream or crumbling it over slices of moist chocolate cake.
3 – Snack Time Fun – Dip Fruits or Pretzels
Who says snacks can’t be indulgent? Dip slices of banana, apple, or pretzels into warm chocolate gravy for a quick yet satisfying treat.
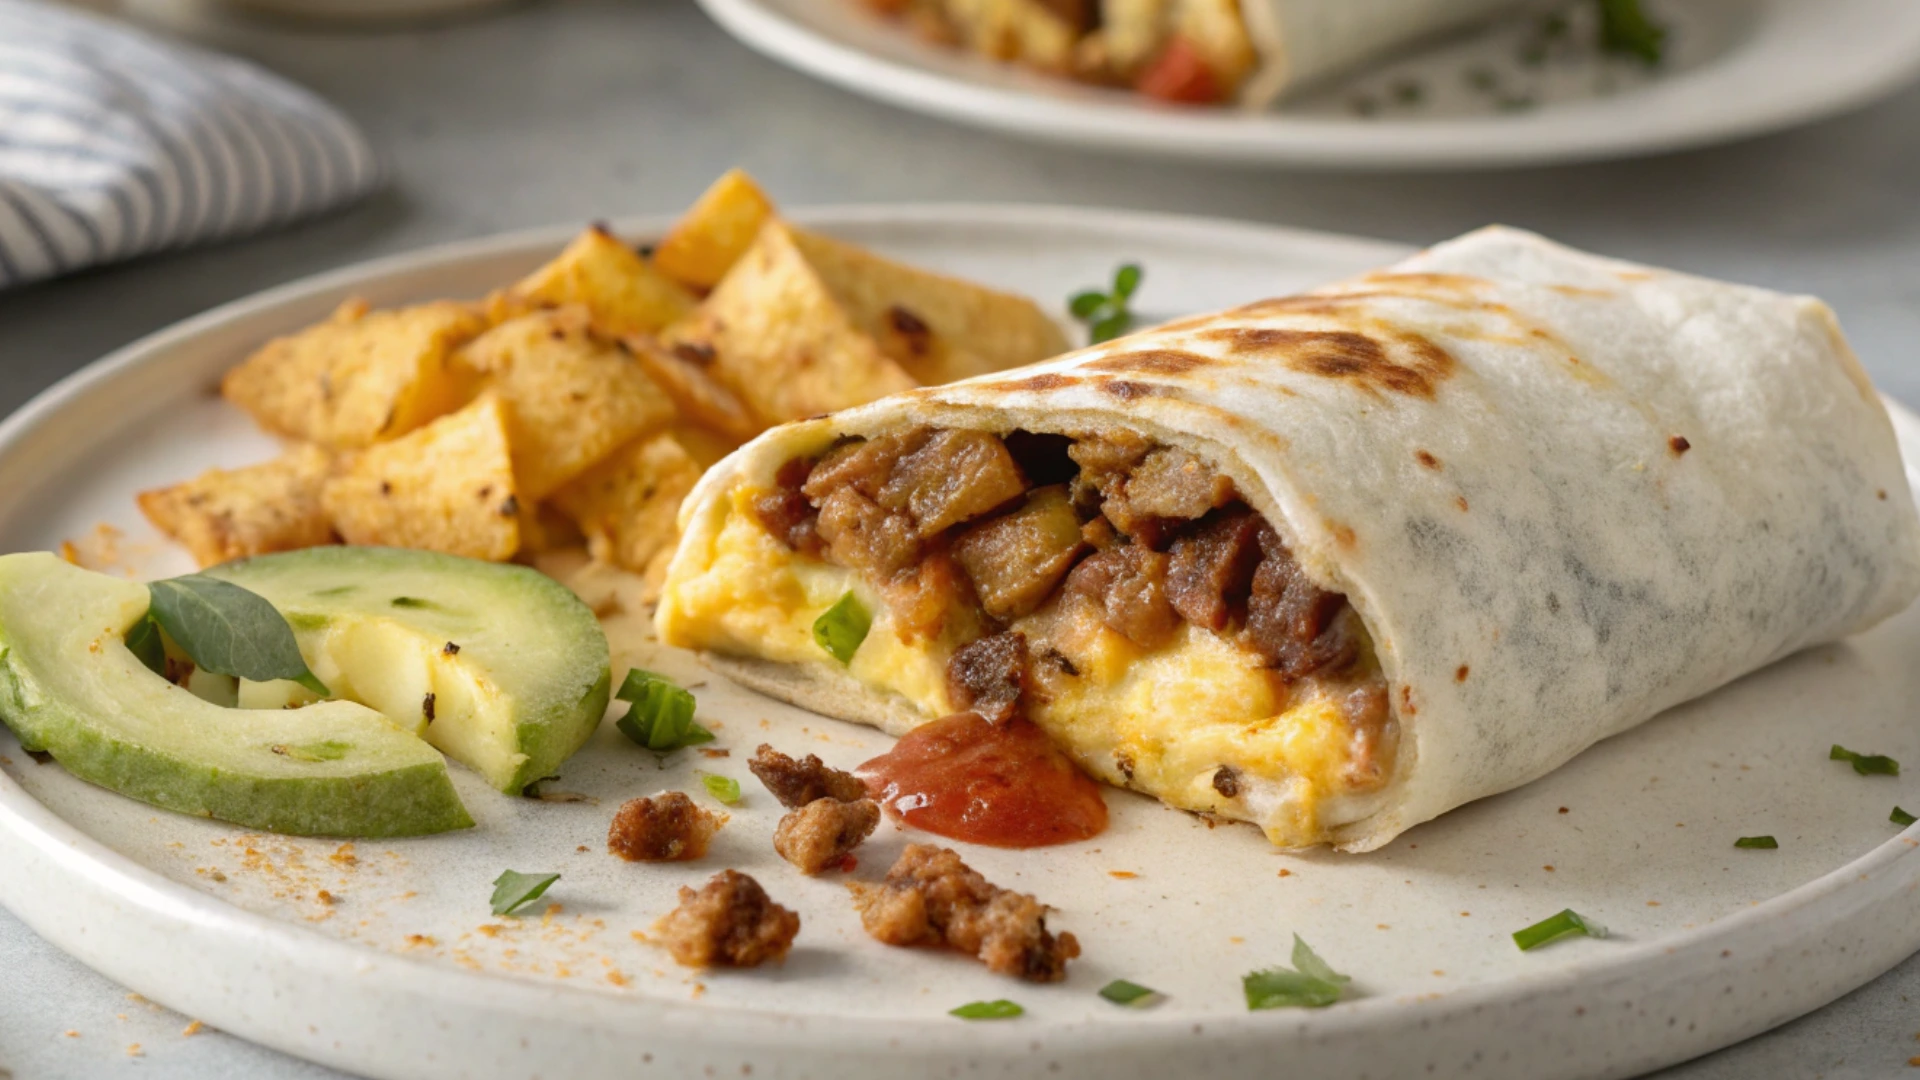
4 – Brunch Specialty – Use as a Sauce for French Toast
French toast becomes irresistible when paired with chocolate gravy. For an extra boost, sprinkle powdered sugar on top before serving.
5 – Gift Idea – Package Homemade Chocolate Gravy
Looking for a thoughtful gift? Package your homemade chocolate gravy in mason jars and tie them with ribbons. Include a note with suggested uses to make the gesture even more special.

Tips and Tricks for Perfect Chocolate Gravy Every Time
Even the most experienced cooks encounter challenges from time to time. To help you achieve consistent results, here are some expert tips:
- Avoid Overcooking: Prolonged exposure to heat can cause the gravy to become too thick or develop a burnt taste. Remove it from the stove as soon as it reaches your desired consistency.
- Adjust Sweetness: Everyone’s palate is different. Taste the gravy periodically and adjust the sugar levels accordingly.
- Experiment with Flavors: Don’t be afraid to try unconventional combinations. Espresso powder, nutmeg, or even a splash of rum can add depth to your creation.
FAQ Section
Q: Can I substitute milk with plant-based alternatives?
Absolutely! Almond, oat, or coconut milk works beautifully in this recipe. Just ensure they’re unsweetened unless you prefer a sweeter result.
Q: How long does chocolate gravy last in the fridge?
When stored in an airtight container, chocolate gravy can last up to five days. Reheat gently before serving to restore its creamy texture.
Q: Is chocolate gravy the same as chocolate sauce?
While similar, chocolate gravy tends to be thicker due to the addition of flour. This makes it better suited for soaking into foods rather than drizzling.
Q: What are some variations of the chocolate gravy recipe?
Feel free to experiment with spices like cinnamon, chili powder, or ginger. You can also incorporate ingredients like crushed cookies or shredded coconut for added texture.
Conclusion: Transform Your Day with Chocolate Grav
By now, you should have a solid understanding of how to create and enjoy chocolate gravy. From its humble beginnings in Southern kitchens to its current status as a global favorite, this versatile treat continues to captivate taste buds everywhere.
So, what are you waiting for? Gather your ingredients, follow the steps outlined above, and let chocolate gravy work its magic in your life. Remember, the possibilities are endless—don’t hesitate to experiment and make it your own.