Introduction
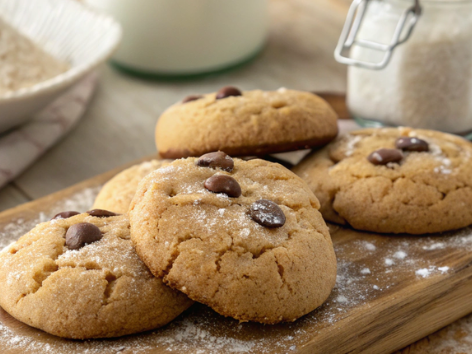
Have you ever wondered how to take your cookies from good to absolutely unforgettable? As someone who loves experimenting in the kitchen, I’m always on the lookout for ways to elevate classic recipes. That’s where bread flour comes in—a game-changer for anyone who craves cookies with a chewy texture, sturdy structure, and rich flavor.
When I first tried swapping all-purpose flour for bread flour in my cookie recipes, I was amazed at the results. The higher protein content in bread flour creates a stronger gluten network , giving cookies a delightful chewiness and helping them hold their shape beautifully. Whether you’re baking thick, bakery-style cookies or stuffed treats with gooey centers, bread flour might just become your new secret weapon.
In this recipe, I’ll show you how to harness the power of bread flour to create cookies that are as delicious as they are impressive. Ready to discover why this simple switch can make such a big difference? Let’s get started!
Table of Contents
Key Benefits of Using Bread Flour for Cookies
If you’ve ever wondered why bread flour is worth the switch for your cookie recipes, you’re in for a treat! Bread flour isn’t just for bread—it’s a powerhouse ingredient that can transform your cookies into something truly special. Let’s dive into the 8 surprising benefits of using bread flour and why it might become your new baking staple.
1. Superior Chewiness
Bread flour’s higher protein content (around 12-14%) creates stronger gluten strands , giving cookies a satisfyingly chewy texture. Think soft centers with just the right amount of bite—perfect for chocolate chip or oatmeal cookies.
2. Enhanced Structure
Cookies made with bread flour hold their shape better during baking. This means less spreading and firmer edges, ideal for achieving those picture-perfect, bakery-style cookies everyone loves.
3. Richer Flavor Profile
The Maillard reaction —the browning process that enhances flavor—is more pronounced with bread flour. This results in cookies with deeper, nuttier undertones that elevate their taste to gourmet levels.
4. Perfect for Stuffed Cookies
Bread flour’s sturdy dough is perfect for encasing fillings like caramel, Nutella, or cream cheese. No tearing, no leaks—just perfectly stuffed cookies every time.
5. Improved Shelf Life
Thanks to its ability to retain moisture, bread flour helps cookies stay softer and fresher for longer. Say goodbye to stale cookies after just one day!
6. Versatility Across Recipes
From classic chocolate chip to spiced gingerbread cookies, bread flour works beautifully in a variety of recipes. Its adaptability makes it a must-have in any baker’s pantry.
7. Ideal for Thick Cookies
Love thick, puffy cookies? Bread flour’s strong gluten structure prevents excessive spreading, giving you cookies with height and substance.
8. A Healthier Option
With its higher protein content, bread flour can be a smarter choice for those looking to add nutritional value to their baked goods without sacrificing taste or texture.

Quick Comparison: Bread Flour vs. All-Purpose Flour
To help you understand the differences, here’s a simple breakdown:
| Feature | Bread Flour | All-Purpose Flour |
| Protein Content | 12-14% | 9-11% |
| Gluten Strength | Strong | Moderate |
| Best For | Chewy, structured baked goods | Lighter, tender baked goods |
| Cookie Texture | Chewy, dense | Soft, delicate |
By now, you’re probably wondering how these benefits translate into actual cookies. Don’t worry—I’ll guide you step-by-step in the next section. With bread flour, you’re not just baking cookies; you’re creating an experience.
Ingredients
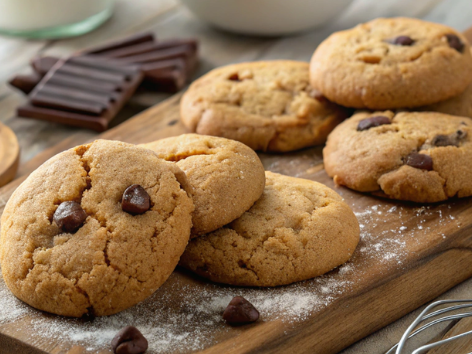
Here’s what you’ll need to bake a batch of irresistible bread flour cookies:
- 2 ¼ cups bread flour (measured accurately for best results)
- 1 teaspoon baking soda
- ½ teaspoon salt
- 1 cup unsalted butter , softened (for a rich, creamy base)
- ¾ cup granulated sugar
- ¾ cup packed brown sugar (for added moisture and depth of flavor)
- 1 teaspoon pure vanilla extract
- 2 large eggs (room temperature works best)
- 2 cups of your preferred chocolate chips (semi-sweet, dark, or even white chocolate for variety!)
Optional Add-Ins:
- Chopped nuts (walnuts or pecans work well)
- Sea salt flakes for topping
- Caramel bits for stuffed cookies
Step-by-Step Instructions
Let’s get baking! Follow these steps to create cookies that are chewy, flavorful, and utterly irresistible.
Step 1: Prepare Your Ingredients
Before you start, ensure all your ingredients are prepped and ready. Measure your bread flour carefully using the spoon-and-level method to avoid overpacking. Soften your butter to room temperature so it creams smoothly with the sugars.
Step 2: Cream Butter and Sugars
In a large mixing bowl, use a stand mixer or hand mixer to cream together the softened butter, granulated sugar, and brown sugar. Using a hand or stand mixer, blend on medium speed until the mixture becomes airy and light in texture—this process usually takes around 2 to 3 minutes.
Step 3: Add Eggs and Vanilla
- Break the eggs into the bowl one by one, ensuring each is thoroughly combined before adding the next. Stir in the vanilla extract and continue mixing until the ingredients are evenly distributed.
Step 4: Combine Dry Ingredients
In a separate bowl, whisk together the bread flour, baking soda, and salt. This ensures even distribution of the leavening agent and salt throughout the dough.
Step 5: Mix Wet and Dry Ingredients
Gradually add the dry ingredients to the wet mixture, mixing on low speed until just combined. Be careful not to overmix, as this can develop too much gluten and make the cookies tough.
Step 6: Fold in Chocolate Chips
Using a spatula, gently fold in the chocolate chips (and any optional add-ins). This ensures they’re evenly distributed without overworking the dough.
Step 7: Chill the Dough
Cover the dough and chill it in the refrigerator for at least 30 minutes. Chilling helps the flavors meld and prevents excessive spreading during baking.
Step 8: Preheat and Bake
Preheat your oven to 350°F (175°C). Prepare a baking sheet by covering it with either parchment paper or a non-stick silicone baking mat.
Scoop tablespoon-sized portions of dough onto the sheet, spacing them about 2 inches apart.
- Bake for 10-12 minutes, or until the edges are golden brown but the centers still look slightly underbaked. They’ll continue to set as they cool.
Step 9: Cool and Enjoy
- Allow the cookies to cool on the baking sheet for 5 minutes before transferring them to a wire rack. Enjoy them warm with a glass of milk or let them cool completely for storage.
Pro Tips and Variations
Want to take your bread flour cookies to the next level? Here are some expert tips and creative variations:
- Chill Longer for Thicker Cookies: If you prefer thicker cookies, chill the dough for up to 2 hours or overnight.
- Experiment with Mix-Ins: Try white chocolate chips, dried cranberries, or crushed pretzels for unique flavor combinations.
- Add Spices: A pinch of cinnamon or nutmeg can add warmth and complexity to your cookies.
- Make Them Gluten-Free: Substitute bread flour with a high-protein gluten-free flour blend for a similar texture.
- Double the Batch: These cookies freeze beautifully! Store unbaked dough balls in the freezer for fresh-baked cookies anytime.
Serving Suggestions
There’s no wrong way to enjoy these cookies, but here are a few ideas to make them extra special:
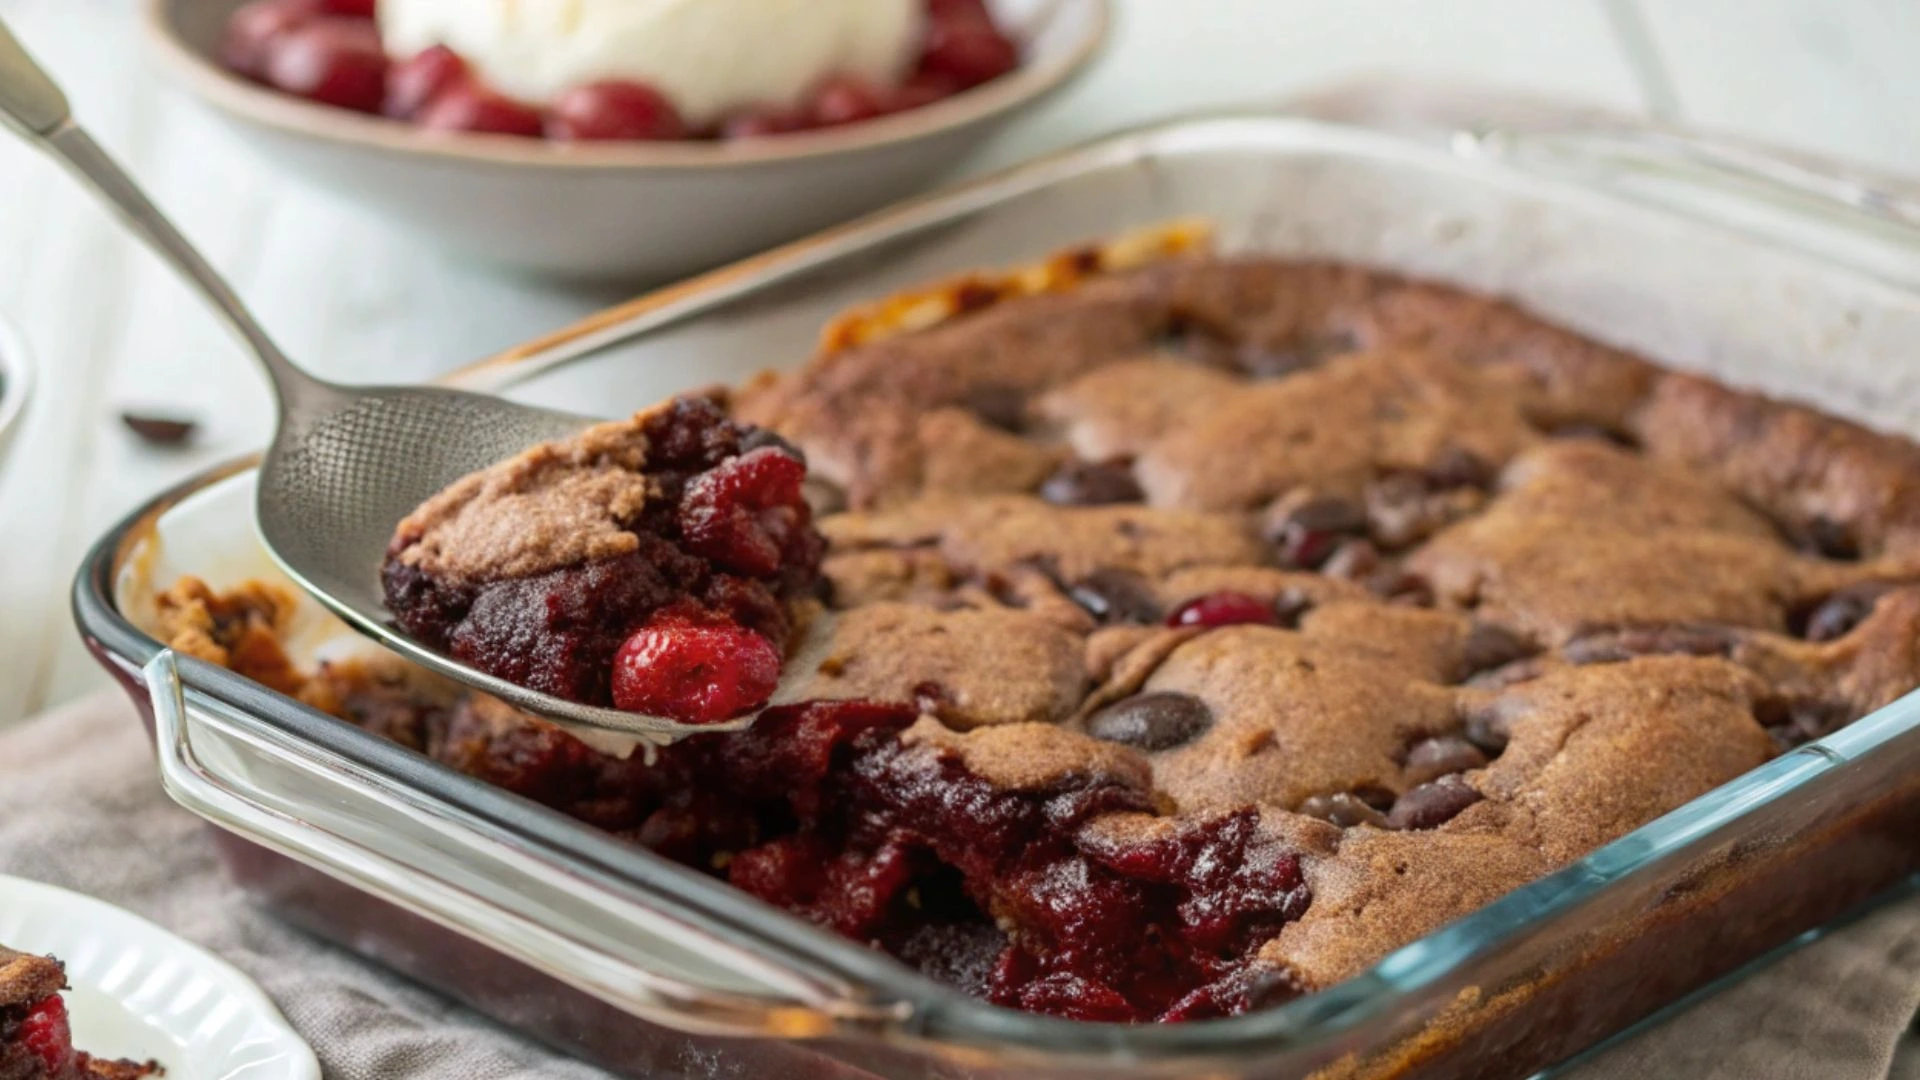
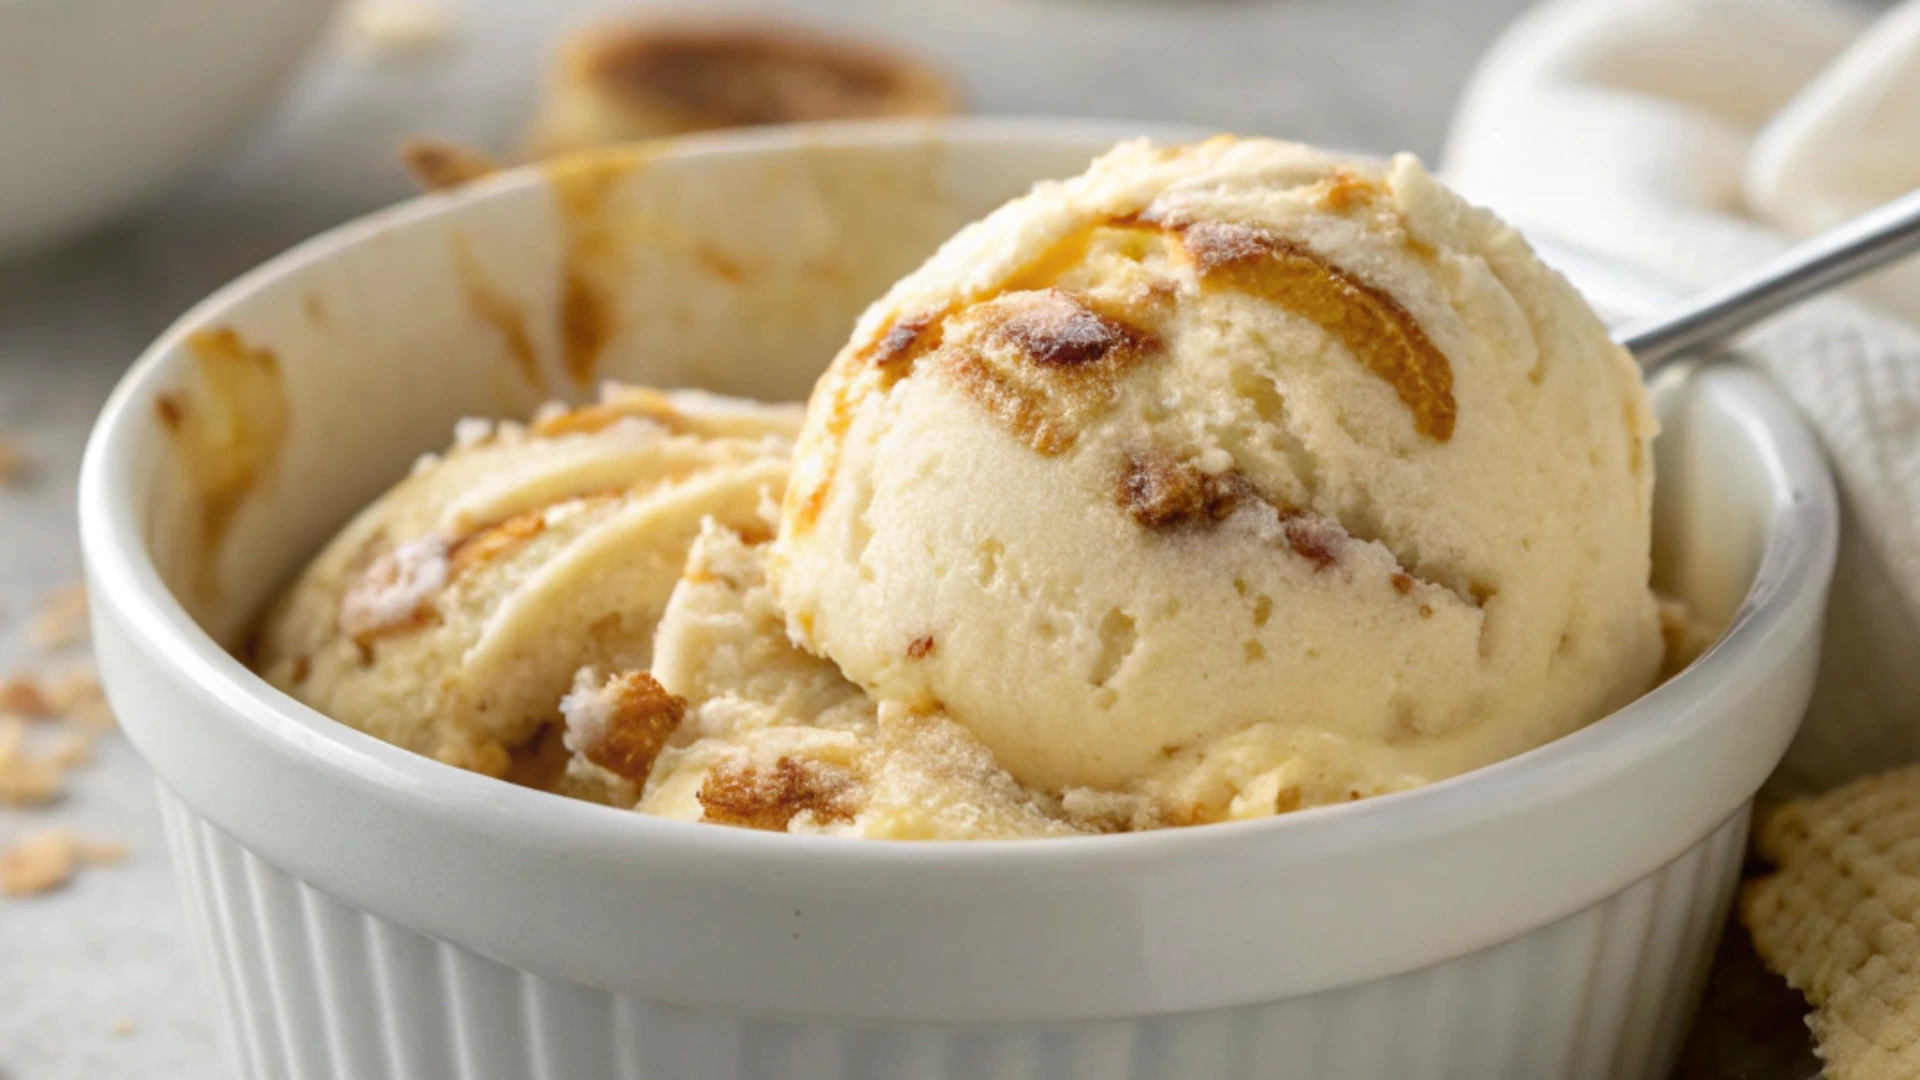
- Serve warm with a scoop of vanilla ice cream for a decadent dessert.
- Pair with a cold glass of milk or a hot cup of coffee for a cozy treat.
- Package them in decorative tins or jars for thoughtful homemade gifts.
- Use them as the base for ice cream sandwiches by sandwiching your favorite flavor between two cookies.
FAQs
Here are answers to some common questions about using bread flour in cookies:
Is it possible to use bread flour instead of all-purpose flour when making cookies, and will it affect the texture?
A: While bread flour works well in many recipes, it’s best suited for cookies that benefit from a chewy texture and sturdy structure. Avoid using it in delicate recipes like shortbread.
What if I don’t have bread flour?
A: You can mimic bread flour by adding 1-2 teaspoons of vital wheat gluten to all-purpose flour per cup used.
Will bread make my cookies tough?
A: Not if you follow the recipe correctly. Overmixing is the main culprit for tough cookies, so mix until just combined.
How do I store bread cookies?
A: Store them in an airtight container at room temperature for up to 5 days. For longer storage, freeze the cookies or dough.
Can I use bread for gluten-free cookies?
A: No, bread contains gluten. Opt for a gluten-free flour blend designed for baking instead.
Conclusion
There you have it—a foolproof guide to baking cookies with bread flour! From their chewy texture to their enhanced flavor and extended shelf life, these cookies are sure to impress. Whether you’re a seasoned baker or just starting out, this recipe proves that sometimes the simplest swaps can make the biggest impact.
So, what are you waiting for? Grab your apron, preheat that oven, and let’s bake up a batch of cookies that will have everyone asking for seconds.